Your Westinghouse air fryer should heat up and cook your food without interruption. However, when the E1 error suddenly appears on the display, the appliance may stop working or refuse to start another cooking cycle.
This warning often points to a temperature sensor problem, although the exact cause isn’t always obvious. A damaged sensor, loose electrical connection, or faulty control board could be responsible. Understanding these possibilities will help you recognize the problem and determine which troubleshooting steps are safe.
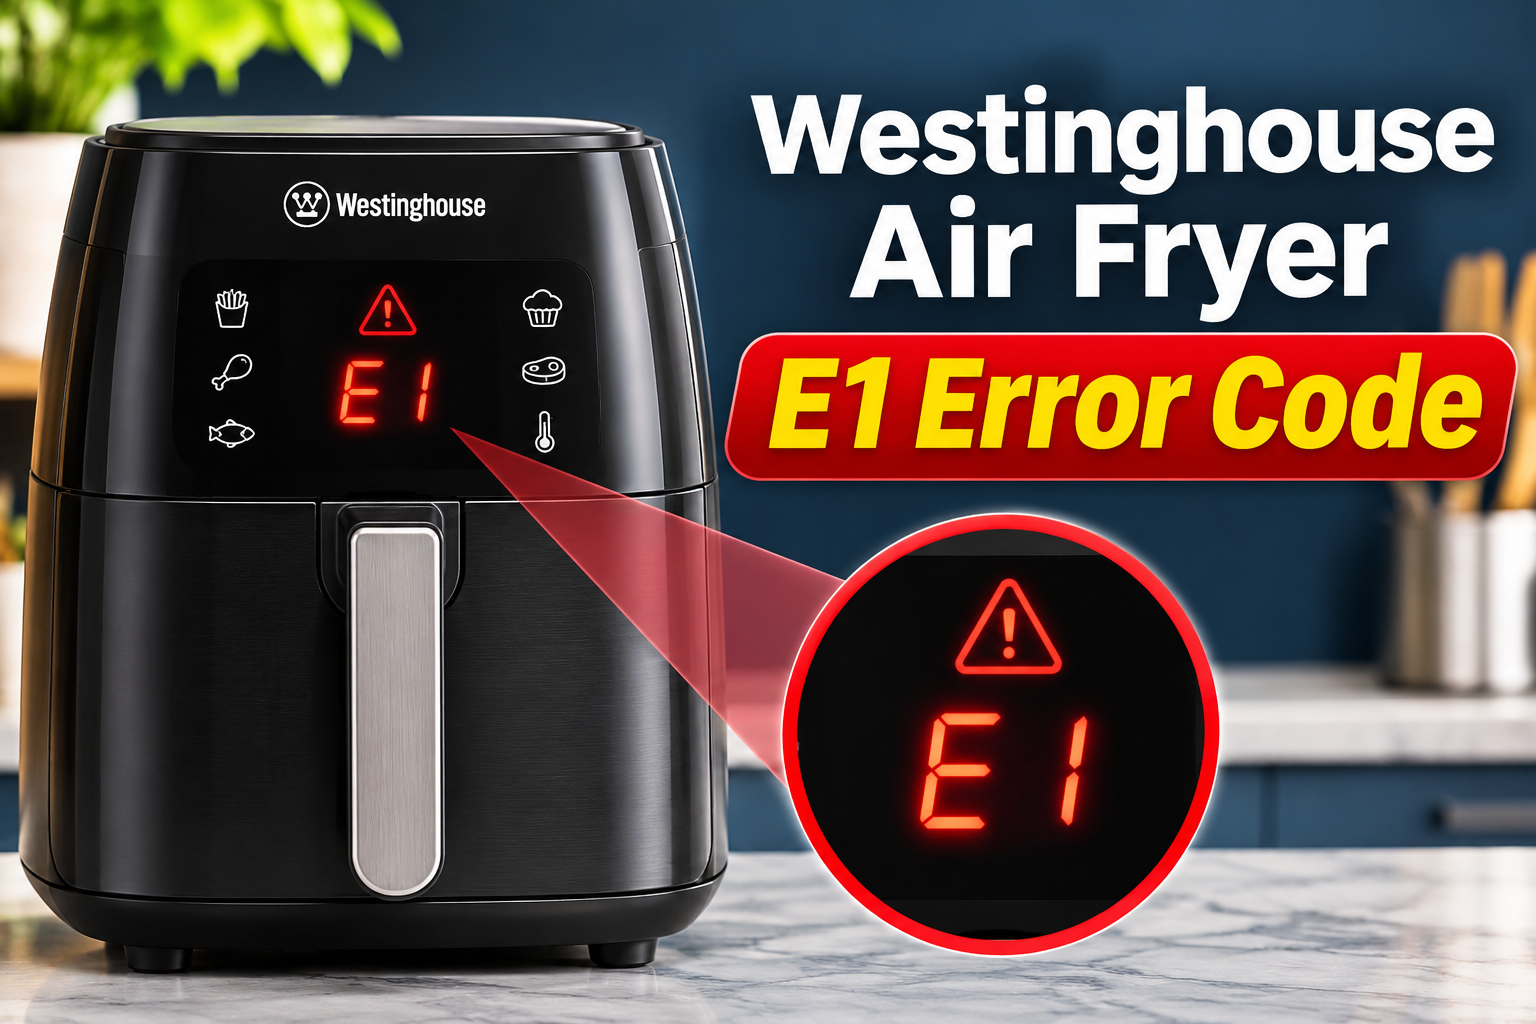
What Does the E1 Error Mean on a Westinghouse Air Fryer?
The E1 error code on a Westinghouse air fryer generally indicates a temperature sensor fault. For example, the Westinghouse WHOF11KS instruction manual identifies E1 as a sensor fault and states that the appliance requires repair. However, error definitions may differ between models, so checking your particular manual is important.
Your air fryer uses a heating element to produce heat and a fan to distribute hot air throughout the cooking compartment. A temperature sensor helps the electronic control board monitor how hot the appliance becomes. The control system uses this information to regulate heating and maintain the selected cooking temperature.
When the sensor stops providing reliable information, the control board may no longer be able to regulate the temperature accurately. Depending on the model and the nature of the fault, the appliance may display E1 and interrupt the cooking process.
You might notice the warning immediately after switching on your air fryer or several minutes into cooking. Sometimes, the display remains illuminated even though the appliance has stopped heating. These symptoms suggest a possible sensor circuit problem, but they cannot confirm which component has failed without further testing.
Westinghouse Air Fryer E1 Error: Common Causes
The E1 warning usually points to a problem within the temperature monitoring system, although several components contribute to that system’s operation. Understanding the following possible causes can help you distinguish a defective sensor from other electrical faults that may produce similar symptoms.
1. A Faulty Temperature Sensor
A defective temperature sensor is the most relevant suspected cause of the E1 error, particularly on Westinghouse models whose manuals specifically identify E1 as a sensor fault.
Many electronic air fryers use a temperature sensing component called a thermistor. Its electrical resistance changes as the surrounding temperature changes. The control board reads this signal to determine whether the heating element should continue producing heat.
If the sensor becomes defective, its readings may become unreliable or disappear completely. The control board may then detect an abnormal electrical signal and display an error rather than continuing to operate without accurate temperature information.
Temperature sensors can deteriorate through repeated heating and cooling, internal electrical failure, or physical damage. A defective sensor may have an open circuit, meaning electricity cannot flow through the sensing path as expected.
One possible clue is an E1 warning that appears immediately after the appliance receives power. In other cases, the error may develop during heating. However, neither symptom proves the sensor itself has failed because wiring and control board problems can produce similar behavior.
2. Loose or Damaged Temperature Sensor Wiring
The temperature sensor communicates with the control board through internal electrical wires and connectors. If these connections become loose, broken, or damaged, the control board may lose the information it needs to monitor cooking temperatures.
Internal wiring can deteriorate because of prolonged heat exposure, manufacturing defects, physical damage, or repeated expansion and contraction as the appliance warms and cools.
For instance, a partially damaged connection may work while the appliance is cool but become unreliable as the internal temperature increases. This could explain why an air fryer sometimes starts normally before displaying E1 during cooking.
A completely broken connection may prevent the control board from receiving a valid sensor signal at all.
However, damaged wiring cannot be confirmed simply by observing when the error appears. Inspecting internal sensor connections requires opening the appliance and performing electrical tests, which should be handled by a qualified technician.
3. A Malfunctioning Electronic Control Board
The control board is responsible for processing temperature readings and managing the air fryer’s operating functions. Even when the temperature sensor works correctly, a problem with the board may prevent it from interpreting the sensor signal.
Electronic control boards contain small circuits that process electrical information. A damaged component, defective circuit connection, or failure in the sensor input circuitry may interrupt temperature monitoring.
Sometimes, a control board fault produces several symptoms at once. You might notice unexpected shutdowns, unusual display behavior, or an error that appears whenever the appliance is switched on.
These symptoms can also result from sensor or wiring faults, so they aren’t enough to justify replacing the control board immediately.
A technician must check whether the sensor and its connections are operating correctly before determining that the control board is responsible.
4. Heat or Moisture Damage to Internal Components
Although air fryers are built to operate at high cooking temperatures, their electronic components must remain within safe operating conditions. Excessive heat around the electrical housing can damage wiring insulation, connectors, and other sensitive parts.
Blocked ventilation openings, unsuitable placement, or problems with the cooling system may contribute to excessive heat buildup. Over time, this can affect components involved in temperature monitoring.
Moisture exposure creates another potential problem. If water enters the appliance’s electronic housing during cleaning or through an accidental spill, it may damage electrical connections or contribute to corrosion.
You might suspect this type of damage if the error appears after a significant liquid spill or if the appliance has developed an unusual electrical smell.
However, neither heat nor moisture exposure is a confirmed explanation for every E1 warning. If your air fryer has been submerged, visibly damaged, or exposed to water internally, keep it unplugged and seek professional inspection rather than attempting to restart it.
Westinghouse Air Fryer E1 Error: DIY Fixes
Because the WHOF11KS manual identifies E1 as a fault requiring repair, there isn’t a confirmed home procedure that will reliably clear the warning. Nevertheless, several safe external checks can help you assess the appliance, identify unrelated operating problems, and prepare for professional diagnosis.
1. Turn Off the Air Fryer and Allow It to Cool
The safest first step is to disconnect your Westinghouse air fryer from its power supply as soon as the E1 warning appears.
Switch off the appliance if its controls are responding, then unplug it from the wall outlet using dry hands. Place it on a stable, heat resistant surface and allow the cooking compartment and removable parts to cool completely.
Avoid touching the basket or heating area immediately after the error appears. Even if the appliance has stopped operating, its internal surfaces may still be hot enough to cause burns.
Cooling the appliance helps make subsequent external checks safer. However, it doesn’t repair a defective sensor, damaged wiring, or faulty electronic component.
Do not repeatedly restart an air fryer displaying E1. On models where the manufacturer’s instructions require repair, repeated power cycling is not an appropriate substitute for professional diagnosis.
2. Check the Exact Model and Error Code
Before deciding what to do next, confirm your Westinghouse air fryer’s model number and the error displayed on its control panel.
This distinction matters because manufacturers don’t necessarily use identical error code definitions across every appliance. An E1 warning on one model may not have precisely the same diagnostic meaning on another.
Once your air fryer is unplugged and completely cool, locate the rating label, usually positioned on the underside or back of the housing. Write down the model number and look for the corresponding instruction manual.
For the Westinghouse WHOF11KS, the error guide provides these definitions.
| Error Code | Meaning | Manufacturer’s Guidance |
|---|---|---|
| E1 | Sensor fault | Appliance requires repair |
| E2 | Short circuit | Appliance requires repair |
| E3 | Appliance overheated | Allow cooling and follow the restart instructions |
| E4 | Heating element damaged | Appliance requires repair |
These definitions are specific to the WHOF11KS and shouldn’t automatically be applied to other models.
If your model’s instructions identify E1 as requiring repair, don’t attempt to clear it using an undocumented button combination or a factory reset procedure intended for a different appliance.
A reset may clear some temporary electronic problems, but it cannot restore a broken sensor or damaged electrical connection. Follow the specific guidance provided for your appliance.
3. Examine the Power Cord and Electrical Outlet
A damaged power cord or unsuitable electrical supply can cause various operating problems, including unexpected shutdowns or intermittent power loss.
Although these faults aren’t established direct causes of the E1 sensor warning, checking the external power supply can help identify other issues that may need attention.
Begin by inspecting the unplugged power cord for visible damage. Look for cracked insulation, exposed wires, discoloration, or melted areas around the plug.
If the cord appears damaged, do not reconnect the appliance. It should be examined or replaced by an appropriately qualified person.
Next, inspect the wall outlet without touching any exposed electrical contacts. If there are no signs of damage, you can check whether it works normally using another suitable household appliance.
Avoid overloaded extension cords and power strips. Also, check that the appliance’s electrical rating matches the available supply.
For example, the Westinghouse WHOF11KS is specified for a 220 to 240 volt electrical supply, which differs from standard 120 volt household outlets in the United States. Other models may have different requirements.
An incompatible power supply can create serious electrical problems, so never attempt to operate the appliance using an unsuitable adapter.
If the outlet works properly but your air fryer continues displaying E1, a sensor circuit problem remains a strong possibility. The next step should be professional assessment rather than further attempts to restart it.
4. Clean the Basket and Check the Ventilation Openings
Regular cleaning helps prevent grease buildup and improves the appliance’s general operating condition. Although cleaning isn’t a confirmed repair for E1, it can help you identify maintenance issues that may contribute to excessive heat or other problems.
First, disconnect the power and allow the appliance to cool completely.
Remove the cooking basket and crisper plate, then check for accumulated grease, crumbs, and burned food particles. These deposits can become particularly noticeable after cooking fatty foods or using the appliance repeatedly without cleaning.
Westinghouse recommends washing suitable removable baskets and crisper plates using warm, soapy water and a nonabrasive sponge. For stubborn grease, the manufacturer suggests soaking the basket for approximately 10 minutes before gently cleaning it.
Dry the components thoroughly before putting them back into the appliance.
Next, examine the accessible cooking compartment. Use a slightly damp cloth to remove loose residue from surfaces that your manual permits you to clean.
Avoid spraying water into the appliance, pouring cleaning solutions through its ventilation openings, or inserting sharp objects near the heating element.
Check the air inlet and outlet openings for visible blockages. Make sure surrounding objects aren’t covering them and that the appliance has the clearance specified in its instructions.
If food residue has accumulated around the heating element, follow the manufacturer-approved cleaning method for your specific model. Never dismantle the element or its protective housing.
Once the appliance is clean, leave it disconnected if E1 was displayed. Cleaning may address grease or airflow problems, but it doesn’t confirm that the temperature sensing system is safe to operate.
5. Look for Signs of Physical or Electrical Damage
A careful external inspection may provide useful information about what caused the E1 warning. It can also help you identify conditions that require urgent professional attention.
With the air fryer unplugged and completely cool, inspect its outer housing, accessible cooking compartment, and removable components.
Look for signs such as:
- Melted plastic or unusual discoloration around the housing.
- Scorch marks near accessible ventilation openings.
- Cracked or damaged external panels.
- Evidence of liquid entering the main appliance.
- A persistent burning smell that developed before the error appeared.
If you notice any of these signs, stop troubleshooting and arrange professional inspection.
Keep in mind that an air fryer can have a defective temperature sensor without showing any visible damage. A failed electrical connection may also be hidden inside the housing.
Don’t remove screws, open the control panel, or attempt to locate the sensor yourself. Internal electrical components may present a shock hazard, and opening the appliance can affect its warranty.
Instead, make a note of any unusual observations. This information can help a repair technician determine which components require testing.
6. Contact Westinghouse Customer Support or a Qualified Technician
If your Westinghouse air fryer displays E1 and the instruction manual identifies a sensor fault requiring repair, professional assistance is the appropriate solution.
A qualified appliance technician can assess the temperature sensor and its electrical circuit using suitable diagnostic equipment.
Depending on the findings, the technician may need to check the sensor’s resistance, examine wiring continuity, inspect electrical connectors, or evaluate the control board.
These checks help distinguish a defective sensor from a damaged connection or electronic control fault.
If the sensor has failed, replacing it with a compatible component may resolve the problem. However, if the wiring or control board is responsible, replacing the sensor alone won’t provide a lasting repair.
For Westinghouse small appliances sold in Australia, you can contact customer support using the following details.
- Website: westinghousesmallappliances.com.au
- Phone: 1300 883 109
- Email: info@westinghousesmallappliances.com.au
Support arrangements may differ in other countries, so use the contact information provided with your appliance if it was purchased outside Australia.
Before contacting the manufacturer or a technician, prepare the model number, proof of purchase, and a description of the error.
Also, explain whether E1 appeared immediately after startup or during cooking. Mention any previous overheating, liquid exposure, or unusual display behavior.
If the air fryer is still under warranty, contact the retailer or manufacturer before arranging an independent repair.
For example, the Westinghouse WHOF11KS is advertised with a 12 month limited warranty, subject to its applicable terms.
If your appliance is older, request a repair estimate and compare it with the cost of replacing the unit. A straightforward sensor replacement may be worthwhile, while extensive electronic damage can make replacement a more practical choice.
Wrapping Up
The Westinghouse air fryer E1 error commonly indicates a temperature sensor problem, although damaged wiring or electronic control faults may produce similar symptoms. Recognizing when the warning appears and checking your model’s instructions can help you determine the appropriate response without risking further damage.
Start by unplugging the appliance and allowing it to cool completely. Check for visible external problems, but avoid opening the housing or attempting undocumented resets. If your manual identifies E1 as a fault requiring repair, contact Westinghouse support or a qualified technician for a reliable diagnosis and safe solution.