On several Anko models, this warning points to a problem in the temperature sensor circuit. A few safe checks are worth trying, but a persistent sensor fault generally needs professional attention rather than a home repair.
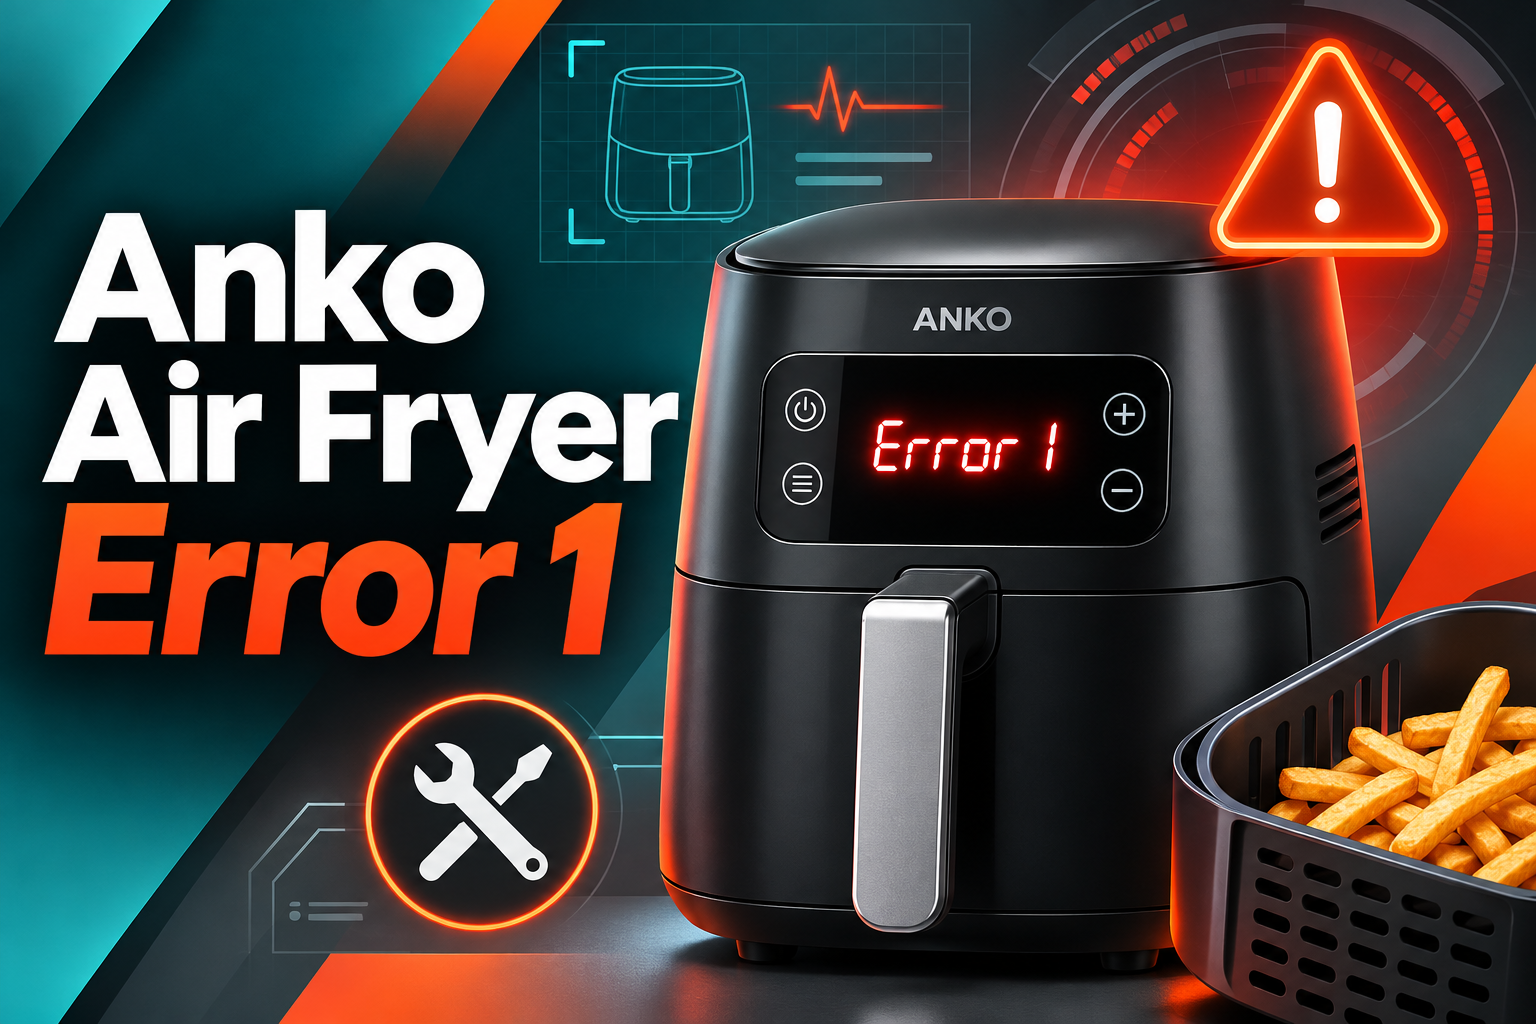
What Does Error 1 Mean on an Anko Air Fryer?
Error 1 on an Anko Air Fryer generally indicates an open circuit in the temperature sensing system. This means the electronic control board isn’t receiving the expected electrical signal from the temperature sensor. The warning may appear as E1 or E-1, depending on the model.
Anko’s AF7026 user manual identifies E1 as a sensor break fault, while the KAF228 Vertical Twin Air Fryer manual describes it as a broken thermal sensor circuit. The SAT15003 air fryer oven also identifies E-1 as an open circuit in its baking temperature sensor. These descriptions point to a similar electrical problem, although troubleshooting instructions differ between models.
Your air fryer relies on temperature sensors to monitor heat inside the cooking chamber. The sensor sends information to the control board, which uses the readings to regulate the heating element. This helps the appliance maintain the selected cooking temperature.
When the sensor circuit becomes interrupted, the control board may lose access to reliable temperature information. Consequently, the appliance may display E1 and prevent normal cooking. The warning doesn’t necessarily mean the sensor itself is defective, since damaged wiring or faulty electrical connections can produce a similar problem.
You might notice the error immediately after switching on the air fryer or while cooking. If the warning returns after a restart, avoid continuing to use the appliance. A faulty temperature monitoring system can interfere with proper heating regulation, making professional diagnosis necessary.
Anko Air Fryer Error 1 [FIXED]: Common Causes
Several internal electrical problems can interrupt communication between the temperature sensor and control board. Understanding these possible causes will help you recognize the warning signs and avoid replacing components unnecessarily.
1. Faulty Temperature Sensor
A defective temperature sensor is one of the most relevant explanations for Anko Air Fryer Error 1.
Most electronically controlled air fryers use a temperature sensing component called a thermistor. Its electrical resistance changes as the surrounding temperature changes, allowing the control board to monitor heat inside the appliance.
If the sensor develops an internal break, its electrical circuit may become open. The control board can no longer obtain a valid reading, so it may display E1 instead of allowing the appliance to operate normally.
Sensor faults can develop because of component deterioration, damage, or other electrical problems. While the sensor is designed to operate under normal cooking conditions, it can eventually become defective.
One possible clue is an E1 warning that appears immediately after switching on the appliance, even when the cooking chamber is completely cool.
If the error continues after disconnecting the air fryer and reconnecting it according to the manufacturer’s instructions, an internal sensor circuit fault becomes more likely.
However, the warning alone doesn’t prove that the thermistor needs replacement. A qualified technician must test the relevant components to identify the actual problem.
2. Loose or Damaged Temperature Sensor Wiring
Your air fryer’s temperature sensor depends on electrical wiring to communicate with the control board.
If a wire becomes damaged or a connector develops a poor connection, the sensor’s signal may be interrupted. The control board can interpret this interruption as an open circuit even when the temperature sensor itself is still functioning correctly.
Several conditions can contribute to wiring problems. Internal connections may deteriorate over time, while physical impacts can damage connectors or wiring.
For example, if your air fryer was recently dropped or knocked against a hard surface, the impact could potentially affect an internal electrical connection.
You may notice an error that appears repeatedly or develops intermittently. However, these symptoms aren’t enough to distinguish a loose connection from a defective sensor.
Avoid opening the appliance to inspect or reconnect wires yourself. Internal electrical repairs require appropriate training and testing equipment.
3. Defective Electronic Control Board
The electronic control board manages important air fryer functions, including cooking settings, temperature monitoring, and heating regulation.
When the temperature sensor sends an electrical signal, the control board processes that information to determine how the heating system should operate.
If the part of the board responsible for receiving sensor information becomes defective, the appliance may report a sensor circuit problem.
Possible causes include damaged circuit components, failed electrical connections, or faults within the temperature monitoring circuit.
You might suspect a control board problem if the air fryer displays E1 repeatedly or develops other electronic symptoms, such as unresponsive controls or unexpected shutdowns.
However, these symptoms aren’t exclusive to control board failures. A broken sensor wire may produce a similar warning without any damage to the main board.
For this reason, replacing the control board should never be the first troubleshooting step.
A technician needs to establish whether the fault originates from the sensor, its connections, or the electronic controls before recommending replacement parts.
4. Moisture or Physical Damage to Internal Components
Moisture entering an air fryer can damage internal electrical components and connections.
Although the cooking chamber is designed to handle moisture released from food, the appliance’s electronic housing should remain protected from water and cleaning liquids.
If water enters through the ventilation openings or reaches the control circuitry, it may cause corrosion or other electrical problems.
Likewise, a significant impact can damage internal components, including the temperature sensing circuit.
For example, an air fryer that begins displaying E1 after being dropped or exposed to liquid may have suffered internal damage.
However, moisture and physical impacts are possible contributing factors rather than confirmed causes in every case.
If you notice water inside the electrical housing, damaged casing, or other signs of serious physical damage, don’t attempt to restart the appliance. Arrange professional inspection before using it again.
Anko Air Fryer Error 1 [FIXED]: DIY Fixes
Since E1 usually indicates a temperature sensor circuit problem, the safest troubleshooting approach is to rule out temporary operating issues before considering internal repairs. Some checks can be completed at home, but a confirmed sensor circuit fault requires professional attention.
1. Confirm the Error Code and Air Fryer Model
Before attempting any repairs, identify the exact error displayed on your air fryer.
Anko manufactures different air fryer models, and their error codes may appear differently. For example, some appliances display E1, while the SAT15003 air fryer oven uses E-1.
Although these codes have similar meanings on the models mentioned earlier, you should still check the instructions for your particular appliance.
Start by locating the model number on the product label. Depending on the design, this label may be underneath or on the back of the air fryer.
Unplug the appliance and allow it to cool completely before moving it to inspect the label.
Once you’ve identified the model, consult its user manual and look for the troubleshooting section.
Pay attention to the difference between E1 and E2. On several Anko models, E1 indicates an open temperature sensor circuit, while E2 indicates a short circuit in the sensing system.
An open circuit means the expected electrical path has been interrupted. A short circuit occurs when electricity takes an unintended path through a connection.
Both faults require proper diagnosis, but their underlying causes may differ.
2. Unplug the Air Fryer and Perform a Power Reset
Disconnecting your Anko Air Fryer from electricity is a reasonable first check if the appliance shows no signs of electrical damage or overheating.
A restart may clear a temporary electronic operating problem. However, it won’t repair a physically broken sensor or disconnected wire.
For the Anko SAT15003 air fryer oven, the manufacturer recommends unplugging the appliance, opening its door, and waiting approximately 8 to 10 minutes before restarting it when E-1 appears.
Other models may have different instructions. Therefore, follow the procedure specified in your user manual whenever one is available.
For a basic restart, follow these steps.
-
Switch off the air fryer using its power button.
-
Disconnect the plug from the wall outlet.
-
Leave the appliance on a stable, heat resistant surface.
-
Allow it to cool completely if it was recently operating.
-
Check that the appliance is dry and shows no visible damage.
-
Reconnect it to a suitable power outlet.
-
Switch it on and observe whether the error disappears.
If E1 clears and the appliance operates normally, the warning may have been temporary.
However, if the error returns immediately or appears again during cooking, stop using the air fryer.
Repeatedly disconnecting and reconnecting an appliance with a persistent sensor fault won’t resolve the underlying electrical problem.
3. Check the Power Cord and Wall Outlet
A poor power connection can cause an air fryer to behave unexpectedly, particularly when the electrical supply is interrupted.
Although an unsuitable outlet isn’t an established cause of E1, checking the external power supply helps eliminate other faults that could interfere with normal operation.
Start by unplugging the air fryer and examining its power cord.
Look for cracked insulation, exposed wires, damaged plug pins, or discoloration around the plug.
If you notice signs of burning, melting, or other electrical damage, don’t reconnect the appliance.
A damaged power cord should be replaced by an appropriately qualified professional using a suitable replacement.
If the cord appears normal, check whether the wall outlet supplies electricity by testing it with another suitable household appliance.
You can also try connecting the air fryer directly to another compatible, properly grounded wall outlet, provided there are no signs of appliance damage.
Avoid overloaded power boards and unsuitable extension cords. Air fryers consume considerable electrical power, so the supply must meet the requirements printed on the product’s rating label.
If the appliance powers on but still displays E1, the power connection is unlikely to explain the sensor circuit warning.
At that point, further outlet testing won’t address the likely internal fault.
4. Check Ventilation and Allow the Appliance to Cool
Proper ventilation helps prevent excessive heat from accumulating around an air fryer’s internal components.
During cooking, the appliance uses a fan to move hot air around the food. Its ventilation openings also help manage heat within the housing.
If these openings become blocked, the appliance may experience abnormal heating conditions or unexpected shutdowns.
For example, placing the air fryer directly against a wall or surrounding it with other kitchen equipment can interfere with airflow.
However, restricted ventilation isn’t a confirmed direct cause of E1. The purpose of this check is to eliminate a separate operating problem that may be affecting the appliance.
Make sure the air fryer is unplugged and completely cool before moving it.
Place it on a stable, dry, heat resistant countertop, leaving adequate space around the air inlet and outlet.
Follow the clearance requirements in your model’s instructions. For instance, the Anko AF7026 manual specifies at least 20 cm of clearance at the sides and back, while the KAF228 manual calls for at least 30 cm around the appliance, including above it.
Don’t assume these measurements apply to every Anko model.
Also, avoid placing the air fryer near a gas burner, oven, or another strong heat source.
Once the appliance is cool, check whether dust or grease is visibly blocking any external ventilation openings. Gently remove accessible surface dirt with a soft, dry brush.
Avoid inserting tools into the vents or spraying cleaning products through them.
If the air fryer previously became unusually hot or produced a burning smell, don’t restart it simply because you’ve improved its ventilation. Arrange professional inspection instead.
5. Clean Accessible Parts and Check for Moisture
Keeping your Anko Air Fryer clean can help prevent unwanted smoke, unpleasant smells, and other operating problems.
Grease and food residue can accumulate inside the cooking chamber, especially when preparing fatty foods such as sausages, chicken wings, or bacon.
Although this buildup doesn’t normally explain an open temperature sensor circuit, cleaning the appliance allows you to check for visible damage and moisture.
Begin by unplugging the air fryer and waiting until it has cooled completely.
Remove the cooking basket, tray, or other detachable accessories according to the manufacturer’s instructions.
Wash the removable parts using warm water, mild dish soap, and a soft sponge.
If grease has hardened, allow the affected parts to soak briefly before cleaning them.
Avoid sharp tools and abrasive cleaning materials that could damage protective coatings.
For the main appliance, gently wipe accessible surfaces with a slightly damp cloth. Don’t allow water to enter the control panel, ventilation openings, or electrical housing.
Never immerse the main unit in water or rinse it under a running faucet.
After cleaning, allow all components to dry completely before reinstalling them.
If you notice moisture around electrical openings, evidence of liquid entering the housing, or visible physical damage, don’t reconnect the appliance. It should be inspected by a qualified professional.
You should also check that the basket is correctly fitted, since an improperly positioned basket can prevent certain Anko models from starting.
However, a basket positioning problem is separate from an E1 sensor circuit warning.
If the error remains after these basic checks, additional cleaning is unlikely to resolve it.
6. Contact Kmart Customer Support or a Qualified Technician
If Error 1 continues appearing after the recommended checks, professional diagnosis is the safest next step.
Anko’s AF7026 manual recommends repair by a qualified electrician for E1 and E2 faults. Similarly, the KAF228 manual instructs users to contact customer service when either code appears.
For the SAT15003 air fryer oven, the instructions recommend returning the appliance to Kmart if E-1 remains after the specified restart procedure.
These recommendations reflect the fact that an open temperature sensor circuit may require internal electrical testing.
A qualified technician can examine the relevant components and determine whether the fault involves the temperature sensor, its wiring, or the control board.
Before requesting assistance, gather the following information.
-
Model number: The exact model printed on the appliance label.
-
Error code: Whether the display shows E1, E-1, or another warning.
-
When the error appears: Immediately after switching on or during cooking.
-
Other symptoms: Unexpected shutdowns, unusual heat, damaged controls, or abnormal noises.
-
Recent events: Any physical impact, moisture exposure, or electrical problem.
-
Checks completed: The troubleshooting methods you’ve already attempted.
Providing these details can make it easier for the service representative to understand the problem.
For customers in Australia, Kmart lists 1800 124 125 as its general customer service number. Some Anko air fryer manuals also provide model specific support contacts, so check the information supplied with your appliance.
If your air fryer is still covered by its warranty, contact Kmart before arranging repairs.
Warranty coverage varies by model. For example, the KAF228 manual specifies a 12 month warranty, subject to the applicable terms and consumer rights.
Keep your purchase receipt or other proof of purchase available when requesting service.
Avoid opening the housing or replacing internal components yourself, since unauthorized repairs may affect warranty coverage and introduce electrical safety risks.
If the warranty has expired, ask for a repair estimate before purchasing replacement parts.
A defective temperature sensor or connection may be practical to repair, depending on the appliance’s construction and the availability of compatible components.
However, if the control board has failed, the repair could be more expensive.
Comparing the estimated repair cost with the price of a replacement appliance can help you make a sensible decision.
Wrapping Up
Anko Air Fryer Error 1 generally points to an interrupted temperature sensor circuit, although the exact diagnosis depends on the model and condition of the appliance. A safe power restart and basic external checks can help rule out temporary operating problems, but they won’t repair damaged internal components.
If E1 remains on the display, avoid forcing the air fryer to continue cooking. Contact Kmart support or a qualified technician to identify the faulty component. Proper diagnosis will help you determine whether repair or replacement is the safest and most practical solution.