Fortunately, this error doesn’t always mean your air fryer needs an expensive repair. Sometimes, the problem is related to cold storage conditions and can be resolved with a simple reset. However, persistent errors may indicate an internal fault that requires professional attention.
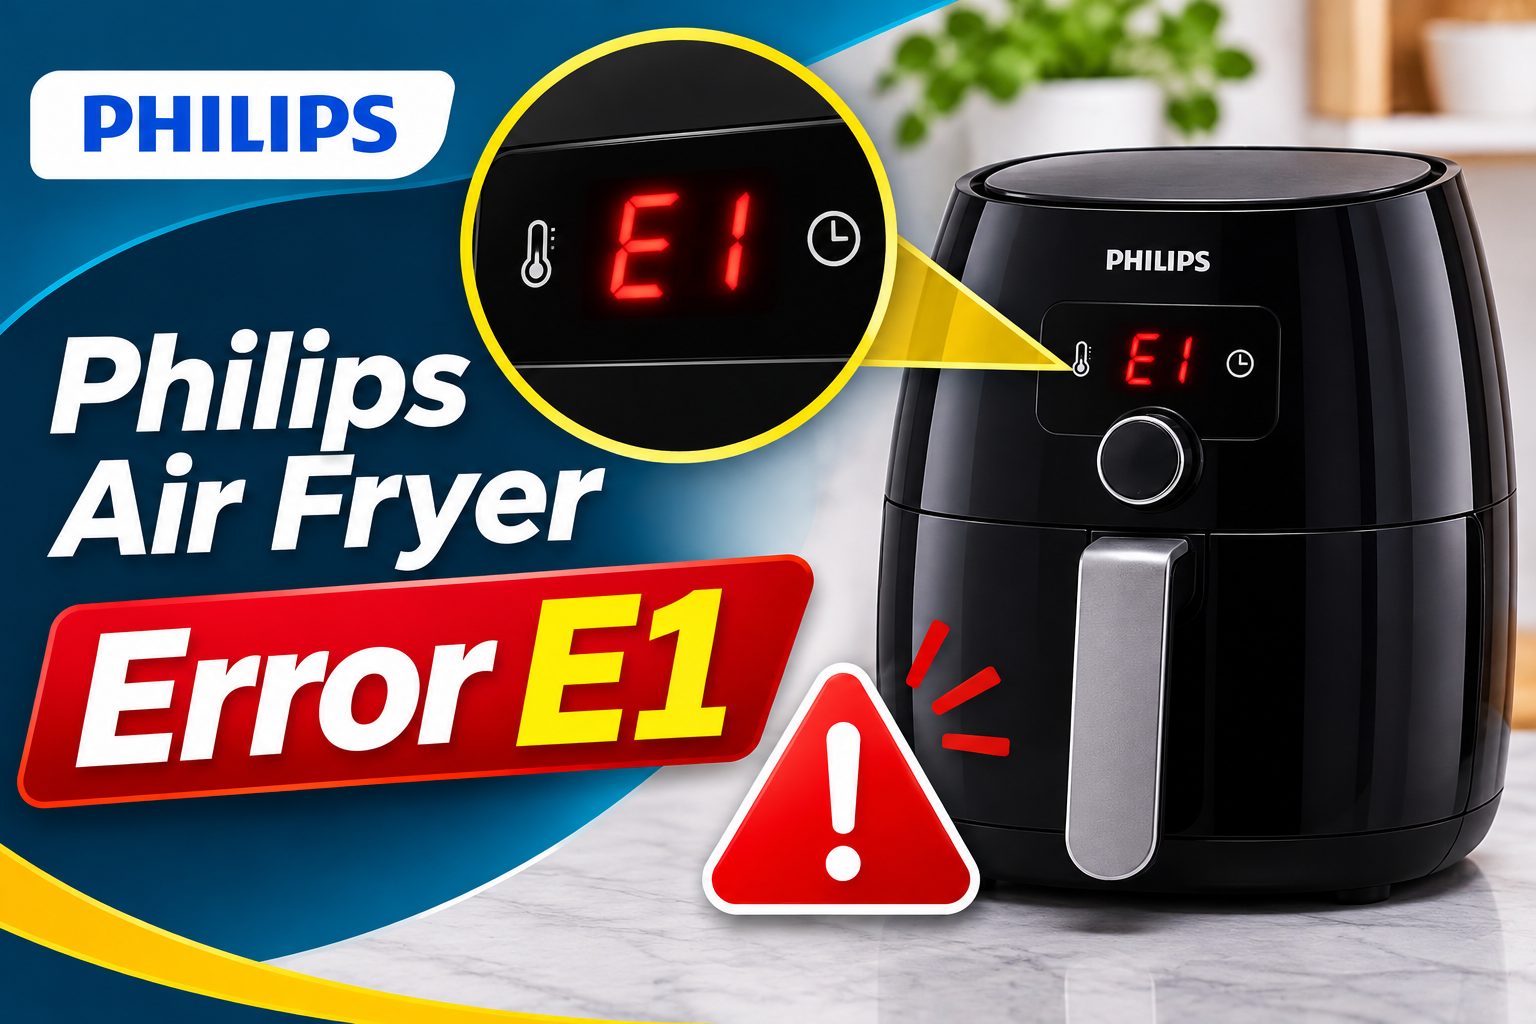
What Does Error E1 Mean on a Philips Air Fryer?
The E1 error code on a Philips Air Fryer generally indicates that the appliance has detected a problem that may prevent normal operation. According to Philips, one possible explanation is that the appliance has been stored somewhere too cold. If the error remains after the air fryer reaches room temperature, an internal defect may be responsible.
Your Philips Air Fryer uses a heating element and a fan to circulate hot air around food. Its electronic controls help regulate cooking temperature and time. Depending on the model, internal sensors also provide information that allows the appliance to monitor operating conditions.
When E1 appears, the display may continue working even though the air fryer won’t begin cooking. In other cases, the warning may appear after the appliance has been moved from a cold location. The exact behavior can vary between models, so the error alone doesn’t identify which internal component has failed.
It’s also worth distinguishing E1 from other Philips error messages. For example, some Philips models use error code 0x1002 for a similar low temperature condition. Certain models may use different codes for related problems. Therefore, checking your specific model’s instructions is important before attempting a repair.
Until the warning has cleared and the air fryer operates normally, avoid using it to prepare food. Repeatedly attempting to start a malfunctioning appliance won’t identify the cause and could delay an appropriate repair.
Philips Air Fryer Error E1: Likely Causes
The E1 error can have a straightforward explanation, although some cases involve a more serious internal problem. Understanding the possible causes will help you determine which checks are worthwhile and when professional diagnosis becomes necessary.
1. Air Fryer Stored in a Cold Environment
One of the clearest explanations for Philips Air Fryer error E1 is exposure to low temperatures. Philips specifically identifies cold storage as a possible reason for this warning, particularly when the appliance has been kept in an environment below its normal operating conditions.
For example, you might notice the error after bringing your air fryer indoors from an unheated garage, a cold storage room, or another chilly location. The appliance’s internal temperature may still be too low even when the surrounding kitchen already feels comfortable.
This can happen because electronic components and the appliance’s housing take time to adjust to a warmer environment. The control system may detect an unsuitable temperature condition and display E1 rather than proceed with normal operation.
A useful clue is when the error first appeared. If your air fryer worked before being stored somewhere cold and now shows E1 immediately after being plugged in, temperature exposure deserves attention.
In such circumstances, Philips recommends disconnecting the appliance and allowing it to reach room temperature before trying again.
2. Faulty Internal Temperature Sensor
Another possible explanation is a problem with the appliance’s internal temperature sensing system.
Temperature sensors help electronic appliances determine operating conditions. In an air fryer, temperature information is important because the control system needs to regulate heating during cooking.
If a sensor becomes defective, its readings may no longer accurately reflect the actual temperature. Depending on the appliance’s design, the control electronics may recognize an invalid reading and prevent normal operation.
However, a faulty temperature sensor isn’t the confirmed cause of every E1 error. Philips identifies cold storage and possible internal defects without specifying one faulty component across all models.
You may suspect an internal sensing problem if E1 persists after the appliance has spent enough time in a normal room temperature environment.
Still, a technician would need to examine the appropriate components to establish the actual fault. Replacing a temperature sensor without confirming that it’s defective could leave the original problem unresolved.
3. Loose or Damaged Internal Electrical Connections
A temperature sensor can only provide useful information when its electrical connections are functioning correctly. If an internal connection becomes loose, damaged, or unreliable, the control system may receive incorrect information.
Air fryers contain wiring and connectors that link their electronic controls to other components. Over time, these connections can potentially develop faults. Physical damage can also affect internal wiring, particularly if an appliance has suffered a significant impact.
For example, an interrupted sensor connection could potentially produce symptoms similar to those caused by a defective sensor. The sensor itself might be functional, but its signal may not reach the control electronics correctly.
Nevertheless, Philips hasn’t established loose wiring as a general E1 diagnosis across its air fryer models. It’s a possible internal fault that a repair technician may consider after ruling out the manufacturer’s recommended checks.
You generally won’t be able to distinguish this problem from a faulty sensor by looking at the display. Both may produce persistent operating errors, while the actual cause remains hidden inside the appliance.
Don’t remove the air fryer’s casing or attempt to reconnect internal wires yourself. Electrical components can present a shock hazard, and opening the appliance may affect warranty coverage.
4. Defective Electronic Control System
Your Philips Air Fryer relies on electronic controls to process temperature information, manage cooking settings, and operate its heating system.
When part of this control system develops a fault, the appliance may be unable to carry out its normal functions. Depending on the design and nature of the failure, the display may show an error instead of allowing a cooking cycle to begin.
Possible internal electronic problems include defective control components or circuits that can’t process incoming sensor information correctly.
However, a persistent E1 warning doesn’t automatically prove that the main circuit board needs replacement. Replacing an electronic control board can be unnecessary if a different component is responsible.
If your air fryer repeatedly displays E1 under normal operating conditions, professional diagnosis is the safest approach. A qualified technician can determine whether the problem involves the control system, temperature sensing components, or another internal fault.
Philips Air Fryer Error E1: How to Fix
Some E1 errors can be resolved without opening the appliance or replacing any parts. The safest approach is to begin with Philips’ recommended temperature adjustment procedure, then check for other obvious problems before requesting service.
1. Unplug the Air Fryer and Allow It to Reach Room Temperature
This should be your first troubleshooting step, particularly if the air fryer was recently stored somewhere cold.
Philips recommends allowing the appliance to adjust to normal room temperature before reconnecting it. This gives components that have been exposed to cold conditions time to warm naturally.
Follow these steps.
-
Switch off the air fryer if the controls respond.
-
Unplug its power cord from the wall outlet.
-
Place the appliance on a dry, stable kitchen countertop.
-
Leave it unplugged for at least 30 minutes.
-
Reconnect the power cord once the appliance has adjusted to room temperature.
-
Check whether the E1 error has disappeared.
If cold storage was responsible, the warning may clear and allow the appliance to operate normally again.
However, avoid placing the air fryer beside a heater, inside an oven, or in direct contact with another heat source to speed up the process. Letting it warm naturally is safer.
Also, don’t assume that 30 minutes will be sufficient if the appliance remains noticeably cold. A large temperature difference may require more time for its internal components to reach room temperature.
2. Check the Storage Location and Look for Moisture
If your air fryer has recently been moved, pay attention to the environment where it was previously kept.
Moving a cold appliance into a warmer, humid room can sometimes allow condensation to form on its surfaces. Moisture and electrical equipment are a poor combination, especially when water reaches internal components.
This doesn’t mean condensation is a confirmed cause of Philips E1 errors. However, visible moisture is a safety concern that should be addressed before the appliance is connected to electricity.
Start by checking whether the exterior, control panel, or power cord appears damp. If you notice moisture, leave the appliance unplugged in a dry, well ventilated location until it has dried completely.
Avoid directing hot air from a hair dryer into the ventilation openings. Similarly, don’t insert cloths, brushes, or other objects through the vents in an attempt to dry internal components.
If water has entered the appliance, or you suspect liquid has reached its electrical parts, don’t reconnect it for testing. Contact a qualified appliance repair technician.
For everyday use, keep your air fryer in a dry location that meets the temperature conditions specified in its manual.
3. Inspect the Power Cord and Wall Outlet
Although Philips doesn’t identify a faulty wall outlet as a specific cause of E1, power connection problems can produce other operating symptoms that may appear alongside the warning.
For instance, an air fryer may fail to start properly if its plug isn’t fully inserted or its power supply is unreliable.
With the appliance unplugged, examine the power cord and plug for visible damage. Pay attention to cracked insulation, bent plug pins, discoloration, or signs of overheating.
If everything appears normal, you can check the outlet using another suitable household appliance. Alternatively, once the air fryer has reached room temperature, connect it directly to another compatible, properly grounded wall outlet.
Avoid overloaded power strips and extension cords. Air fryers draw considerable electrical power, so the outlet must be suitable for the appliance’s electrical rating.
If the air fryer powers up normally but still shows E1, the outlet probably isn’t the main issue. At that point, additional power testing is unlikely to resolve the warning.
If you notice a burning smell, sparking, melting, or visible electrical damage, stop immediately and seek professional assistance.
4. Confirm the Exact Error Code and Model Number
Before pursuing repairs, make sure you’re identifying the correct warning.
Philips produces several air fryer models, and their error messages aren’t always identical. Some display E1, while others may show a code such as 0x1002 for a related condition.
You should also distinguish an actual error code from blinking dashes. On certain connected Philips Air Fryers, blinking dashes indicate that a firmware update is taking place.
To identify your appliance, look for its model number on the product label. On many Philips Air Fryers, this information appears on a sticker underneath the appliance.
Unplug the appliance and allow it to cool completely before checking underneath. Remove loose accessories where appropriate, and secure the drawer so it doesn’t slide out while you’re handling the unit.
Once you have the model number, consult the relevant user manual or Philips’ official support information.
The instructions for your particular model will help you understand what the displayed code means and which troubleshooting steps are appropriate.
5. Restart the Appliance and Observe the Result
After completing the temperature adjustment and basic safety checks, you can try restarting the air fryer.
A fresh power connection may allow an appliance that was affected by cold conditions to resume normal operation. However, this procedure won’t repair a damaged sensor, defective circuit, or loose internal connection.
Make sure the air fryer is dry, has reached room temperature, and shows no signs of physical or electrical damage.
Then follow these steps.
-
Confirm that the appliance is switched off and unplugged.
-
Check that the basket and drawer are properly fitted.
-
Connect the plug directly to a suitable wall outlet.
-
Switch on the air fryer using its normal controls.
-
Observe the display before attempting any cooking.
If E1 has disappeared, the appliance may have recovered from the temporary condition that triggered it.
If the controls respond normally and no warning returns, follow your model’s operating instructions when using it again. Pay attention to unusual sounds, unexpected shutdowns, or other signs that something is wrong.
However, if E1 appears immediately after restarting, don’t keep disconnecting and reconnecting the appliance in the hope that the problem will disappear.
Repeated resets aren’t a substitute for diagnosing a persistent internal fault. The same applies if the code clears briefly but returns during normal use.
In either situation, stop using the air fryer and arrange professional assistance.
6. Contact Philips Support or a Qualified Appliance Technician
If the E1 error remains after the recommended checks, professional assistance is the appropriate next step.
Philips advises contacting its customer support team when the error continues after the appliance has adjusted to room temperature.
Before contacting support, gather a few useful details.
-
Model number: The exact model shown on the appliance label.
-
Serial number: Useful for identifying the product and checking service details.
-
Error code: Whether the display shows E1, 0x1002, or another warning.
-
When the error occurs: Immediately after powering on or during an attempted cooking cycle.
-
Recent conditions: Whether the appliance was stored in a cold location, moved, or exposed to moisture.
-
Troubleshooting already completed: Including the room temperature adjustment and restart.
These details can help the support representative determine what to recommend next.
If your appliance is still covered by its warranty, contact Philips or the designated service provider before authorizing repairs. Opening the casing or arranging unauthorized work could affect your warranty rights, depending on the applicable terms.
A technician may need to examine the internal temperature sensing system, electrical connections, or electronic controls. The appropriate repair depends on the fault found and the availability of approved replacement parts.
If the problem is limited to a replaceable component, repair may be practical. However, if the main electronic assembly is defective, the technician can explain whether replacing the component or the appliance makes better financial sense.
Wrapping Up
Philips Air Fryer error E1 can be caused by exposure to low storage temperatures, although a persistent warning may indicate an internal defect. Fortunately, allowing the appliance to reach room temperature and restarting it once may resolve the problem without requiring repairs.
The key is to recognize when simple troubleshooting is enough. If E1 remains after the recommended checks, avoid opening the appliance or repeatedly attempting to use it. Contact Philips support or an authorized repair technician to identify the fault and determine the safest way to restore normal operation.