The Ninja air fryer Plug In error can be confusing, especially when your appliance is already connected to a working electrical outlet. You might notice the message appearing when you select a cooking program, preventing the air fryer from starting even though the display and controls seem normal.
Fortunately, this message usually concerns the cooking temperature probe rather than the power supply. In many cases, checking the probe connection or changing the cooking settings can restore normal operation without repairs.
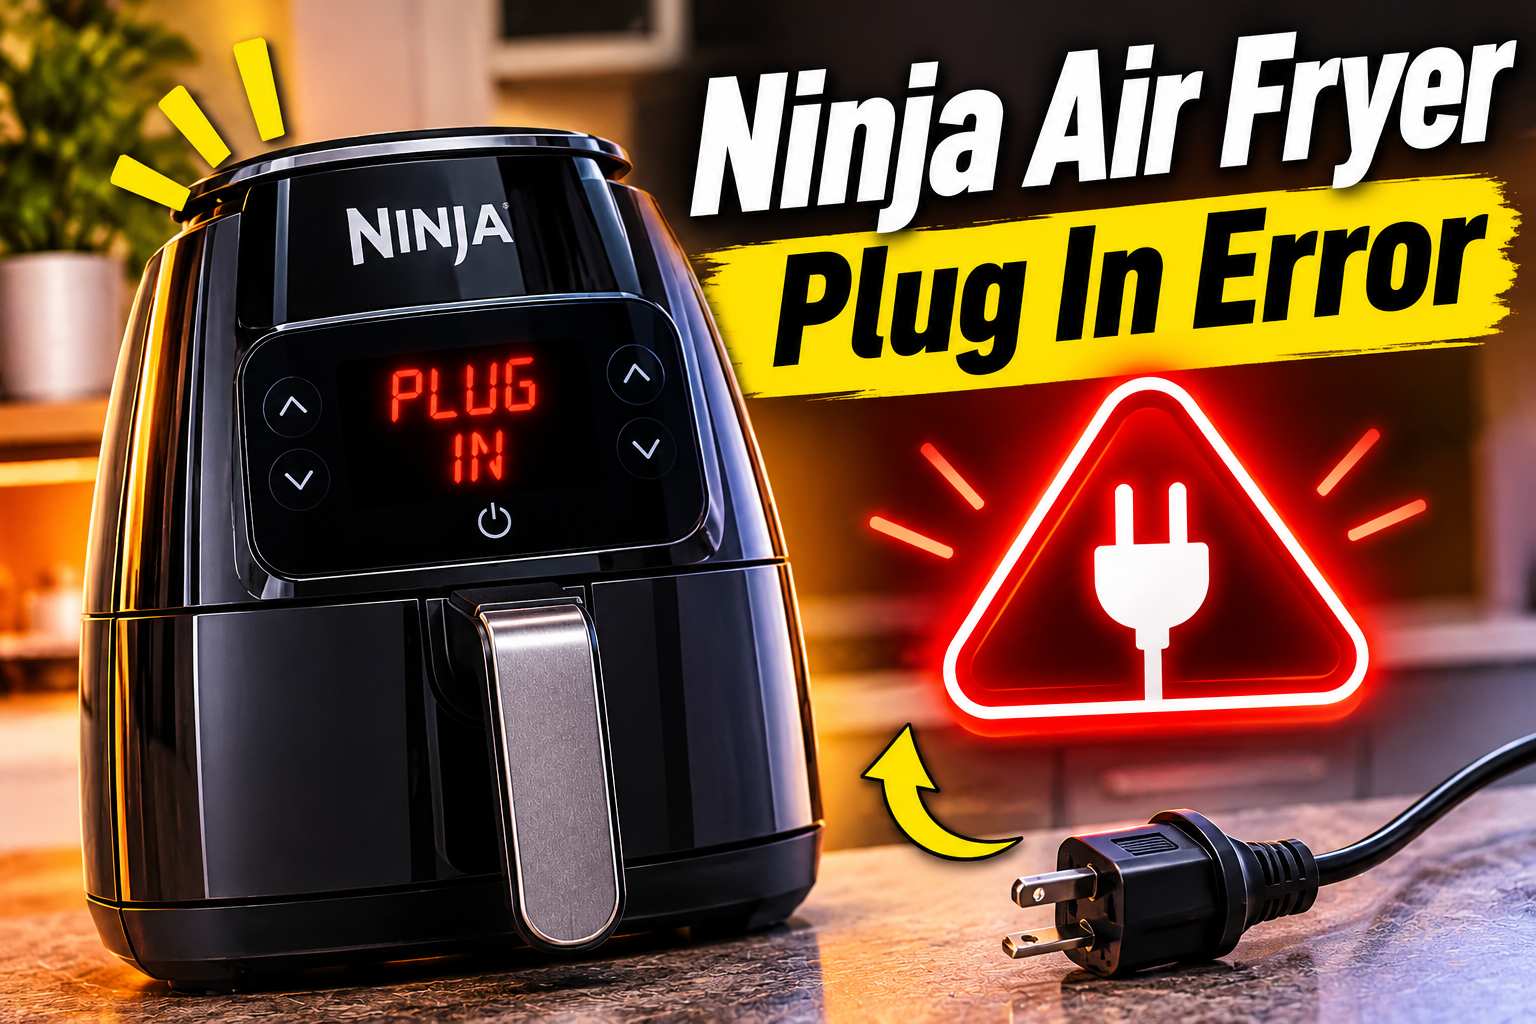
What Does the Ninja Air Fryer Plug In Error Mean?
The Plug In message on a Ninja air fryer generally means the appliance cannot detect its digital cooking probe. This applies to certain Ninja Foodi grills, air fryers, and multicookers equipped with a removable temperature probe.
The cooking probe is a metal thermometer connected to the appliance through a cable. You insert its tip into food, such as chicken, beef, or fish, allowing the air fryer to monitor the internal temperature during cooking. The appliance then uses this information to determine when the food has reached the selected temperature.
For example, models such as the Ninja Foodi MAX Grill AG551 and the Ninja Grill EG351 use a probe that plugs into a socket on the right side of the control panel. The Ninja Foodi MAX Dual Zone AF451 has its probe connection on the left side. When the required probe isn’t connected properly, the appliance may display Plug In and prevent the selected cooking program from starting.
Importantly, Plug In is usually an operating prompt rather than confirmation of a damaged component. On some Ninja Foodi pressure cookers, the message can also appear when a required thermometer cap hasn’t been inserted into the socket. If the message continues after everything is connected correctly, however, a damaged probe, faulty socket, or internal electrical problem may be responsible.
Ninja Air Fryer Plug In Error: Likely Causes
Several conditions can prevent your Ninja air fryer from recognizing its cooking probe. While a disconnected probe is the most direct explanation, incorrect settings and physical damage can produce similar symptoms.
1. The Cooking Probe Isn’t Connected
A missing cooking probe is the most straightforward explanation for the Plug In message. When you choose a cooking program that uses the digital thermometer, the appliance expects to detect the probe before beginning the cycle.
If nothing is connected to the probe socket, the control system may prevent cooking from starting. This helps avoid running a temperature controlled program without the sensor needed to monitor the food.
The situation often occurs when you’re preparing to cook meat and select a probe based program without connecting the thermometer first. You may also have removed the probe after a previous cooking session and forgotten to reconnect it.
On compatible Ninja Foodi grills, the display can show Plug In even though the main power cord is firmly connected and the appliance responds to button presses.
Before looking for an electrical problem, check whether your model has a removable cooking thermometer. If it does, locate the probe and confirm that its connector is attached to the designated socket.
2. The Wrong Cooking Setting Is Selected
Some Ninja air fryers offer both timed cooking and temperature controlled cooking using a probe. These settings determine how the appliance measures cooking progress and decides when the food is ready.
In a standard timed program, you select the cooking temperature and duration. The appliance runs for the chosen time without needing a removable food thermometer.
A probe based program works differently. It monitors the internal temperature of the food and can end cooking when the selected target is reached.
If you accidentally select a probe setting when you intend to use the regular timer, the appliance may request a thermometer connection before continuing.
This can happen when adjusting cooking options or using the appliance for the first time. On models with dedicated Probe, Preset, or Manual controls, selecting the wrong option may change how the cooking cycle operates.
A useful clue is that the Plug In message appears after you select a particular cooking setting, even though other functions previously worked normally.
If you don’t intend to use the cooking probe, switching to an ordinary timed cooking program may resolve the issue. However, the exact controls vary between Ninja models.
3. A Loose or Dirty Probe Connection
Your Ninja air fryer’s cooking probe must fit securely into its socket for the appliance to recognize it. A connection that appears correct from the outside may still be incomplete.
For example, the probe plug might be partially inserted, preventing its electrical contacts from connecting properly. Ninja specifically instructs users of several Foodi grill models to push the connector into the socket until it clicks into position.
Food residue, grease, or dust around the connection can also interfere with proper insertion. This becomes more likely if the probe socket is exposed to cooking splashes or the appliance hasn’t been cleaned regularly.
You may notice that the Plug In message disappears when the connector is properly seated but returns after the probe is disconnected.
A loose connection can also make the message appear intermittently. However, don’t repeatedly twist or force the plug in an attempt to establish contact.
If the connector looks dirty, cleaning the accessible area carefully may help. The appliance must be unplugged and completely cool before you attempt this.
4. A Damaged Cooking Probe or Cable
The cooking thermometer relies on an electrical cable to send temperature information to the air fryer’s control system. If this cable becomes damaged, the appliance may fail to detect the probe.
Repeated bending, improper storage, accidental pulling, and contact with hot surfaces can damage the probe assembly. A cable may also become pinched if it isn’t positioned according to the manufacturer’s instructions.
Visible damage can include exposed wires, cracked insulation, bent connectors, or a loose connection where the cable meets the probe.
Sometimes the cable appears normal even though an internal conductor has failed. In that case, the Plug In message may remain visible despite the connector being fully inserted.
Another clue is an error that begins after the probe has been dropped, pulled forcefully, or stored incorrectly.
Although replacing a removable probe may resolve the problem, the replacement must be compatible with your exact Ninja model. A probe intended for another appliance may have different electrical characteristics or connector dimensions.
5. A Faulty Probe Socket or Control Board
If the probe is connected correctly and shows no obvious signs of damage, the problem may involve the appliance’s electrical connection or control system.
The probe socket provides the connection between the removable thermometer and the internal electronics. If the socket is damaged, its electrical contacts may fail to recognize a working probe.
Possible problems include damaged contact surfaces, loose internal connections, or faults in the electronic circuit responsible for monitoring the thermometer.
You might notice that the Plug In message continues even after trying a confirmed compatible replacement probe. Other symptoms, such as inconsistent control responses or unexpected display behavior, may suggest a broader electronic issue.
However, a persistent Plug In message doesn’t automatically mean the control board has failed. The removable probe and external connection should be checked before considering expensive internal repairs.
Diagnosing the socket or electronic control board requires professional testing because these components are connected to the appliance’s electrical system.
Ninja Air Fryer Plug In Error: How to Fix
The best way to clear the Plug In message is to begin with the cooking probe and its settings. These simple checks are safer and more practical than opening the appliance or attempting electrical repairs.
1. Connect the Cooking Probe Properly
Start by checking whether the cooking thermometer is securely connected. This is the main solution recommended in Ninja’s troubleshooting instructions for models that display Plug In when the probe isn’t detected.
First, stop the current cooking program and allow the appliance to cool if it was recently operating.
Locate the thermometer socket on your particular model. On many Ninja Foodi grills, including the AG551, it’s positioned on the right side of the control panel. On the AF451 Dual Zone air fryer, it’s on the left.
Follow these steps to establish the connection.
- Remove the cooking probe from its storage compartment.
- Unwind the cable carefully and check that it isn’t tangled.
- Locate the appropriate probe socket on the appliance.
- Align the connector correctly with the socket opening.
- Push the plug firmly into position until it is fully seated. On applicable models, you should hear or feel a click.
- Check whether the Plug In message disappears.
If you’re using the Ninja AF451, follow the manufacturer’s instructions for removing the Zone 1 drawer and routing the probe cable. The digital cooking probe on this model is designed for Zone 1.
For other models, consult the instructions for the correct connection procedure.
Once the appliance recognizes the probe, select the required cooking program and temperature settings. If the message disappears and the program starts normally, the problem was likely an incomplete or missing connection.
2. Switch to a Standard Timed Cooking Program
If you don’t intend to use the cooking thermometer, check whether you’ve accidentally selected a probe based cooking mode.
Some Ninja Foodi models allow you to cook using either a timer or the internal temperature of the food. When the probe mode is active, the appliance may require the thermometer to be connected.
Cancel the current program using the appropriate control. Then select a regular cooking function, such as Air Fry, and set the cooking temperature and duration according to your model’s instructions.
Make sure you’re using the normal time adjustment controls rather than a probe temperature preset.
For example, certain Ninja Foodi grills allow you to select Air Fry and use the timer controls when the cooking probe isn’t required. The appliance can then run according to the selected duration.
However, some Ninja Foodi multicookers require a thermometer cap to remain installed when the probe isn’t being used. For those models, follow the manufacturer’s instructions rather than leaving the probe socket uncovered.
If the appliance operates normally in the correct mode, there may be nothing wrong with its electrical components.
If Plug In continues appearing in situations where your model shouldn’t require the probe, the connection or control system may need further attention.
3. Inspect and Carefully Clean the Probe Socket
A dirty probe connection can prevent proper electrical contact. If connecting the thermometer doesn’t clear the message, inspect the socket and surrounding area.
Start by switching off the air fryer and unplugging its main power cord. Allow the appliance to cool completely before handling the connector.
Disconnect the thermometer and examine the visible socket opening under good lighting. Look for food particles, grease, dust, or other material that might obstruct the plug.
On certain Ninja Foodi grill models, the manufacturer recommends using compressed air or a cotton swab to clean the probe jack.
If your model permits this cleaning method, use a clean, dry cotton swab to gently remove loose residue from the accessible socket opening. Avoid pushing the swab deeply into the connector or applying pressure to its contacts.
You should also observe these precautions.
- Never pour water or cleaning solution into the probe socket.
- Avoid metal objects, sharp tools, or abrasive cleaning materials.
- Don’t scrape, bend, or adjust the internal electrical contacts.
- Don’t attempt cleaning while the appliance is connected to power.
If moisture, corrosion, or stubborn grease is visible inside the connector, stop and arrange professional cleaning or inspection.
Once the accessible area is clean and completely dry, reconnect the probe according to the manufacturer’s instructions.
If the Plug In message disappears, an obstruction or poor connection may have been responsible. However, if the socket looks damaged or the message persists, further cleaning is unlikely to solve the underlying problem.
4. Examine the Cooking Probe and Replace It if Necessary
If the socket appears normal, inspect the removable cooking probe for visible damage. This helps establish whether the problem could be connected to the thermometer itself.
Unplug the appliance and allow the probe to cool before removing it. The metal thermometer can become extremely hot during cooking, so avoid touching it immediately after use.
Examine the probe’s metal shaft, electrical connector, and cable. Look for cracks, bent connector parts, melted insulation, exposed wiring, or other signs of physical damage.
Pay particular attention to the areas where the cable enters the connector and thermometer body. These points may experience stress if the cable is pulled or stored incorrectly.
If the cable has a visible cut or exposed wiring, don’t reconnect it to the appliance. Damaged probe assemblies should be replaced rather than repaired using tape or makeshift connectors.
You can also check whether the probe cable is being routed correctly during cooking. On models such as the Ninja AF451, the instructions explain how to position the cable so the drawer can close without interfering with the connection.
When replacing a damaged thermometer, use a genuine or manufacturer approved probe specifically compatible with your model.
A compatible replacement may resolve the Plug In message if the original probe was defective. However, if the error remains with a known working probe, the appliance’s socket or internal electronics may be responsible.
5. Restart the Air Fryer
A basic restart can help if the appliance’s controls have temporarily stopped responding after an interrupted cooking program or connection issue.
However, restarting the appliance won’t repair broken wires, damaged connectors, or a faulty thermometer.
Before restarting, make sure you’ve checked the probe connection and selected the correct operating mode.
Then follow these steps.
- Stop the current program using the Start/Stop or power control, as appropriate.
- Disconnect the appliance from the electrical outlet.
- Leave it unplugged for about one minute.
- Confirm that the probe and visible connection areas are free from damage.
- Reconnect the appliance to a suitable electrical outlet.
- Check the display and select the intended cooking program.
If you plan to use the cooking thermometer, connect it properly before beginning the program. If you’re cooking without a probe, follow the instructions for the appropriate timed mode.
Observe whether the Plug In message disappears and whether the control panel responds normally.
If everything works correctly, the interruption may have been temporary. However, the problem could return if the original cause was an unreliable electrical connection.
Avoid repeatedly restarting the appliance if Plug In continues appearing. Persistent errors should be investigated rather than bypassed.
6. Contact a Qualified Ninja Repair Technician
If the Plug In message remains after checking the cooking settings, reconnecting the probe, and inspecting the accessible parts, professional support may be necessary.
A qualified appliance technician can determine whether the problem involves the removable thermometer, probe socket, internal wiring, or electronic control system.
Professional attention is particularly important if the socket appears damaged, the appliance produces unusual electrical smells, or the error remains visible with a confirmed compatible replacement probe.
Before contacting Ninja customer support, locate the model number on the appliance’s rating label. Write down when the error appears and whether connecting the thermometer changes the display.
Also, mention any recent damage to the probe or appliance. This information can help identify the most appropriate repair or replacement option.
If your air fryer is still under warranty, contact Ninja or the authorized retailer before arranging independent repairs. Depending on the problem and warranty terms, a replacement probe or another service option may be available.
Don’t attempt to dismantle the control panel, replace internal connectors, or bypass the probe detection system. These repairs involve electrical components and should be handled by qualified professionals.
Wrap-Up
The Ninja air fryer Plug In error usually means the appliance isn’t detecting its cooking temperature probe. A missing thermometer, loose connection, or incorrect cooking setting can trigger the message, and these problems may be resolved through simple checks.
Start by connecting the probe correctly and confirming that you’ve selected the intended cooking program. If the error remains, inspect the accessible connection areas and check the probe for visible damage. When these methods don’t work, professional diagnosis can help identify the fault and restore normal cooking safely.