The E1 error commonly points to a problem with the temperature sensor connection. Fortunately, a few simple checks can help you rule out temporary faults and determine whether the appliance needs professional repair.
What Does the Hisense Air Fryer E1 Error Mean?
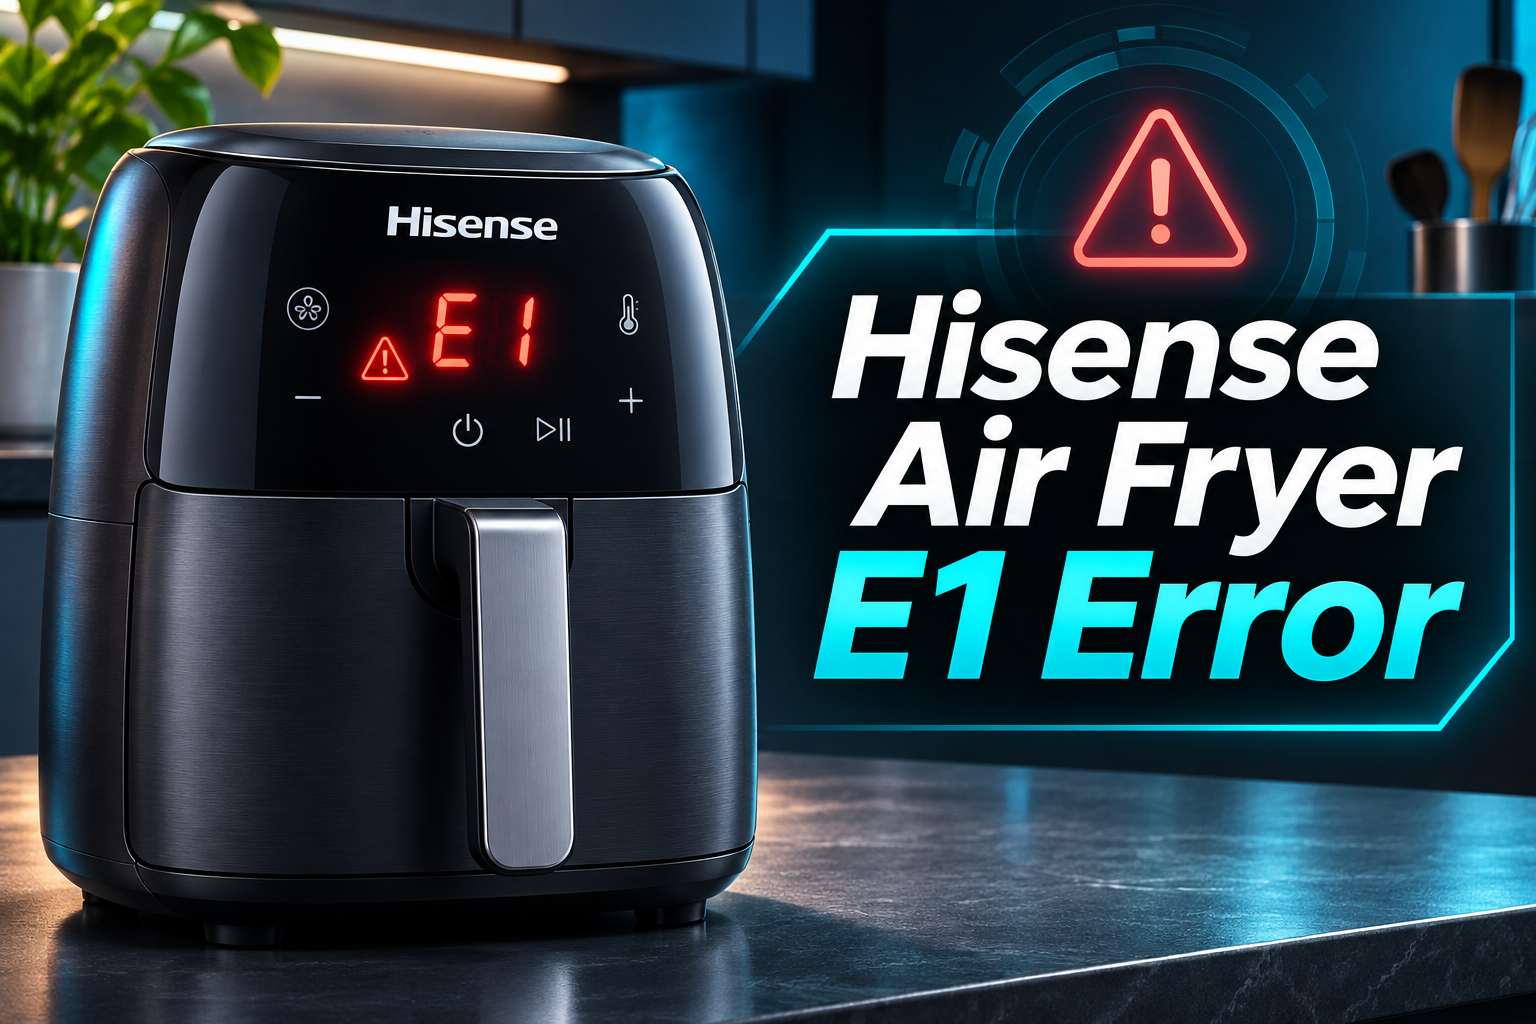
The Hisense air fryer E1 error indicates a problem with the temperature sensor circuit on certain models. For example, the Hisense H12AFBK2S4 manual describes E1 as a loose NTC sensor connection, while E2 indicates a short circuit in the sensor.
NTC stands for Negative Temperature Coefficient. This sensor monitors temperature changes inside your air fryer and sends information to the electronic control board. As the cooking chamber gets hotter, the sensor’s electrical resistance decreases, allowing the control system to monitor temperature.
When the sensor becomes disconnected, develops an internal fault, or loses electrical contact, the control board may stop receiving accurate temperature information. Consequently, the appliance can display E1 and interrupt its normal operation.
You might notice the error immediately after plugging in the air fryer or while selecting a cooking program. Some units may also stop heating unexpectedly. However, the exact symptoms depend on your Hisense model and the condition of its internal components.
Although E1 generally concerns the temperature sensing system on models that use this code, its meaning should be confirmed in your specific user manual.
Avoid continuing to operate your air fryer if E1 keeps appearing. A faulty temperature sensor circuit can prevent the appliance from controlling heat reliably, and the internal problem may require qualified inspection.
Hisense Air Fryer E1 Error: Common Causes
Several faults can interrupt communication between your air fryer’s temperature sensor and its control board. Understanding these possible causes can help you recognize useful warning signs without opening the appliance.
1. Loose Temperature Sensor Connection
A loose NTC sensor connection is a particularly relevant cause of the E1 error. In fact, the Hisense H12AFBK2S4 manual specifically associates this code with a loose NTC sensor.
The sensor connects to the appliance’s electronic controls through internal wiring and electrical connectors. If a connector becomes loose or loses contact, the control board may no longer receive the signal it expects.
Electrical connections can become unreliable because of heat exposure, manufacturing issues, or mechanical stress. The problem may be intermittent, especially if the connection makes contact sometimes but separates under certain conditions.
For example, your air fryer might work normally during one cooking session and display E1 during another. However, intermittent operation doesn’t prove that a connector is loose. A failing sensor or damaged wire can produce similar symptoms.
Since these connections are inside the appliance, checking them requires professional inspection. Avoid shaking or striking the air fryer in an attempt to restore the connection.
2. Faulty NTC Temperature Sensor
The NTC temperature sensor itself can also develop an internal fault that interrupts its electrical signal.
During normal operation, the sensor changes resistance as the temperature rises or falls. The control board reads these changes and uses the information to help regulate the heating element.
If the sensor’s internal electrical path breaks, the control board may detect an open circuit. This can produce an E1 error on models that use the code for a disconnected sensor circuit.
Repeated exposure to heat, component deterioration, or manufacturing defects may contribute to sensor failure.
A persistent E1 error that appears immediately after startup may indicate a complete interruption in the sensor circuit. However, the same symptom can occur with disconnected wiring or a damaged control board connection.
A technician can determine whether the sensor has failed by checking its electrical resistance against the specifications for the particular model.
3. Damaged Internal Wiring
Your Hisense air fryer relies on wires to carry information from the temperature sensor to the electronic control board.
If one of these wires becomes damaged, the electrical connection may be interrupted even when the sensor itself is working correctly.
Wiring problems can develop from excessive heat exposure, mechanical damage, or repeated movement of poorly supported connections.
For instance, a wire with an internal break might occasionally maintain contact when the appliance is cool but lose that connection as temperatures change.
You may notice the error appearing only after the air fryer has been running for some time. In other cases, damaged wiring can trigger E1 as soon as the unit receives power.
Unfortunately, the display cannot identify a particular damaged wire. Internal wiring checks require suitable testing equipment and knowledge of the appliance’s electrical system.
4. Faulty Electronic Control Board
The electronic control board manages your air fryer’s cooking programs, temperature settings, and heating operation.
It also receives information from the NTC sensor. If the board’s sensor input circuit develops a fault, the appliance may fail to interpret the temperature signal correctly.
A damaged connector on the board or a failed electronic component could produce symptoms similar to those of a disconnected sensor.
In some cases, you may also notice unusual display behavior, unresponsive controls, or cooking programs that stop unexpectedly.
However, these symptoms don’t automatically mean the control board is defective. They can also occur for other reasons.
Control board failure should generally be considered after a qualified technician has checked the temperature sensor and its connections.
Replacing the board without proper diagnosis can lead to unnecessary expense, especially if the underlying problem is simply a damaged sensor or connector.
5. Moisture or Corrosion Inside the Appliance
Moisture entering the electrical housing may affect the connections between the NTC sensor and control board.
Although air fryers handle moisture released during cooking, their internal electrical components should remain protected from liquid.
Water can enter inappropriate areas through accidental spills, improper cleaning, or physical damage to the housing.
If moisture reaches electrical connectors, it may contribute to corrosion. Over time, corrosion can interfere with electrical contact and potentially interrupt the temperature sensor circuit.
For example, an E1 error that appears after the appliance has been exposed to a significant liquid spill may indicate moisture related damage.
However, moisture exposure doesn’t automatically establish the cause of the error.
If you suspect liquid has entered the electrical housing, unplug the appliance immediately. Don’t attempt to dry internal electrical components with a hair dryer or operate the air fryer to remove moisture.
Professional inspection is necessary before using an appliance with suspected internal water damage.
Hisense Air Fryer E1 Error: DIY Fixes
Since the E1 error usually relates to the temperature sensor circuit, the safest approach is to begin with simple checks before considering internal repairs. These methods can help you eliminate temporary problems and identify situations that require professional assistance.
1. Unplug and Reset Your Hisense Air Fryer
Sometimes, an electronic appliance displays an error because its control system has experienced a temporary problem. Disconnecting the power allows the control board to restart.
Although resetting your air fryer won’t repair a damaged sensor or broken wire, it’s a reasonable first troubleshooting step.
Follow these instructions.
-
Turn off your Hisense air fryer using the power button.
-
Unplug the power cord from the wall outlet.
-
Allow the appliance to cool completely.
-
Leave it unplugged for approximately 15 minutes.
-
Reconnect the power cord to a suitable wall outlet.
-
Switch on the air fryer and check whether E1 appears again.
The 15 minute waiting period is a general troubleshooting precaution rather than an official reset requirement for every Hisense model.
If the error disappears, the problem may have been temporary. However, this doesn’t guarantee that the temperature sensor circuit is working correctly.
If E1 returns immediately or appears during another cooking attempt, stop using the appliance. Repeated resets won’t repair a loose internal connection or a defective temperature sensor.
2. Allow the Air Fryer to Cool Completely
If E1 appeared while you were cooking, allowing the appliance to cool is another useful precaution.
The NTC sensor monitors temperature changes inside the cooking chamber. Although cooling won’t fix a disconnected sensor, it gives you an opportunity to check the appliance safely before deciding what to do next.
Start by unplugging the air fryer and placing it on a stable, heat resistant surface with enough space around its ventilation openings.
Some Hisense models recommend leaving approximately 4 inches of clearance around the appliance. However, you should follow the spacing requirements specified in your model’s manual.
Allow the air fryer to cool completely before touching its removable cooking parts.
While waiting, check whether anything is blocking the air vents. Remove nearby objects that could restrict airflow, but don’t insert tools or other objects into the ventilation openings.
Once the appliance has cooled, inspect its accessible exterior for unusual damage or signs of overheating.
Keep in mind that E1 is associated with a temperature sensor connection fault on certain Hisense models, rather than a confirmed overheating condition.
If the code remains after the appliance has cooled and restarted, professional diagnosis is the appropriate next step.
3. Check the Air Fryer’s Model Number and User Manual
Hisense manufactures different air fryer models, and their control systems aren’t necessarily identical.
As a result, it’s important to confirm what E1 means on your particular appliance before attempting any further troubleshooting.
First, unplug the air fryer and allow it to cool. Then locate the model number on the manufacturer’s label, commonly found underneath or on the exterior housing.
Write down the complete model number and check the corresponding user manual.
For example, the Hisense H12AFBK2S4 identifies E1 as a loose NTC sensor condition. Other models may use different error codes or provide different troubleshooting instructions.
Look for sections labeled troubleshooting, error codes, or display faults.
If your manual identifies E1 as a temperature sensor problem, avoid attempting to correct the fault by changing the cooking temperature or selecting another cooking program.
These settings won’t reconnect a loose sensor or repair damaged internal wiring.
If your model doesn’t include an explanation of E1, contact Hisense customer support with the model number and a description of the symptoms.
4. Inspect the Power Cord and External Housing
Your air fryer’s power cord and housing should also be checked for visible damage before you consider using the appliance again.
Although a damaged power cord isn’t a confirmed cause of the E1 sensor error, electrical damage can create a separate safety concern.
Make sure the air fryer is unplugged, then inspect the accessible power cord carefully.
Look for cuts, cracks, melted sections, exposed wires, or unusual discoloration around the plug.
Next, examine the appliance’s outer housing for signs of overheating, cracks, or damage caused by accidental impact.
If you notice a burnt smell, melted plastic, or a damaged power cord, don’t reconnect the appliance.
Contact a qualified repair technician instead.
If the exterior appears normal, use a suitable grounded wall outlet for the single restart check described earlier.
Avoid connecting the appliance through a damaged extension cord or overloaded power strip.
A visually undamaged cord doesn’t rule out an internal sensor fault. This inspection is intended to identify obvious external hazards.
5. Check Your Warranty and Contact Hisense Support
If E1 continues appearing after the basic troubleshooting checks, consider arranging a manufacturer approved repair.
Hisense air fryers may be covered by a warranty, depending on the model, country of purchase, retailer, and warranty conditions.
Before contacting support, gather the information needed to identify your appliance.
This includes the model number, purchase receipt, and a description of when the error first appeared.
Explain whether E1 appears immediately after switching on the air fryer or only after the appliance begins heating.
You should also mention any unusual events that happened before the error, such as a significant liquid spill or accidental drop.
These details can help the support team determine the appropriate service procedure.
Hisense may recommend an authorized repair center, replacement, or another remedy based on your appliance’s condition and warranty status.
Avoid opening the air fryer to reconnect the temperature sensor yourself. Unauthorized repairs may affect warranty coverage, and the internal electrical components can create safety hazards.
If your appliance is still under warranty, contacting Hisense before attempting any repair is particularly important.
6. Contact a Qualified Appliance Repair Technician
A persistent E1 error usually requires more detailed diagnosis of the temperature sensor circuit.
A qualified appliance technician can inspect the NTC sensor, its wiring connections, and the electronic control board to identify the actual fault.
For example, if the sensor connector has become loose, the technician may be able to restore the connection after checking for damage.
If the sensor has failed internally, replacement with a compatible component may be necessary.
The technician may also test the sensor’s electrical resistance and check whether the wiring has an open circuit.
These procedures require appropriate tools, knowledge of the appliance’s internal construction, and electrical safety precautions.
You shouldn’t attempt them without suitable professional training.
In particular, never bypass the temperature sensor to make the air fryer operate. The appliance depends on accurate temperature readings to control its heating system.
Repair costs will depend on the failed component and whether replacement parts are available for your Hisense model.
If the control board has failed or suitable parts cannot be obtained, replacing the appliance may be more practical than repairing it.
Ask for a repair estimate before deciding.
Wrapping Up
The Hisense air fryer E1 error commonly indicates a problem with the temperature sensor circuit, particularly a loose NTC sensor connection on certain models. Although restarting the appliance may clear a temporary fault, persistent errors often require professional diagnosis.
Start by unplugging your air fryer, allowing it to cool, and checking your model’s troubleshooting instructions. If E1 returns, avoid further cooking attempts and contact Hisense support or a qualified technician. Correctly identifying the fault will help you avoid unnecessary repairs and restore safe operation.