Seeing a CLS error on your Ninja Air Fryer can be frustrating, especially when the cooking basket is properly inserted but the appliance refuses to start. Sometimes, the warning appears when you select a cooking program, while other times, it shows up after the air fryer has been working normally.
This problem is often associated with the appliance failing to recognize that its cooking basket is fully inserted. Fortunately, checking the basket position, removing food debris, and restarting the appliance may help restore normal operation.
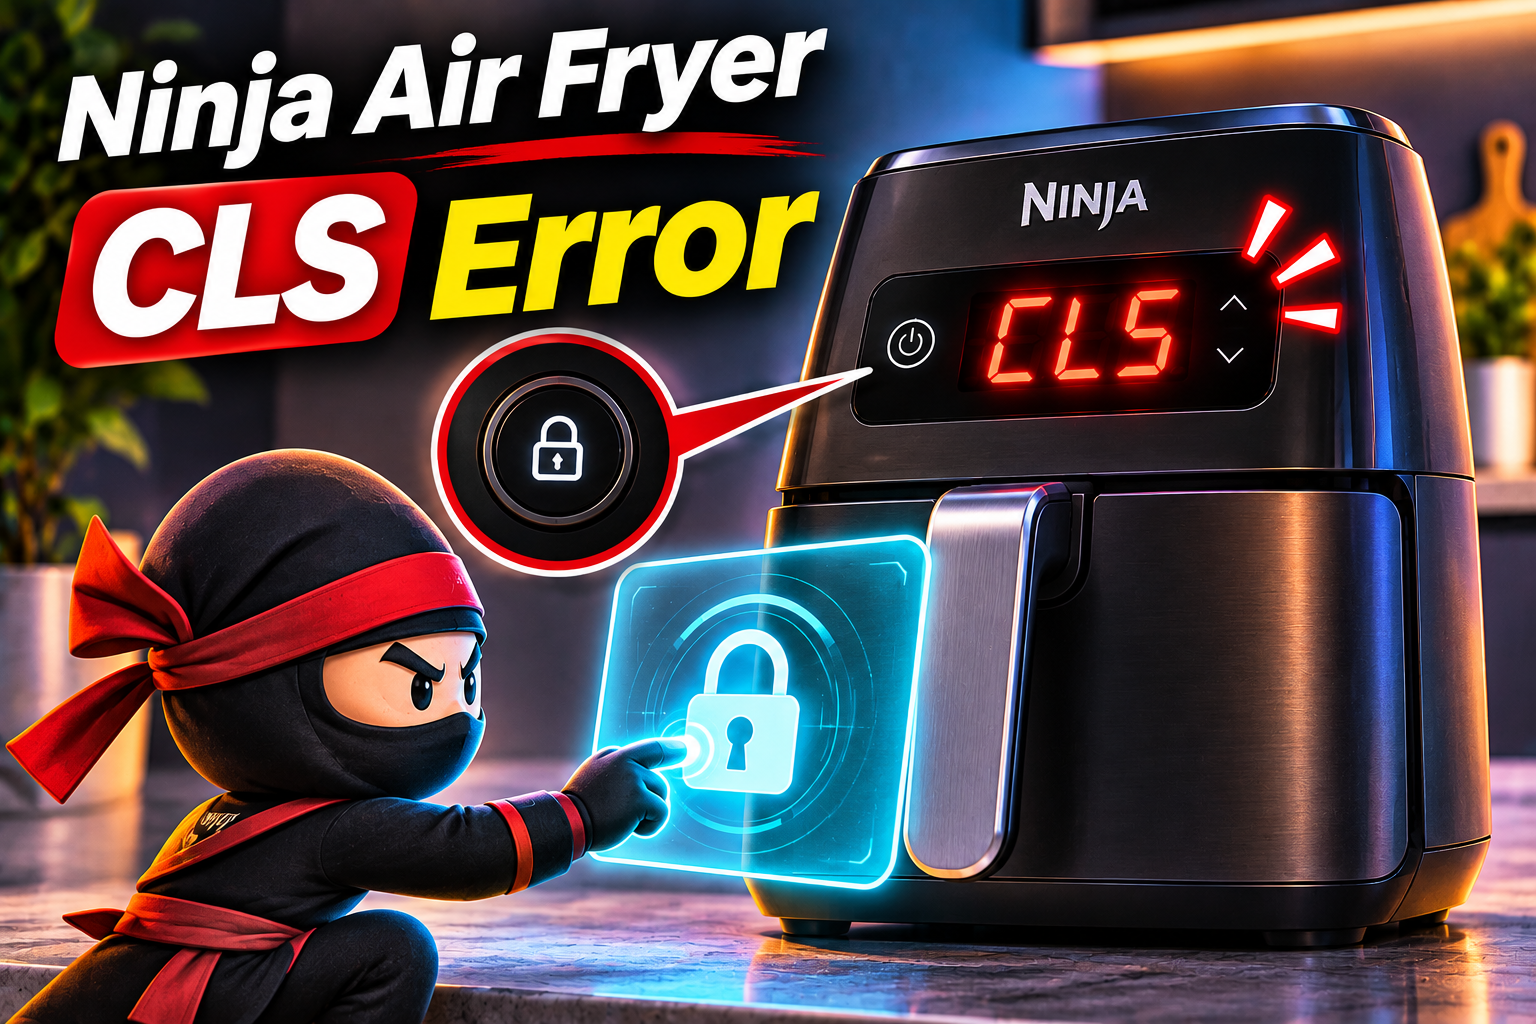
What Does the Ninja Air Fryer CLS Error Mean?
The CLS message on certain Ninja air fryers is commonly associated with the cooking basket not being detected in its correct position. Reports of this problem involve models such as the Ninja AF100, AF101, and AF160 series.
These appliances have components that help detect whether the cooking basket is correctly installed. On models with a basket safety switch, inserting the basket activates the switch and allows the cooker to operate.
If the basket isn’t fully seated or the detection mechanism fails, the appliance may display CLS and prevent cooking. This can happen even when the basket appears to be properly closed.
However, Ninja doesn’t provide one universal explanation of CLS across all its air fryer models. The manufacturer’s troubleshooting instructions vary, so checking your specific model is important before deciding what needs repair.
The warning may appear immediately after switching on the appliance, when selecting a cooking function, or after removing and reinserting the basket. In some cases, the display responds normally, but the air fryer refuses to begin heating.
Although incorrect basket placement is a likely explanation, persistent CLS warnings can also suggest problems with the basket detection switch or its internal electrical connections.
Ninja Air Fryer CLS Error: Common Causes
Several problems can interfere with how your Ninja Air Fryer recognizes its cooking basket. Understanding these possible causes makes it easier to identify the fault and avoid unnecessary repairs.
1. Cooking Basket Is Not Fully Inserted
One of the most likely causes of a CLS warning is a cooking basket that hasn’t been pushed completely into the appliance.
Ninja air fryers with basket detection mechanisms need the cooking drawer to reach the correct position before certain cooking functions can operate. If the basket stops slightly short, the appliance may not detect it.
This can happen when you insert the basket at an angle or fail to push it fully into place. Sometimes, the drawer appears closed while a small gap remains between its front panel and the main unit.
The problem may become noticeable after removing the basket to shake food during cooking.
If CLS disappears after you remove and reinstall the basket, incorrect positioning was probably responsible. However, if you repeatedly have to push or adjust the basket to keep the appliance running, the problem could involve worn parts or a faulty detection switch.
2. Food Debris Blocking the Basket
Food particles and grease can accumulate around the cooking basket and its housing during regular use.
Small pieces of food may become trapped along the basket’s sliding surfaces or near the rear of the cooking chamber. If the buildup prevents the basket from reaching its normal position, the appliance may fail to recognize it.
This is particularly possible when the drawer feels unusually stiff or doesn’t slide into place smoothly.
You might also notice dried grease around the basket edges or crumbs collecting inside the main unit.
Although food debris doesn’t necessarily damage the basket detection system, it can create a physical obstruction that prevents proper closure.
Cleaning the accessible areas may resolve the problem if the warning results from an incorrectly seated basket.
3. Faulty Basket Detection Switch
Some Ninja air fryer models use a small switch to detect whether the cooking basket is correctly installed.
When the basket reaches its proper position, part of the drawer activates the switch. The appliance’s control system can then recognize that the basket is in place.
If this switch becomes damaged, worn, or stuck, the cooker may continue displaying CLS even when the basket is fully inserted.
A faulty switch can sometimes produce intermittent symptoms. For example, the air fryer might work after reinserting the basket several times but display the warning again during the next cooking session.
You may also notice that the appliance responds differently depending on how the basket sits.
However, these symptoms don’t confirm that the switch itself has failed. Damage to the basket or its electrical connections can produce similar behavior.
Because the switch forms part of the appliance’s operating controls, internal inspection and replacement should be handled by qualified service personnel.
4. Damaged Basket or Internal Electrical Connections
Physical damage to the cooking basket can prevent it from activating the detection mechanism correctly.
For example, a damaged drawer housing, broken plastic fitting, or incompatible replacement basket may interfere with proper positioning.
This is worth considering if the CLS warning started after the basket was dropped or replaced.
Even when a replacement basket looks similar to the original, small differences in its shape or fittings can prevent it from operating correctly with a particular model.
Internal electrical problems are another possibility. If the wires connecting the basket detection switch to the control board become damaged, the appliance may fail to receive the expected signal.
The CLS warning may then remain on the display regardless of how carefully you install the basket.
Visible basket damage can often be identified without opening the appliance. However, diagnosing internal wiring or control board faults requires professional electrical testing.
Ninja Air Fryer CLS Error: How to Fix
If your Ninja Air Fryer displays CLS, begin with the simplest checks. In many cases, you can identify a basket positioning problem without using tools or opening the appliance.
1. Remove and Reinsert the Cooking Basket
Start by checking whether the cooking basket is sitting correctly inside the air fryer.
If the appliance is running, stop the cooking program and unplug it. Allow the basket to cool before handling it.
Once everything is cool, follow these steps.
- Pull the cooking basket completely out of the appliance.
- Check that nothing is preventing it from sliding back into place.
- Examine the basket edges for visible damage or misalignment.
- Hold the basket by its handle and align it with the cooking chamber.
- Slide it gently into the appliance until it reaches its normal closed position.
The front of the basket should sit evenly against the main unit, according to your model’s design.
Don’t slam the basket or apply excessive pressure. Forcing it into place could damage its housing or the detection mechanism.
After reinstalling the basket, reconnect the appliance and select a cooking program.
If CLS disappears and the air fryer starts normally, the problem may have been incorrect basket placement.
However, if the warning returns whenever you remove the basket, inspect its seating areas more carefully.
2. Clean the Basket and Cooking Chamber
If repositioning the basket doesn’t work, check for grease or food particles that might interfere with proper closure.
Start by unplugging the air fryer and allowing it to cool completely.
Remove the cooking basket and crisper plate. Examine the sides and bottom of the basket for food residue.
Wash the removable parts using warm water, mild dish soap, and a soft sponge. Follow the manufacturer’s instructions if you prefer using a dishwasher.
Next, inspect the accessible interior of the main unit.
Use a soft, slightly damp cloth to remove loose crumbs and grease around the areas where the basket slides into place.
Pay attention to the rear of the cooking chamber, where food particles can sometimes collect.
Never immerse the main unit in water or spray cleaning products into electrical openings.
Avoid inserting metal objects into gaps or attempting to clean internal switches with sharp tools.
After cleaning, dry all components thoroughly before reinstalling the basket.
Reconnect the appliance and check whether the CLS warning disappears. If food buildup was preventing the basket from closing correctly, cleaning may restore normal operation.
3. Check the Basket for Physical Damage
A damaged cooking basket can prevent the air fryer from recognizing that it has been fully installed.
With the appliance unplugged and cool, remove the basket and examine its exterior.
Look for cracks, broken plastic fittings, distorted edges, or a loose front handle assembly.
Pay particular attention to any area that appears different from its original shape.
If you’ve recently purchased a replacement basket, confirm that it’s specifically compatible with your Ninja model.
A basket designed for another Ninja Air Fryer may slide into the cooking chamber without fitting correctly.
Small differences in its shape or positioning features can affect how it interacts with the appliance’s detection mechanism.
If the basket is visibly damaged, contact Ninja to find the correct replacement.
Avoid modifying plastic fittings, adding material to activate the safety switch, or forcing an incompatible basket into place.
Once you have a suitable, undamaged basket, install it correctly and check whether the appliance recognizes it.
If the CLS warning continues with the original or a confirmed compatible basket, the problem may involve the detection mechanism inside the main unit.
4. Restart the Ninja Air Fryer
Sometimes, an appliance may continue displaying a warning after the physical condition that triggered it has been corrected.
Restarting the air fryer allows its electronic controls to begin a fresh operating cycle.
First, switch off the appliance using its power button if the controls are responding.
Unplug it from the wall outlet and leave it disconnected briefly.
While the appliance is unplugged, confirm that the basket is correctly installed and that there are no visible obstructions.
Check the power cord for damage before reconnecting the appliance.
If everything appears normal, plug the air fryer into a suitable wall outlet and switch it on.
Select an appropriate cooking function and check whether CLS appears again.
If the display returns to normal and the appliance operates correctly, the warning may have been temporary.
However, restarting won’t repair a defective basket switch, damaged wiring, or broken plastic fitting.
If CLS returns immediately, stop repeatedly restarting the appliance and continue with the remaining checks.
5. Check for a Basket Detection Problem
If the air fryer continues displaying CLS despite having a clean, correctly installed basket, its detection mechanism may not be working properly.
Start with a visual inspection of the accessible basket housing.
Look for obvious damage around the basket opening and any visible areas that normally help guide the drawer into place.
If your model has an accessible basket detection feature, check for visible debris or damaged plastic without touching or operating the switch directly.
Don’t insert tools into the appliance or attempt to activate a hidden switch manually.
The detection system is intended to help the appliance operate only under the correct conditions. Bypassing it can allow unsafe operation.
If the basket looks undamaged but the error continues, the switch or its electrical connections may require professional testing.
A technician can determine whether the problem involves a damaged switch, broken wiring, or another internal component.
Avoid opening the appliance’s housing to investigate these parts yourself.
6. Check Your Air Fryer’s Model and User Manual
Ninja produces several air fryer models with different basket designs and control systems.
Because CLS isn’t explained consistently across every model, identifying your exact appliance is an important troubleshooting step.
Look for the model number on the identification label, usually found underneath or on the back of the main unit.
Common Ninja Air Fryer model families include the AF100, AF101, AF150, and AF160 series, although their designs and features vary.
Once you’ve identified your model, consult its user manual or the manufacturer’s support information.
Check whether the documentation identifies CLS or provides troubleshooting instructions for basket detection problems.
Also confirm that the cooking basket is the correct one for your model.
If your manual doesn’t explain the CLS message, contact Ninja customer support for model-specific guidance.
Avoid using reset combinations or repair methods recommended for a different air fryer. A control sequence that applies to one model may have no effect on another.
7. Contact a Qualified Appliance Technician
If none of the previous steps resolves the CLS error, the appliance may have an internal fault.
A damaged basket detection switch, broken electrical connection, or faulty control component could prevent the air fryer from recognizing its cooking drawer.
These problems usually require professional diagnosis.
Contact Ninja customer support and provide your appliance’s model number, the exact warning displayed, and the troubleshooting steps you’ve already tried.
Explain whether the error appears every time you start the air fryer or only after removing and replacing the basket.
If the appliance is still under warranty, Ninja may offer repair or replacement options according to the warranty terms.
For an older appliance, a qualified repair technician can help determine whether the cost of repairing the detection system is reasonable.
Don’t bypass the basket safety switch or continue operating an air fryer with damaged electrical components.
If the appliance produces unusual smells, smoke, or signs of overheating, unplug it immediately and arrange professional assistance.
Wrapping Up
A Ninja Air Fryer CLS error is commonly linked to a problem with cooking basket detection. An incorrectly inserted basket, trapped food debris, damaged drawer fittings, or a faulty detection switch may prevent the appliance from starting.
Begin by checking the basket position and cleaning accessible areas. Then inspect the basket for damage and try restarting the appliance. If the warning persists despite these checks, contact Ninja support or a qualified technician. Identifying the actual fault will help you choose a safe repair and avoid replacing parts unnecessarily.