The Kalorik air fryer E1 error can be frustrating, especially when your appliance suddenly stops cooking or refuses to start another cycle. You might notice the code appearing immediately after switching on the air fryer or during cooking, leaving your food unfinished.
This error generally indicates a problem with the temperature monitoring system. Although some cases require professional repair, a few safe troubleshooting checks can help you understand the fault and determine whether the appliance can return to normal operation.
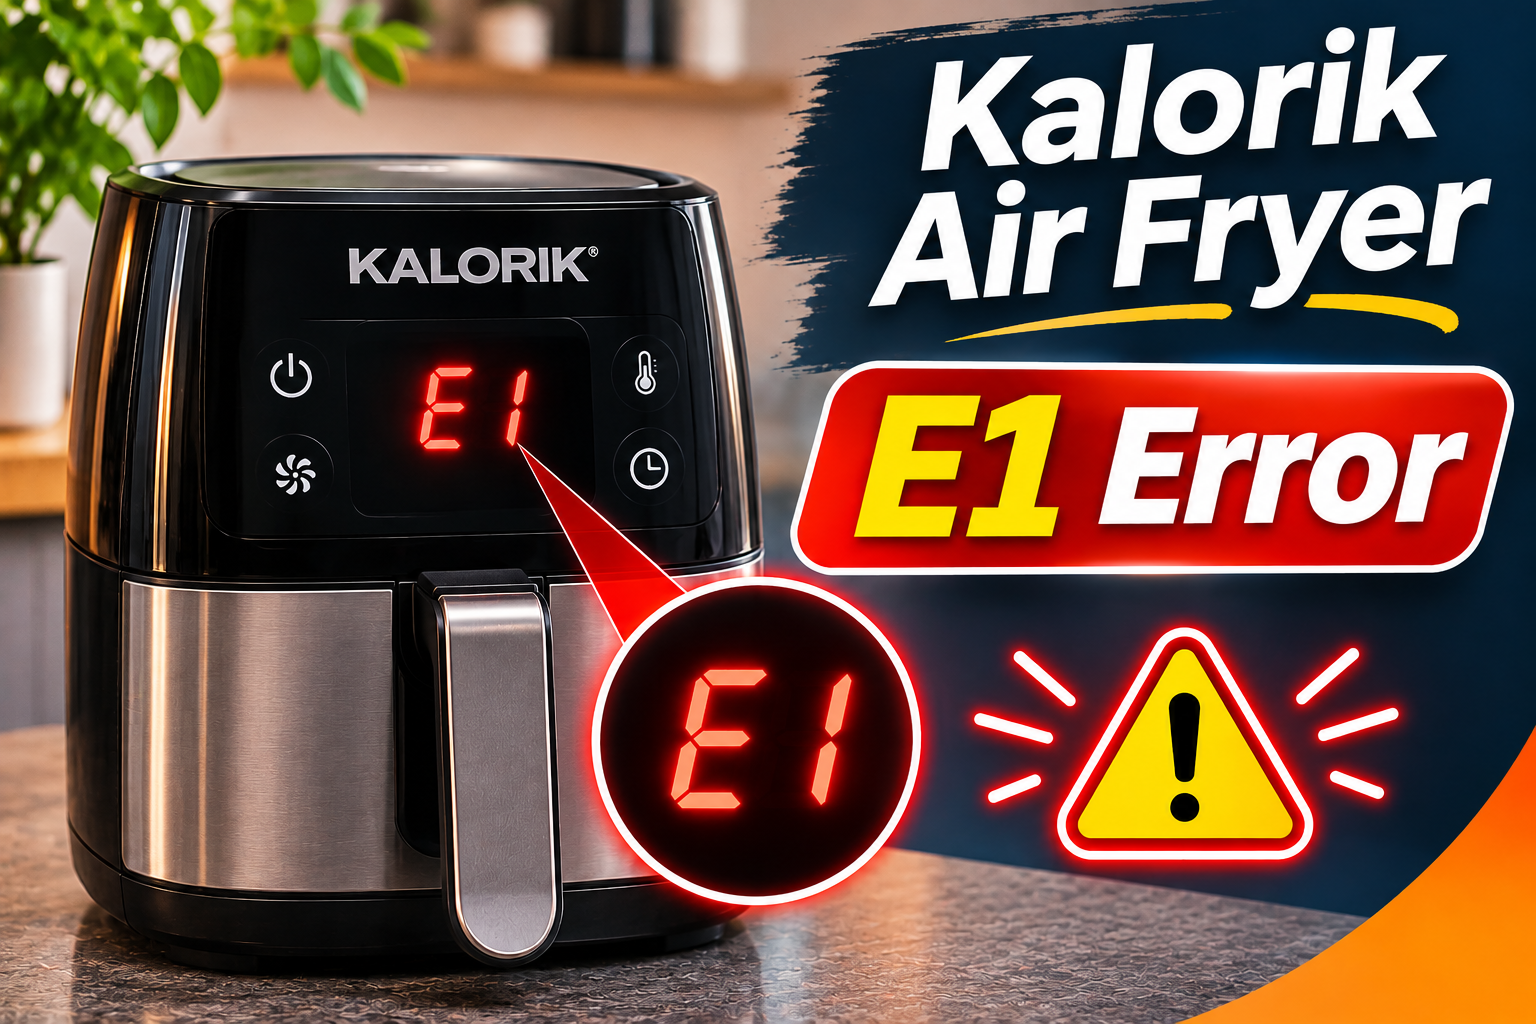
What Does the E1 Error Mean on a Kalorik Air Fryer?
The E1 error on certain Kalorik air fryers indicates a disconnected temperature sensor or an open sensor circuit. According to Kalorik’s instruction manuals for the MAXX 26 Quart Flex Trio and Flex Sync air fryer ovens, E1 appears when the operating status sensor for cavity A is disconnected.
The temperature sensor helps the appliance monitor heat during cooking. It sends information to the electronic control board, which uses that information to regulate the heating elements and maintain the selected temperature.
When the sensor connection becomes interrupted, the control board may no longer receive reliable temperature information. As a result, the appliance can display E1 and prevent normal cooking.
An open circuit means that the electrical path is incomplete. This can happen when a wire breaks, a connector becomes loose, or the sensor itself develops an internal fault. On the MAXX models mentioned above, E2 identifies a shorted sensor circuit, which is a different electrical problem.
You may notice several symptoms when E1 appears.
- The E1 code appears immediately after switching on the appliance.
- The air fryer stops heating before the cooking time finishes.
- The display remains illuminated, but cooking won’t start.
- The appliance produces warning beeps or becomes unresponsive.
- The error returns after unplugging and reconnecting the air fryer.
However, Kalorik produces several air fryer models with different control systems. Therefore, the exact meaning of E1 should be confirmed using your model’s instruction manual.
If E1 remains visible after a basic restart, avoid using the appliance until the cause has been identified. A faulty temperature monitoring system can prevent the air fryer from controlling heat properly.
Kalorik Air Fryer E1 Error: Common Causes
Several electrical faults can interrupt the temperature sensor connection and trigger the E1 error. Understanding these possible causes can help you recognize useful warning signs without attempting unsafe electrical repairs.
1. A Faulty Temperature Sensor
A defective temperature sensor is one of the main possible causes of the Kalorik air fryer E1 error. This component monitors the temperature inside the cooking chamber and provides information that helps the control board regulate heating.
Many air fryers use a thermistor, which is an electrical component whose resistance changes with temperature. If the thermistor develops an internal open circuit, the control board may no longer receive the expected electrical reading.
This can happen because of an internal component defect, electrical damage, or deterioration over time. Repeated heating and cooling can also place stress on electronic components.
One common clue is an E1 code that keeps returning, even after the appliance has cooled completely. The error may appear immediately after switching on the unit, before the heating elements have started operating.
In other cases, the air fryer may begin cooking normally but stop once the internal temperature increases. This behavior can occur with electrical faults that become more noticeable as components heat up.
However, these symptoms don’t automatically confirm that the sensor has failed. A loose connector or damaged wire can interrupt the same circuit and produce similar behavior.
2. Loose or Damaged Sensor Wiring
The temperature sensor communicates with the electronic control board through electrical wires and connectors. If these connections become loose or damaged, the control board may lose the sensor signal.
For example, a wire may break internally, creating an incomplete electrical path. A connector can also become loose or develop poor contact, preventing reliable communication.
Heat exposure, vibration, accidental impacts, and manufacturing defects are possible contributors to wiring problems.
You might notice that E1 appears intermittently. The appliance may work during one cooking session but display the error during another.
A fault that develops after the air fryer has been running for several minutes can also suggest a connection problem affected by temperature changes. However, a failing sensor may behave similarly.
Since these wires are located inside the appliance, confirming the fault requires professional inspection. Don’t remove the housing or attempt to reconnect the sensor wires yourself. Internal electrical components can present serious shock and fire hazards.
3. Moisture Around the Electrical Components
Water can interfere with the electrical connections responsible for temperature monitoring. Although certain Kalorik accessories are washable, the main appliance contains electrical circuits that must remain dry.
Moisture may reach these components through accidental spills, improper cleaning, or excessive water entering the ventilation openings.
If moisture reaches a connector or circuit board, it may interfere with the electrical signal. Over time, water exposure can also contribute to corrosion, which can damage electrical contacts and create unreliable connections.
The timing of the problem may provide a useful clue. For example, if E1 appeared shortly after water spilled onto the appliance, moisture damage deserves consideration.
Other warning signs may include unusual display behavior, repeated shutdowns, or visible corrosion around accessible external parts.
However, properly washing and drying removable cooking accessories shouldn’t cause an internal sensor fault. If you suspect water has entered the electrical housing, unplug the appliance and arrange professional inspection before using it again.
4. A Malfunctioning Electronic Control Board
The electronic control board manages your Kalorik air fryer’s cooking functions, temperature settings, timer, and heating operations.
It receives temperature information from the sensor and uses that information to control the heating system. If the circuit responsible for reading the sensor develops a fault, the board may interpret the signal incorrectly or fail to detect it.
Electrical component failure, damaged circuit connections, and moisture exposure can contribute to control board problems. Such faults may occur even when the temperature sensor itself is working correctly.
You may notice symptoms beyond the E1 code, including unresponsive controls, a flickering display, or unexpected interruptions during cooking.
However, replacing the control board shouldn’t be the first repair considered. A qualified technician should confirm that the sensor and its wiring are functioning properly before identifying the board as defective.
5. Heat Damage to the Sensor Connections
Kalorik air fryers operate at high cooking temperatures, so their internal components must withstand repeated exposure to heat.
If abnormal overheating occurs, it can damage wiring insulation, electrical connectors, or other components associated with the temperature monitoring system.
Restricted airflow, excessive grease buildup, and certain internal electrical faults can contribute to overheating. However, these conditions don’t necessarily trigger E1 directly.
You might notice unusual heat around the housing, a strong burning smell, melted plastic, or smoke before the appliance stops working.
These symptoms require immediate attention. Stop using the air fryer and disconnect it from the power supply if it’s safe to do so.
A damaged sensor connection won’t normally recover simply because the appliance cools down. If you notice signs of heat damage, avoid restarting the appliance and seek qualified assistance.
Kalorik Air Fryer E1 Error: How to Fix
Because E1 usually concerns the temperature sensor circuit, the safest troubleshooting methods focus on restarting the appliance and checking for visible external problems. These checks may identify a temporary issue, but they cannot repair damaged internal wiring or electronic components.
1. Switch Off the Air Fryer and Allow It to Cool
If E1 appears during cooking, the first step is to stop the appliance and allow it to cool completely.
Press the Power or Start/Stop button if the controls respond, then unplug the air fryer from the wall outlet. Avoid touching the cooking chamber, heating elements, or accessories while they’re hot.
Leave the appliance to cool before inspecting its exterior. Depending on how long it was operating, this may take around 30 minutes or longer.
While the appliance cools, consider when the error first appeared.
- E1 appeared immediately after switching on. A persistent sensor circuit fault may be present.
- E1 appeared during cooking. A problem affected by temperature changes may be involved.
- E1 appeared after a spill. Moisture exposure may have affected the electrical components.
- E1 returned after previous restarts. The fault may require professional diagnosis.
Once the air fryer is cool, look for visible damage around the exterior housing and power cord.
If you notice melting, discoloration, smoke damage, or a strong electrical smell, don’t reconnect the appliance.
Cooling helps make the appliance safe to inspect, but it doesn’t repair a broken sensor circuit. If E1 persists, further troubleshooting should remain limited to safe external checks.
2. Perform a Basic Power Reset
A power restart may clear a temporary electronic interruption that prevents the control system from operating normally.
However, this method isn’t a guaranteed solution for E1. If the temperature sensor circuit is physically damaged, disconnecting the appliance won’t restore the broken connection.
To perform a simple restart, follow these steps.
- Make sure the air fryer is switched off.
- Unplug the appliance from the electrical outlet.
- Leave it disconnected for about five minutes.
- Confirm that the appliance has cooled and shows no signs of damage.
- Reconnect the power cord to a suitable wall outlet.
- Check whether the display returns to its normal standby screen.
If E1 disappears, the controls may have recovered from a temporary interruption.
However, the original problem could return if the sensor connection is unreliable. Avoid assuming the appliance is fully repaired simply because the display briefly returns to normal.
If E1 immediately reappears, disconnect the appliance again and stop further cooking attempts. Repeated resets won’t repair a damaged sensor, broken wire, or faulty control board.
3. Inspect for Moisture and Clean Accessible Areas
If the error appeared after cleaning or an accidental spill, inspect the appliance for visible moisture.
Start by unplugging the air fryer and allowing it to cool completely. Remove the cooking basket, tray, or other detachable accessories according to your model’s instructions.
Examine the accessible cooking chamber and surrounding surfaces. Look for standing water, unusual moisture, or signs that liquid may have entered the electrical housing.
If water is present only on removable cooking accessories, wash and dry those parts properly before reinstalling them.
For accessible interior surfaces, Kalorik recommends using a damp cloth or sponge for routine cleaning. Avoid excessive water, abrasive materials, and cleaning products that could enter electrical openings.
Pay attention to the following precautions.
- Never immerse the main appliance in water.
- Don’t spray cleaning solutions into ventilation openings.
- Avoid pouring water near the control panel or electrical housing.
- Don’t insert cleaning tools behind protective covers.
- Make sure removable accessories are completely dry before reinstalling them.
If water may have entered the internal electrical system, don’t attempt to restore operation simply by leaving the appliance to dry.
Moisture can remain trapped inside the housing, and electrical corrosion may already have occurred. Professional inspection is the safer option.
If no moisture damage is suspected and the appliance otherwise appears normal, continue with the remaining external checks.
4. Check the Air Vents and Remove Grease Buildup
Proper ventilation helps your Kalorik air fryer maintain safe operating temperatures. Blocked vents can contribute to excessive heat and interfere with normal cooking performance.
Although restricted airflow isn’t a confirmed direct cause of E1, checking the ventilation system can help identify conditions that may contribute to heat related damage.
Start with the appliance unplugged and completely cool.
Inspect the visible air intake and exhaust openings. Look for dust, food particles, grease deposits, or nearby objects that might obstruct airflow.
Use a soft, dry brush to remove loose debris from accessible exterior surfaces. Don’t push tools through ventilation openings or attempt to reach internal components.
Also, check the cooking chamber for excessive grease buildup. Kalorik recommends cleaning the crumb tray and removable cooking accessories regularly to reduce grease accumulation.
For example, the Kalorik MAXX Flex Sync manual advises keeping the sliding crumb tray installed during cooking and cleaning it after each use.
Once the appliance is clean, make sure it has adequate space for ventilation. The MAXX Flex Sync manual specifies at least four inches of clearance around the oven during operation. Other Kalorik models may have different requirements.
However, clearing the vents won’t repair an open sensor circuit. If E1 remains displayed, avoid continuing to operate the appliance.
5. Check the Power Connection and Cooking Controls
Before arranging repairs, inspect the external power connection and confirm that the appliance isn’t experiencing a separate operating problem.
With the air fryer unplugged, examine the power cord and plug for visible cracks, damaged insulation, discoloration, or signs of overheating.
If you notice any damage, don’t reconnect the appliance.
Make sure the electrical outlet matches the voltage and power requirements printed on the appliance’s rating label. For example, the Kalorik MAXX Flex Sync AFKA26QFX is rated for 120V, 60Hz operation with a power consumption of 1700W.
Other Kalorik models may have different electrical requirements, so always check your specific appliance.
Also, avoid overloaded power strips and unsuitable extension cords.
If you’ve already completed a safe restart and E1 remains visible, don’t attempt another cooking cycle. However, if the code has cleared and no damage is suspected, you can check whether the controls respond normally in standby mode.
For Kalorik MAXX models with French doors, make sure both doors close properly. Their troubleshooting instructions identify incorrectly closed doors as a possible reason the appliance won’t start.
This check is useful for identifying a separate operating problem, but a door that isn’t fully closed isn’t the documented meaning of E1 on the MAXX Flex Trio and Flex Sync models.
If the appliance continues displaying E1 despite normal power and door operation, the temperature monitoring system requires attention.
6. Contact a Qualified Kalorik Repair Technician
If E1 persists after the safe checks, contact Kalorik customer support or an authorized appliance repair technician.
Kalorik’s MAXX Flex Sync manual identifies E1 as a disconnected cavity A sensor and recommends authorized service for repairs beyond the maintenance procedures described in the manual.
A qualified technician can examine the temperature sensor, internal wiring, electrical connectors, and control board to identify the source of the interrupted circuit.
Depending on the confirmed fault, repairs may involve replacing a damaged sensor assembly, wiring harness, or electronic component.
However, repair costs and replacement part availability vary by model. In some cases, replacing the appliance may be more practical than repairing a damaged control system.
For customers in the United States, Kalorik provides the following support details.
- Customer service: 1-954-202-7336
- Email: Service@kalorik.com
Before contacting support, locate the model number and date code on the appliance’s rating label. These details are generally printed underneath or on the rear of the housing.
Explain when E1 appears, whether the appliance stops heating, and what happened after the power restart. A photograph of the error display may also help.
If your air fryer is still covered by a warranty, keep the original purchase receipt and contact Kalorik before arranging independent repairs.
Most importantly, don’t attempt to bypass the temperature sensor or reconnect internal electrical wires yourself. Proper temperature monitoring is necessary for reliable and safe cooking.
Wrap-Up
The Kalorik air fryer E1 error generally indicates a disconnected temperature sensor or an interrupted sensor circuit. A faulty sensor, loose wiring, moisture damage, or an electronic control problem may prevent the appliance from monitoring cooking temperatures correctly.
Start by switching off the air fryer, allowing it to cool, and performing a single safe restart. You can also inspect accessible surfaces for moisture, grease, or visible damage. If E1 continues to appear, professional diagnosis is the safest way to identify the fault and determine whether repair or replacement is necessary.