Seeing the LID error on your Power XL air fryer can be frustrating, especially when the appliance refuses to start or suddenly stops cooking. You may notice the message even after closing the lid, leaving you unsure what’s preventing the air fryer from working.
Fortunately, this error often relates to incorrect lid placement or using the wrong lid for your selected cooking function. Understanding the possible causes can help you identify the problem and try a few safe fixes before considering professional repairs.
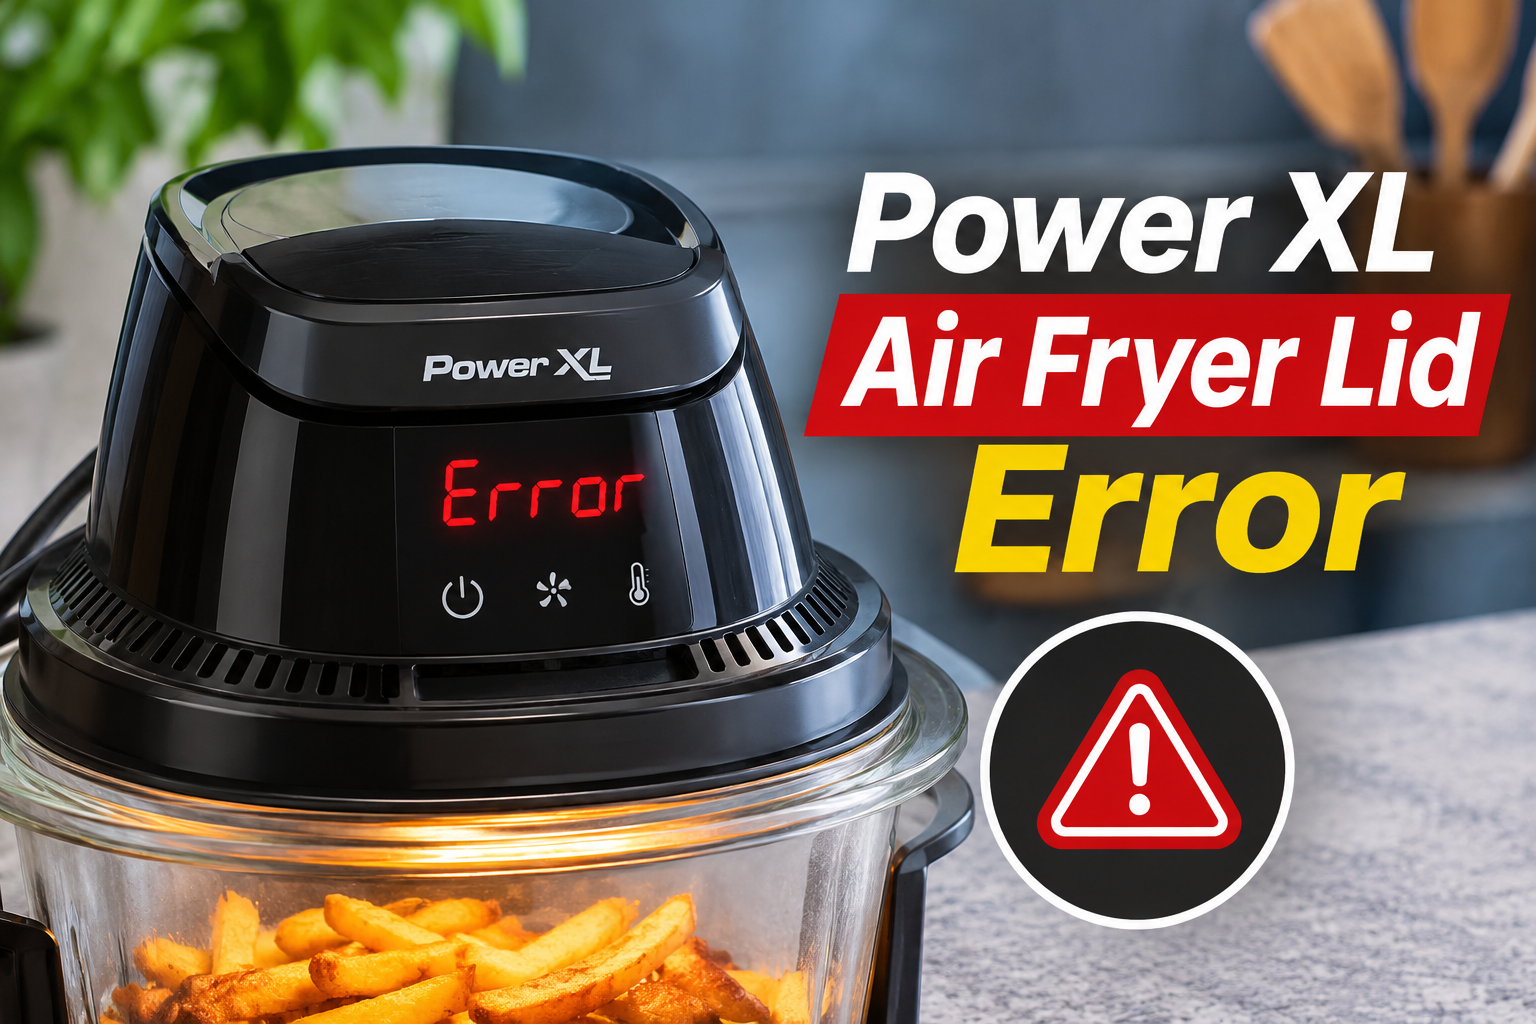
What Does the Lid Error Mean on a Power XL Air Fryer?
The LID error on a Power XL air fryer indicates that the appliance has detected a problem with the lid or its position. However, the exact meaning depends on which PowerXL model you’re using.
For example, the PowerXL Grill Air Fryer Home, model AFG-5A, identifies LID as a warning that the lid isn’t closed. Meanwhile, the PowerXL Grill Air Fryer Combo 12-in-1, including models MFC-AF-6, MFC-AF-6C, and MFC-AF-8, identifies LID as an indication that the wrong lid is being used.
The Grill Air Fryer Combo has two different lids for different cooking functions. Its air frying lid contains the heating and air circulation components used for air frying, grilling, baking, and roasting. The glass lid is intended for functions such as slow cooking, steaming, simmering, and cooking rice.
If the appliance doesn’t detect the lid arrangement required for the selected cooking function, it may display LID and prevent normal operation. A loose connection, incorrect lid position, or damaged component may also contribute to the problem.
The LID error doesn’t automatically mean your air fryer needs replacement. In many cases, checking the selected cooking function and repositioning the correct lid can resolve the issue. However, a persistent error may indicate a problem requiring professional diagnosis.
Power XL Air Fryer Lid Error: Likely Causes
Several problems can make your Power XL air fryer display the LID error. The most relevant causes involve incorrect lid selection, improper positioning, and possible damage to the components responsible for detecting the lid.
1. Using the Wrong Lid for the Selected Cooking Function
Using the wrong lid is a documented cause of the LID error on the PowerXL Grill Air Fryer Combo models. These appliances are designed to use different lids depending on the cooking function you’ve selected.
The air frying lid is used for air frying, grilling, baking, and roasting. It contains the components needed to circulate hot air and cook food using these functions.
The glass lid is intended for cooking methods such as steaming, slow cooking, simmering, rice cooking, and keeping food warm. These functions rely on the appliance’s lower heating system rather than the heating components inside the air frying lid.
If you select Air Fry while using the glass lid, the appliance may display LID because the required air frying lid isn’t in place. A similar problem can occur if you try to use the air frying lid with a cooking function that requires the glass lid.
You might encounter this issue after switching from one cooking method to another without changing the lid. Checking the required lid for your selected cooking function is therefore one of the first things worth doing.
2. Lid Isn’t Completely Closed
A lid that isn’t fully closed can prevent some Power XL air fryers from starting a cooking cycle. The PowerXL Grill Air Fryer Home, model AFG-5A, specifically identifies an open lid as the cause of its LID error.
The appliance needs the lid in its proper operating position. If the lid remains slightly raised, it may prevent the cooking program from starting or continuing.
This can happen when food or another object prevents the lid from closing properly. An incorrectly positioned inner pot may also interfere with the way the lid sits.
You might notice that the LID message appears immediately after selecting a cooking program or after opening the appliance to check your food.
If the message disappears when the lid is properly closed, incorrect positioning was likely responsible. However, don’t force the lid shut if something appears to be blocking it.
3. Improperly Aligned Air Frying Lid Connections
Some PowerXL Grill Air Fryer Combo models have a removable air frying lid that connects electrically to the appliance’s base.
For models MFC-AF-6, MFC-AF-6C, and MFC-AF-8, the manufacturer’s instructions describe a connection consisting of six pins in the lid’s wire harness and six corresponding openings in the base.
These connections allow the air frying lid to communicate with the appliance and operate its heating components.
If the lid is lowered at an angle or positioned incorrectly, the electrical connections may not align as intended. Consequently, the appliance may fail to recognize the air frying lid.
This problem can occur after removing the lid for cleaning or switching between the glass lid and air frying lid.
The manufacturer’s instructions specify that the air frying lid should be lowered straight onto the base without twisting. If it isn’t seated correctly, the LID message may appear even though the lid looks attached.
4. Food Residue or an Incorrectly Positioned Inner Pot
Food residue around the lid or cooking pot can sometimes interfere with proper assembly. Grease, crumbs, and dried food deposits may collect around areas where the lid needs to rest.
For instance, food particles caught between the inner pot and its seating area could prevent the pot from sitting correctly. If the pot is raised or tilted, the lid may not fit as intended.
The PowerXL Grill Air Fryer Combo also requires its inner pot to be installed before a cooking cycle can begin. However, a missing inner pot normally produces a separate POT error on models that support this warning.
Therefore, an incorrect pot position shouldn’t automatically be considered the cause of LID. Still, checking that the proper inner pot is clean and correctly seated can help eliminate an obvious assembly problem.
5. Damaged Lid or Internal Detection Components
Physical damage to the lid or its connecting components can prevent your Power XL air fryer from recognizing that the lid is correctly positioned.
For example, a damaged hinge or distorted lid may prevent a hinged model from closing properly. On models with a removable air frying lid, damaged connector pins or connection points could interfere with normal operation.
A fault within the lid detection or electronic control system is another possibility. If the appliance cannot correctly determine the lid’s condition, it may continue displaying LID despite proper assembly.
You might suspect this type of problem if the error began after the appliance was dropped or the lid suffered visible damage.
However, a persistent LID error doesn’t confirm that an internal sensor or control board has failed. These components require professional diagnosis, and attempting to bypass the lid detection system can create serious safety risks.
Power XL Air Fryer Lid Error: DIY Fixes
The best way to resolve the Power XL air fryer LID error is to begin with the lid arrangement and selected cooking function. These checks are simple and don’t require opening the appliance or handling its internal electrical components.
1. Select the Correct Lid for Your Cooking Function
If you’re using a PowerXL Grill Air Fryer Combo, the first thing to check is whether you’ve selected the correct lid for the cooking program.
The wrong lid can prevent the appliance from operating because the available heating system may not match the selected function.
For the PowerXL Grill Air Fryer Combo 12-in-1, use the following arrangement.
| Cooking function | Required lid |
|---|---|
| Air Fry | Air frying lid |
| Grill | Air frying lid |
| Bake | Air frying lid |
| Roast | Air frying lid |
| Slow Cook | Glass lid |
| Steam | Glass lid |
| Sauté | Glass lid |
| Rice | Glass lid |
| Simmer | Glass lid |
| Sous Vide | Glass lid |
| Fry | Glass lid |
| Keep Warm | Glass lid |
Before changing lids, cancel the cooking program, unplug the appliance, and allow it to cool sufficiently for safe handling.
Then remove the incorrect lid and install the one required for your selected cooking function.
If you’re switching from Air Fry to Slow Cook, for example, remove or raise the air frying lid as instructed in the manual and use the glass lid.
Once everything is correctly assembled, reconnect the appliance and select the intended cooking function if your model’s instructions permit restarting.
If the LID message disappears, the problem was likely related to incorrect lid selection.
2. Open and Close the Lid Correctly
If your Power XL air fryer has a hinged lid, check whether it closes completely.
The PowerXL Grill Air Fryer Home, model AFG-5A, specifically displays LID when the lid isn’t closed. Therefore, properly closing the lid may be all that’s necessary to clear the message.
Start by stopping the cooking program and unplugging the appliance. Allow it to cool before inspecting the lid and cooking area.
Follow these steps.
- Carefully open the lid after the appliance has cooled.
- Check whether food or an accessory is preventing it from closing.
- Make sure the inner pot is correctly positioned.
- Remove any visible obstruction that can be handled safely.
- Gently lower the lid into its normal closed position.
- Check that it sits evenly without requiring excessive force.
Don’t slam the lid or apply pressure if it doesn’t close naturally.
Once the lid is correctly positioned, reconnect the air fryer if there are no signs of damage and the manual permits continued operation.
Check whether the LID message has disappeared before starting your cooking program.
If the error returns despite the lid being fully closed, another component may require attention.
3. Reposition the Removable Air Frying Lid
On PowerXL Grill Air Fryer Combo models with a detachable air frying lid, incorrect alignment can prevent the lid’s electrical connections from working properly.
The manufacturer’s instructions explain that the lid must be lowered straight onto the appliance base. Twisting or angling the lid can prevent its connector pins from lining up correctly.
To reposition the lid safely, follow these steps.
- Cancel the cooking program and unplug the appliance.
- Allow the lid and base to cool completely.
- Carefully lift the removable air frying lid straight upward.
- Visually check the lid and base connection areas for obvious damage.
- Align the lid according to your model’s instruction manual.
- Slowly lower it straight onto the base without twisting.
- Check that the lid rests in its intended position.
The PowerXL Grill Air Fryer Combo 12-in-1 uses six connector pins that must align with the corresponding openings in the base.
However, don’t touch, bend, straighten, or insert objects into the electrical connector pins. If you notice damaged or misaligned contacts, stop using the appliance and contact a qualified repair service.
Also, don’t attempt to force the air frying lid into a locked position. The manufacturer’s instructions explain that the removable air frying lid on these models doesn’t lock.
After correctly positioning the lid, check whether the appliance recognizes it when powered on.
If the LID error disappears and there are no signs of damage, you can resume cooking according to your model’s instructions.
4. Check the Inner Pot and Clean the Lid Seating Areas
A correctly positioned inner pot helps ensure that your Power XL air fryer is assembled as intended.
If the pot is tilted or food residue is preventing the lid from resting properly, correcting these problems may help.
First, unplug the air fryer and wait until all components have cooled.
Remove the inner pot and inspect its visible surfaces. Look for food particles, dried grease, or other debris that may interfere with its position.
Clean the pot according to the manufacturer’s instructions. For most compatible removable pots, warm water, mild dish soap, and a soft sponge are suitable for handwashing.
Next, examine the accessible areas around the lid opening and pot seating surface.
Carefully wipe away grease or food residue using a soft cloth. Avoid abrasive cleaning materials that could scratch the appliance’s protective coating.
Never immerse the appliance base or electrical air frying lid in water. Also, don’t spray cleaning liquid into the lid connections, control panel, or electrical openings.
Once the removable parts are completely dry, reinstall the inner pot correctly.
Make sure it sits evenly inside the appliance base before positioning the appropriate lid.
If the LID message was caused by an obstruction preventing proper assembly, this cleaning and repositioning process may resolve it.
However, if the error continues, don’t repeatedly force the lid into place.
5. Inspect for Damage and Try a Safe Restart
If correcting the lid arrangement hasn’t resolved the error, examine the visible components for damage before attempting another restart.
With the air fryer unplugged and cool, check the lid, handles, hinges, and accessible connection areas.
Look for cracks, distortion, loose external parts, or signs that the lid no longer fits properly.
If your model uses a glass lid, inspect it carefully for cracks or chips. PowerXL warns against continuing to use damaged glass cookware because it may break during operation.
If you notice damaged connector pins, a broken hinge, or a cracked lid, stop using the appliance.
If everything appears undamaged and correctly assembled, you can try one controlled restart if your model’s instructions allow it.
- Make sure the air fryer is switched off and unplugged.
- Confirm that the correct inner pot and lid are installed.
- Check that the appliance is on a stable, level surface.
- Reconnect the power cord to a suitable electrical outlet.
- Select the correct cooking function and check the display.
If the LID message disappears and the appliance operates normally, the issue may have been related to incorrect assembly or a temporary interruption.
However, restarting doesn’t repair damaged connectors, faulty electronics, or a defective lid detection system.
If the error returns, stop using the appliance and arrange professional assistance rather than repeatedly restarting it.
6. Contact PowerXL Customer Support or a Qualified Technician
If the LID error persists after checking the lid, cooking mode, inner pot, and visible components, professional assistance is the next step.
PowerXL’s manuals advise users not to attempt repairs on malfunctioning appliances. This is especially important when the fault may involve the electrical connections inside the air frying lid.
A qualified technician can assess the lid assembly, electrical connections, and relevant control components to identify the actual problem.
You should seek professional assistance if your Power XL air fryer:
- Displays LID even when the correct lid is installed.
- Refuses to recognize a properly closed lid.
- Has visibly damaged lid connections or a broken hinge.
- Continues interrupting cooking despite correct assembly.
- Produces sparks, unusual smoke, or a burning electrical smell.
- Developed the error after being dropped or exposed to water.
Before contacting customer support, locate the model number on the appliance’s identification label.
Explain whether the error appears immediately after switching on the air fryer or only when selecting a particular cooking function.
If you have a Grill Air Fryer Combo, mention whether the error occurs with the air frying lid, glass lid, or both.
This information can help determine whether the problem involves incorrect lid selection, a damaged accessory, or another internal fault.
If your air fryer is still covered by a warranty, contact the manufacturer or retailer before arranging independent repairs. Unauthorized internal repairs may affect your warranty coverage.
Wrap-Up
The Power XL air fryer LID error usually means the appliance has detected an incorrect lid arrangement or a lid that isn’t properly closed. The exact cause depends on your model, particularly whether it uses a hinged lid or separate lids for different cooking functions.
Start by checking the selected cooking mode, positioning the correct lid, and ensuring the inner pot is properly installed. If the error disappears, you can resume cooking according to your model’s instructions. However, if LID continues appearing despite correct assembly, stop using the appliance and seek professional assistance.