Fortunately, understanding what this error means can help you identify the next step. Although some basic troubleshooting checks are worth trying, an E1 error can also indicate an internal electrical fault that requires professional attention.
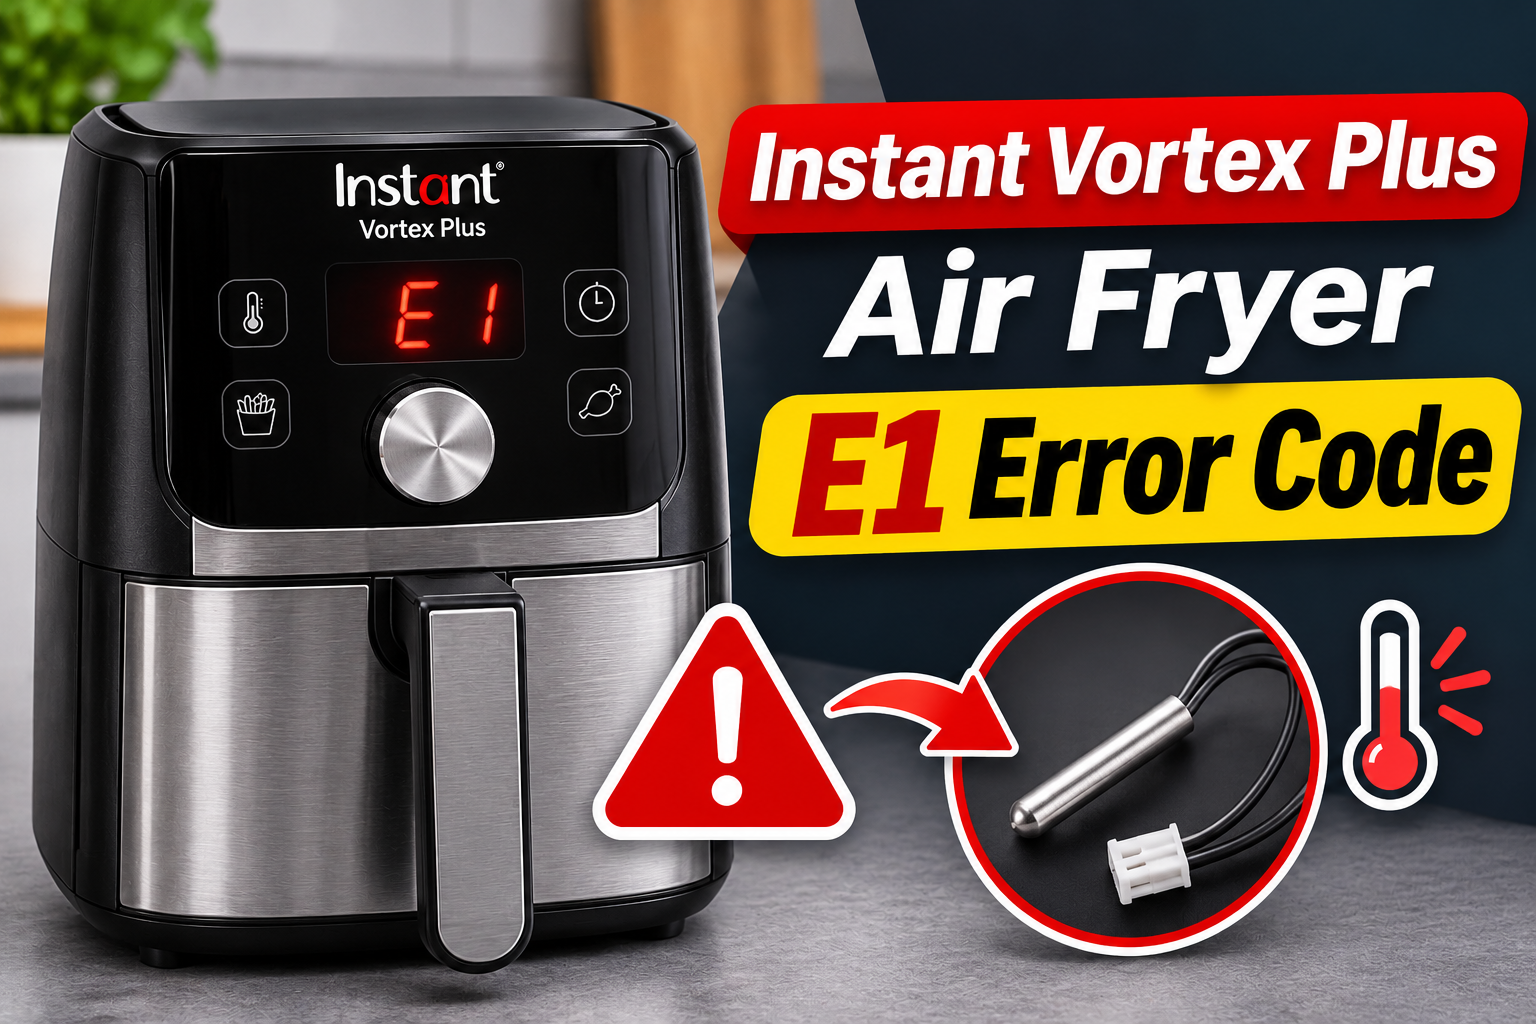
What Does the E1 Error Code Mean on an Instant Vortex Plus Air Fryer?
The E1 error code on an Instant Vortex Plus air fryer indicates an open circuit, usually involving the temperature sensor or its electrical connections. Instant’s official manuals identify E1 as an open circuit fault, while some versions describe it more specifically as a broken temperature sensor circuit.
Your air fryer uses a temperature sensor to monitor heat inside the cooking chamber. This sensor sends information to the electronic control board, allowing the appliance to regulate its heating element and maintain the temperature you’ve selected.
When the sensor circuit stops providing the expected electrical signal, the control board may display E1. As a result, your air fryer might refuse to heat or interrupt an ongoing cooking program. This protects against operating without reliable temperature information.
You may notice that the error appears immediately after switching on the appliance, during preheating, or partway through cooking. Some models also flash their control panel lights. However, E1 differs from E2, which generally indicates a temperature sensor short circuit. Both faults require attention, but their electrical causes are different.
Instant Vortex Plus Air Fryer E1 Error Code [FIXED]: Common Causes
Several internal electrical problems can interrupt communication between your air fryer’s temperature sensor and its control board. Understanding these possible causes helps explain why the error appears and why some cases need professional repair.
1. Faulty Temperature Sensor
A defective temperature sensor is one of the main components to suspect when your Instant Vortex Plus displays E1. The sensor measures temperature inside the appliance and helps the control board determine when the heating element should operate.
Many air fryers use a temperature sensing component called a thermistor. Its electrical resistance changes with temperature, allowing the electronic controls to monitor heating conditions. If the sensor develops an internal break, the control board may lose the signal it needs to regulate the cooking temperature.
Over time, repeated heating and cooling can place stress on electrical components. A manufacturing defect or deterioration inside the sensor may also cause it to fail, although the E1 code alone cannot establish exactly why the failure occurred.
A particularly useful clue is an E1 message that appears immediately after powering up the appliance, even when the cooking chamber is completely cool.
If the error returns after the air fryer has cooled and undergone the manufacturer’s recommended checks, a defective temperature sensor becomes a reasonable possibility. However, damaged wiring or control electronics can produce the same error, so the sensor shouldn’t be replaced without proper diagnosis.
2. Loose or Damaged Sensor Connections
Your Instant Vortex Plus relies on electrical connections to carry temperature readings from the sensor to its control board. If one of these connections becomes loose, damaged, or electrically disconnected, the control board may interpret the interruption as an open circuit.
Repeated temperature changes, vibration, or physical damage may contribute to connection problems. For example, a weakened connector may make contact under certain conditions but lose contact when the appliance heats up.
This can explain why some air fryers display E1 intermittently rather than every time they’re switched on. You might complete one cooking cycle normally, only to see the error during the next one.
Unfortunately, the relevant connectors are located inside the appliance. Checking them requires access to electrical components, so this is a job for an authorized repair technician rather than a routine household troubleshooting task.
3. Broken or Deteriorated Internal Wiring
Even when the temperature sensor itself is working, a damaged wire can prevent its electrical signal from reaching the control board.
Internal wiring carries signals between the appliance’s different components. If a sensor wire breaks or develops an unreliable connection, the control board may detect the same open circuit condition associated with a failed sensor.
Physical damage, excessive heat, or deterioration of electrical connections could contribute to this problem. The exact cause depends on the appliance’s construction and operating history.
You may suspect a wiring problem if the E1 message appears after the air fryer has been dropped or damaged. An error that comes and goes as the appliance warms up may also be consistent with an intermittent connection.
However, these symptoms don’t confirm broken wiring. Avoid shaking the appliance, removing its housing, or manipulating internal cables to make the error disappear. Such actions can create further damage or expose you to electrical hazards.
4. Faulty Electronic Control Board
The electronic control board manages the air fryer’s heating functions, cooking settings, and information shown on its display. It also receives and interprets electrical signals from the temperature sensor.
If the part of the control board responsible for monitoring the sensor develops a fault, the appliance may report E1 even when the sensor itself is functional.
Electrical damage, component deterioration, or liquid entering the appliance can potentially affect the board’s operation. However, these are possible explanations rather than confirmed causes of every E1 error.
Control board problems can be difficult to distinguish from sensor or wiring faults because they may produce similar symptoms.
For this reason, replacing the control board without testing the temperature sensing circuit can lead to unnecessary expense. A qualified technician should first determine which component is actually responsible.
Instant Vortex Plus Air Fryer E1 Error Code [FIXED]: DIY Fixes
Instant recommends unplugging the air fryer, checking its ventilation, allowing it to cool, and performing a test run when an E1 or E2 code appears. The following steps help you carry out those checks safely and recognize when professional service is necessary.
1. Turn Off the Air Fryer and Let It Cool
The first step is to disconnect your Instant Vortex Plus from electricity and allow it to cool completely.
A temporary operating problem may clear after the appliance has been switched off and cooled. However, cooling will not repair a broken temperature sensor or permanently disconnected wire.
Follow these steps.
-
Press the Cancel button if the control panel is responding.
-
Unplug the air fryer directly from the electrical outlet.
-
Place it on a stable, heat resistant surface with adequate ventilation.
-
Allow the appliance to cool to room temperature.
-
Once it has cooled, check the surrounding area before reconnecting it.
Avoid handling the cooking chamber or heating components while they’re hot. Depending on how long the appliance was operating, cooling may take some time.
Once everything has cooled, you can proceed with the remaining external checks. If the appliance has been producing unusual smoke, a burning electrical smell, or sparks, don’t reconnect it. Those signs require professional attention.
2. Check the Air Vents and Improve Ventilation
Proper airflow is necessary for your Instant Vortex Plus to operate safely. Its ventilation openings allow air to move through the appliance and help prevent excessive heat buildup.
When these openings are blocked, internal temperatures may rise beyond normal operating conditions. Poor ventilation doesn’t automatically cause an E1 sensor circuit fault, but checking airflow is part of Instant’s recommended troubleshooting process.
With the appliance unplugged and cool, inspect the air intake and exhaust openings. Remove any objects restricting airflow, and make sure the air fryer isn’t pressed against a wall, curtain, or another kitchen appliance.
You should also follow the clearance requirements in your particular model’s manual. For example, one Vortex Plus ClearCook manual specifies at least 13 cm, approximately 5 inches, of clearance around the appliance during operation.
If the vents are dusty, gently remove accessible surface dust using a soft, dry cloth or brush. Avoid pushing objects through the openings or using water to clean internal ventilation components.
Improving ventilation may help if excessive heat contributed to a temporary operating problem. However, an E1 code that persists under normal conditions still needs further diagnosis.
3. Clean and Dry the Accessible Cooking Components
Food residue, grease, and moisture can interfere with normal air fryer operation if they accumulate in the wrong places.
Although grease buildup isn’t an established direct cause of E1, keeping the cooking chamber clean helps prevent overheating, smoke, and other operating problems. It also allows you to rule out obvious maintenance issues before requesting service.
Start by unplugging the appliance and waiting until it has cooled completely. Remove the basket and cooking tray, then wash them according to your model’s cleaning instructions.
For routine cleaning, use a soft sponge or cloth with warm water and mild dish soap. Wipe accessible cooking chamber surfaces carefully with a damp cloth, paying attention to visible food residue.
The manufacturer’s cleaning guidance emphasizes removing grease and food debris, keeping the heating coil dry, and ensuring surfaces are dry before use.
Never immerse the main appliance in water or spray cleaning liquid into its electrical openings. If water has accidentally entered the main housing, don’t perform another test run until qualified service personnel have assessed the appliance.
Once the removable components are completely dry, reinstall them correctly. Cleaning won’t reconnect a broken sensor circuit, but it removes possible operating concerns that could complicate troubleshooting.
4. Examine the Power Cord and Electrical Supply
Before attempting another cooking cycle, inspect the air fryer’s external power connection.
Look at the accessible length of the cord and the plug while the appliance is disconnected. Pay attention to cracked insulation, discoloration, bent or damaged plug pins, and signs of overheating.
If you notice any of these problems, stop using the appliance and arrange professional assistance. Don’t cover damaged insulation with tape or attempt to repair the power cord yourself.
Next, confirm that the electrical outlet and power supply are suitable for your particular model.
For example, some US Vortex Plus models are rated for 120 volts, while versions sold in other regions may have different electrical requirements. Check the rating label rather than assuming all Vortex Plus air fryers use the same voltage.
A faulty outlet or loose plug is generally associated with power problems rather than the E1 temperature sensor fault. Nevertheless, ruling out an unsuitable or visibly damaged electrical connection is worthwhile.
Avoid using extension cords, power converters, or adapters that aren’t permitted by your appliance’s instructions. If the air fryer trips a circuit breaker, produces sparks, or causes its plug to become unusually hot, stop using it immediately.
5. Perform One Controlled Test Run
After completing the previous checks, a controlled test run can help determine whether the E1 message was temporary.
Instant’s official guidance recommends testing the air fryer after it has cooled and has adequate ventilation. However, this should only be done if there are no signs of electrical damage, liquid intrusion, smoke, or other serious faults.
First, make sure the basket and cooking tray are clean, dry, and properly installed. Place the appliance on a suitable countertop with sufficient space around its ventilation openings.
Then follow these steps.
-
Connect the air fryer to an appropriate electrical outlet.
-
Check whether the display starts normally or immediately shows E1.
-
If the display is normal, select the initial test program specified in your model’s user manual.
-
Run the test without food, following the manufacturer’s instructions.
-
Watch the display throughout the test and stop immediately if E1 returns or anything unusual occurs.
Some models automatically preheat before beginning the cooking stage, while others have slightly different controls. Use the instructions for your exact Vortex Plus model rather than copying settings intended for another version.
If the test completes normally, the appliance may have recovered from a temporary operating problem. However, a successful test doesn’t prove that an intermittent internal fault has disappeared.
If E1 appears again, cancel the program, unplug the air fryer, and discontinue testing. Repeatedly restarting a malfunctioning appliance won’t repair a damaged sensor circuit and could expose it to further electrical stress.
6. Contact Instant Customer Care or a Qualified Technician
If your Instant Vortex Plus continues displaying E1 after the recommended external checks, professional diagnosis is the appropriate next step.
The manufacturer’s error code guidance specifically directs users to Customer Care for an E1 open circuit fault. This is because identifying the exact failure may require electrical testing of the sensor, its wiring, and the control board.
Before contacting support, gather the following information.
-
Model number: Check the appliance’s identification label.
-
Serial number: Record it from the manufacturer’s label.
-
Purchase details: Keep your receipt or other proof of purchase available.
-
Error symptoms: Explain whether E1 appears immediately, during preheating, or while cooking.
-
Troubleshooting history: Mention the cooling, ventilation, and test procedures you’ve already completed.
For customers in the United States, Instant lists 1-800-828-7280 and support@instantpot.com as Customer Care contact options. You can also visit the official Instant Pot website for support.
If your air fryer is under warranty, the manufacturer may offer a repair or replacement based on its warranty terms. Certain US models carry a one year limited warranty, although coverage depends on purchase details, location, and other conditions.
For an appliance outside warranty, ask an authorized service provider whether diagnosis and repair are available. Sensor or wiring problems may be repairable, but the cost and availability of suitable parts can vary.
Avoid opening the housing to replace the temperature sensor or circuit board yourself. These repairs involve electrical components and should be handled by qualified personnel.
Wrapping Up
The Instant Vortex Plus air fryer E1 error code usually points to a problem within the temperature sensing circuit. While cooling the appliance, checking ventilation, and performing a careful test run may help with temporary operating problems, persistent E1 errors often require internal electrical diagnosis.
The most sensible approach is to begin with safe external checks and avoid unnecessary repairs. If the error returns, stop using the air fryer and contact Instant Customer Care or an authorized technician. Identifying the actual fault will help you make an informed decision about repairing or replacing your appliance.