Fortunately, this message usually indicates that the appliance cannot detect its cooking pot correctly. In many cases, checking the pot’s position or removing an obstruction can resolve the problem without requiring professional repairs.
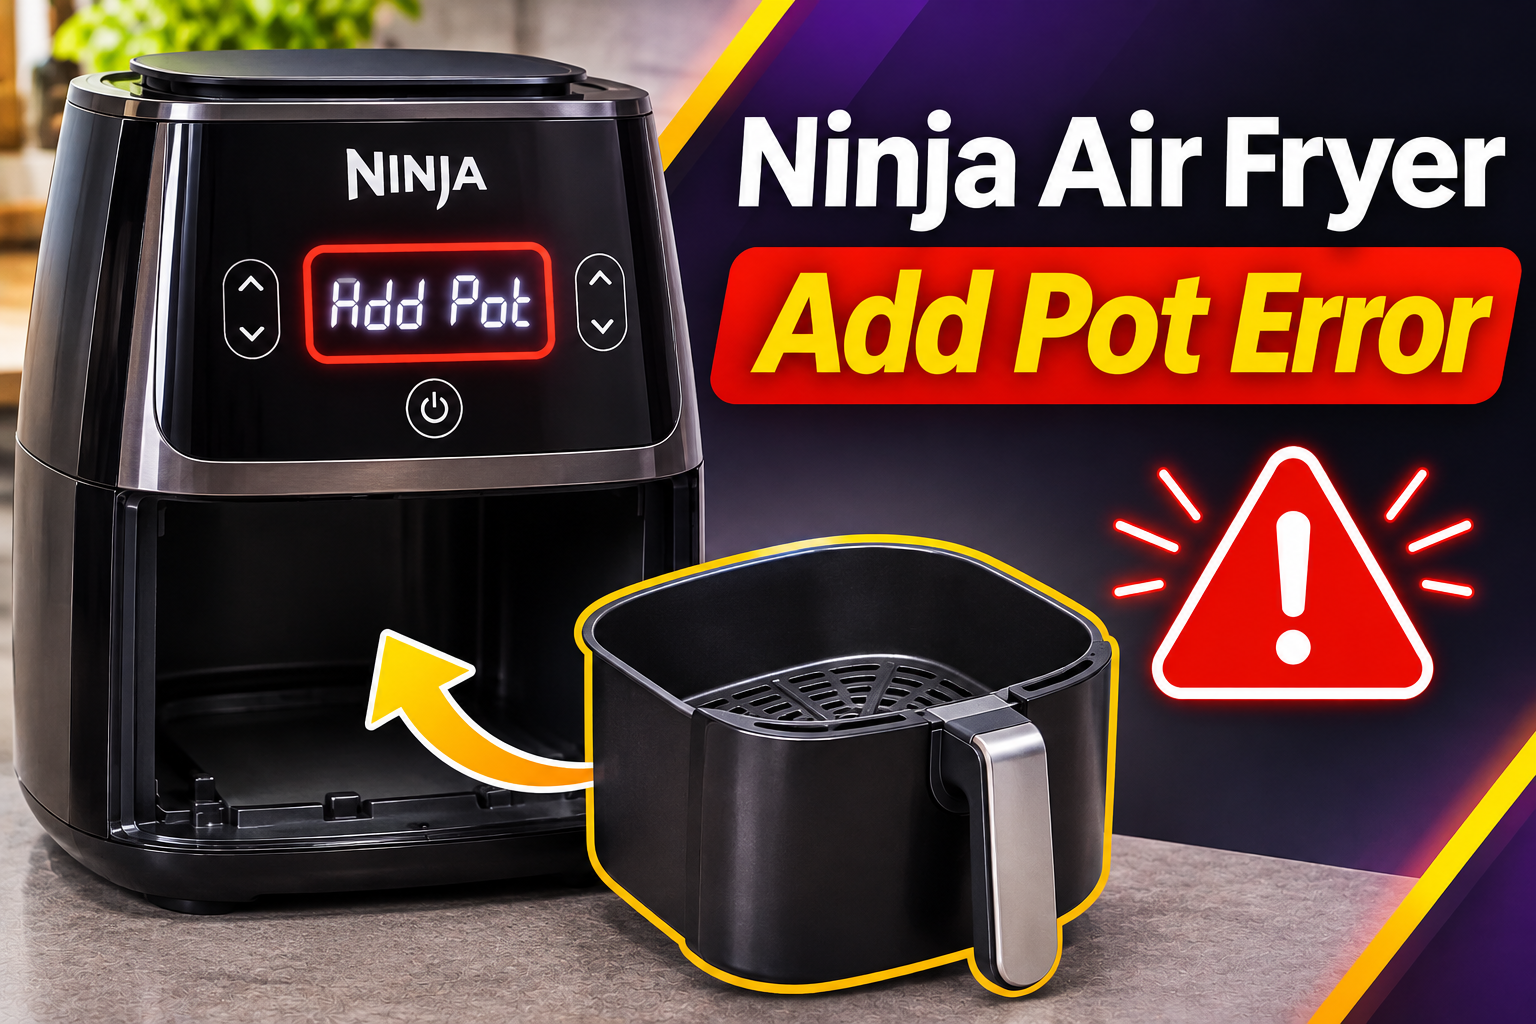
What Does the Add Pot Error Mean on a Ninja Air Fryer?
The “ADD POT” message on a Ninja air fryer means the appliance cannot detect a properly installed cooking pot or container. This message appears on certain Ninja Foodi multicookers, Rapid Cookers, and newer Ninja CRISPi models that require a removable cooking vessel.
These appliances use a detection system to confirm that the correct cooking pot is installed before allowing the selected cooking function to operate. On Ninja Foodi pressure cookers with air frying functions, the main cooking pot must be inside the cooker base, even when you’re using a separate Cook & Crisp basket or rack.
The design is slightly different on Ninja CRISPi models. For example, the CRISPi DualZone uses glass containers that must slide into position and engage correctly with the cooking station. Similarly, the CRISPi Pro requires the adjustable base to be positioned correctly for the container size. If these parts aren’t properly installed, the appliance may display “ADD POT.”
In most cases, this is a pot detection warning rather than a heating element failure. However, if the message remains after the correct pot has been installed, the problem may involve a damaged container, an obstruction, or a malfunctioning detection component.
Ninja Air Fryer Add Pot Error: Likely Causes
Several conditions can prevent your Ninja air fryer from recognizing its cooking pot. Although a missing or incorrectly positioned pot is the most direct cause, other problems can produce the same message.
1. The Cooking Pot Is Missing
The simplest reason for the “ADD POT” message is that the required cooking pot hasn’t been installed.
Certain Ninja Foodi appliances combine pressure cooking, air frying, steaming, and other cooking functions in one machine. These models use a removable cooking pot that sits inside the main cooker base.
Even when you’re using the air frying function, the main cooking pot is still required. If you place the Cook & Crisp basket directly into the empty appliance without the cooking pot underneath, the machine may display “ADD POT.”
This can be confusing because the air frying basket might appear to fit inside the appliance. However, the basket and cooking pot serve different purposes, and one cannot necessarily replace the other.
The same basic principle applies to compatible Ninja CRISPi cooking systems. If the required glass container isn’t installed, the appliance won’t begin the selected cooking cycle.
Fortunately, this problem is usually straightforward to identify. Check that the correct cooking vessel is present and installed according to your model’s instructions.
2. The Cooking Pot Isn’t Properly Seated
Sometimes, the cooking pot is inside the appliance, but it isn’t positioned correctly.
Ninja air fryers that display “ADD POT” need the cooking vessel to engage with the cooker base properly. If the pot is slightly raised, tilted, or sitting unevenly, the appliance may fail to recognize it.
This can happen when you’re replacing the pot after cleaning or returning it to the appliance after checking your food.
For example, Ninja CRISPi DualZone containers must be aligned with the base guide and pushed toward the back of the cooking station until they click into position. If the container stops short of its intended position, the display may continue showing “ADD POT.”
In some cases, the pot may appear correctly installed from the outside. However, a small gap or obstruction can prevent it from making proper contact with the detection mechanism.
If the message disappears when you remove and correctly reinstall the container, improper seating was likely responsible.
3. An Incorrect Pot or Accessory Is Being Used
Using an incompatible cooking pot can also prevent the appliance from recognizing the container.
Ninja produces several cooking systems, and their removable pots aren’t universally interchangeable. Two containers may look similar but differ in shape, dimensions, handles, or the features needed to engage with the cooker base.
For example, the Ninja CRISPi DualZone requires compatible Ninja CleanCrisp containers. Its pot detection system is designed around the shape and installation of these containers.
The CRISPi Pro also uses an adjustable base to accommodate different glass container sizes. If the base is positioned incorrectly, the cooking container may fail to engage even though it belongs to the correct appliance.
Another possibility is using a replacement pot intended for a different Ninja model. The pot may fit loosely or rest inside the appliance without engaging the detection system.
This is particularly worth checking if the “ADD POT” message appeared after you replaced a damaged cooking pot or purchased an additional container.
Always confirm that replacement pots and accessories are approved for your exact Ninja model.
4. Food Debris or Another Obstruction Is Preventing Proper Installation
Food particles, grease, and other debris can sometimes prevent a cooking pot from sitting correctly inside the appliance.
During normal cooking, crumbs, sauce, or small food particles may fall into accessible areas around the cooking vessel. If residue collects along the pot’s seating surface, it can prevent the pot from fitting properly.
This problem may become noticeable after several cooking sessions, particularly if the appliance hasn’t been cleaned thoroughly.
For example, a small piece of dried food trapped along a guide or support surface could prevent a compatible container from sliding completely into place. The appliance may then continue displaying “ADD POT.”
Similarly, incorrectly positioned removable accessories may interfere with the pot’s normal installation.
However, ordinary grease buildup isn’t automatically responsible for the message. The connection between dirt and the error depends on whether the residue physically prevents the container from engaging correctly.
If the pot becomes easier to install after you remove an obstruction, the problem may be resolved without requiring any replacement parts.
5. A Damaged Pot or Faulty Detection Mechanism
If your Ninja air fryer displays “ADD POT” despite having the correct pot installed, physical damage or a detection problem may be responsible.
A cooking pot can become damaged through accidental drops, impacts, or improper handling. Depending on its construction, damage may affect its shape, support surfaces, or the parts needed to engage with the cooking station.
For instance, a bent rim or damaged base may prevent the pot from fitting as intended. On certain Ninja CRISPi models, damage to the glass container’s permanently attached handle and protective base assembly can interfere with correct installation.
A problem inside the cooker base is another possibility.
The appliance must recognize that the required cooking vessel is installed. If the component responsible for that detection stops functioning correctly, the machine may continue displaying “ADD POT” even when everything appears properly positioned.
You might suspect this problem if the message appears repeatedly after you’ve checked the container, removed obstructions, and followed the manufacturer’s installation instructions.
However, the message alone cannot confirm an internal electrical failure. A qualified technician or Ninja customer support representative may need to evaluate the appliance before recommending repairs.
Ninja Air Fryer Add Pot Error: How to Fix
The best way to resolve the “ADD POT” message is to begin with the cooking pot itself. Most safe troubleshooting methods involve checking its presence, installation, compatibility, and condition before considering an internal fault.
1. Make Sure the Correct Cooking Pot Is Installed
Start by confirming that your Ninja air fryer contains the cooking pot required for the selected cooking function.
This step is particularly important for Ninja Foodi appliances that combine air frying with pressure cooking or other cooking methods.
If you’re using a Ninja Foodi multicooker, check that the main removable cooking pot is inside the cooker base.
The Cook & Crisp basket, reversible rack, or other cooking accessories generally sit inside or above the main cooking pot, depending on the cooking function. They don’t replace the pot itself.
Follow these steps.
-
Stop the cooking program and switch off the appliance.
-
Unplug it and allow it to cool before handling the internal components.
-
Open the appliance only when it’s safe to do so.
-
Check that the correct main cooking pot is present.
-
If it was missing, install it according to your model’s instructions.
-
Reassemble any additional cooking accessories correctly.
If you own a Ninja CRISPi air fryer, check that its required glass cooking container is installed in the cooking station.
Once the pot has been correctly installed, the appliance should recognize it if no other problem is present.
If the display continues showing “ADD POT,” move on to checking the container’s position.
2. Remove and Reinstall the Cooking Pot Correctly
An incorrectly seated pot is another common reason for the “ADD POT” message.
Even if the cooking vessel appears to be in place, removing and reinstalling it can help ensure that it sits correctly.
First, stop the cooking process and allow the appliance to cool if necessary. If you’re using a Foodi pressure cooking function, follow the manual’s pressure release instructions and never force open a pressurized lid.
Once it’s safe, remove the cooking pot and check how it fits into the cooker base.
For a Ninja Foodi multicooker, lower the correct pot into the housing as directed in the manual. Make sure it rests in its intended position without becoming tilted or obstructed by another accessory.
If you have a Ninja CRISPi DualZone, align the glass container with the base guide and slide it toward the rear support until it clicks into position.
The CRISPi Pro follows a similar principle, although its adjustable base must first be set to the correct height.
Avoid forcing the pot into place or repeatedly pushing it against resistance. If it doesn’t fit smoothly, remove it and inspect the installation area.
After reinstalling the pot, check whether the error disappears.
If the appliance now recognizes the container normally, incorrect positioning was likely the cause.
3. Check the Container Compatibility and Adjustable Base
If your Ninja air fryer still displays “ADD POT,” check whether you’re using the correct cooking container.
This is especially important if you recently purchased replacement accessories or changed between different container sizes.
Start by locating the model number on the appliance’s identification label. Then check the instruction manual to confirm which cooking pots are compatible with your machine.
For Ninja CRISPi Pro models that use an adjustable modular base, the base position must match the glass container size.
Ninja CRISPi Pro container positions
| Container size | Modular base position |
|---|---|
| 2.3 liters | Upper position |
| 3.8 liters | Middle position |
| 5.7 liters | Lower position |
If the base is positioned incorrectly, the glass container may not engage properly with the cooking station.
To correct this, remove the container after allowing it to cool. Adjust the modular base to the position recommended for your container size.
Next, align the container with the base and push it into place until it engages correctly.
If you’re using a CRISPi DualZone, check that the container has its original, permanently attached heat protective base and handles. These components are part of its intended installation system and shouldn’t be removed.
Also, avoid using containers from another brand unless Ninja specifically identifies them as compatible.
Once the correct container and base arrangement are in place, the appliance should be able to recognize the pot.
If “ADD POT” continues appearing despite proper installation, inspect the container and accessible seating areas for damage or obstructions.
4. Clean the Pot and Accessible Seating Areas
Food residue or debris can sometimes interfere with the way the cooking pot fits inside your Ninja air fryer.
Cleaning the accessible surfaces can remove an obstruction that prevents the pot from sitting correctly.
Begin by unplugging the appliance and allowing it to cool completely.
Remove the cooking pot and inspect the surfaces where it normally rests. Look for crumbs, dried food, grease, or anything that could prevent proper installation.
If you notice loose debris, remove it carefully with a soft, dry cloth.
For stubborn residue on surfaces that the manufacturer permits you to clean, use a slightly damp cloth. Avoid pouring water into the appliance or allowing moisture to enter electrical openings.
You should also clean the removable cooking pot according to its manual.
For suitable components, warm water, mild dish soap, and a soft sponge are generally effective. However, follow the cleaning requirements for your particular model, especially if it uses glass containers or coated cookware.
After washing, dry the pot thoroughly before reinstalling it.
Don’t use sharp objects to scrape around the cooker base, and never insert tools into switches, openings, or internal mechanisms.
If the cooking vessel was being obstructed by residue, removing that residue may allow it to fit properly again.
However, if the pot is already clean and correctly positioned, repeated washing is unlikely to resolve a faulty detection component.
5. Try a Simple Power Reset
If the correct pot is installed and the “ADD POT” message remains, a power reset may be worth trying.
Some electronic appliances can experience temporary control problems that disappear after their power supply has been disconnected and restored.
A reset won’t repair a damaged pot or defective internal component. However, it can help determine whether the message is associated with a temporary control problem.
Follow these steps.
-
Stop the cooking function and switch off the appliance.
-
Unplug the power cord from the wall outlet.
-
Allow the appliance to cool completely.
-
Leave it unplugged for approximately 10 minutes.
-
Check that the cooking pot is correctly installed.
-
Reconnect the appliance to a suitable electrical outlet.
-
Check whether the “ADD POT” message has disappeared.
The 10 minute waiting period is a general troubleshooting suggestion rather than an official reset requirement for every Ninja model.
If the appliance recognizes the pot after restarting, the message may have been temporary.
However, if the error disappears and then returns during another cooking session, it may indicate an intermittent detection problem.
Avoid repeatedly restarting the air fryer to force it to operate.
If the pot is correctly installed and the display continues showing “ADD POT,” the next step is to seek professional assistance.
6. Contact Ninja Customer Support or a Qualified Technician
If none of the previous steps resolves the error, contact Ninja customer support or a qualified appliance repair technician.
A persistent “ADD POT” message can indicate that the appliance isn’t correctly detecting its cooking vessel, even when the pot appears properly installed.
The problem may involve a damaged pot, an installation component, or an internal detection mechanism.
For example, a technician may determine that the cooking pot has become physically damaged and no longer engages correctly with the cooker base.
In that situation, replacing the pot with the correct manufacturer approved component may resolve the problem.
However, if the pot is in good condition, the fault may involve a component inside the appliance.
A technician can inspect the relevant detection system and determine whether repair or replacement is necessary.
Don’t attempt to bypass the pot detection mechanism or modify the appliance to make it operate without recognizing the cooking vessel. The system helps ensure that the appliance is assembled correctly before heating.
Before arranging repairs, check whether your Ninja air fryer is still covered by its manufacturer’s warranty.
You can find customer service information through the official Ninja website at ninjakitchen.com or in the documentation supplied with your appliance.
When contacting support, provide your model number and explain exactly when the message appears.
For example, mention whether “ADD POT” appears immediately after switching on, after removing and replacing the cooking container, or during an active cooking cycle.
Also explain which troubleshooting steps you’ve already tried.
If the appliance is out of warranty, request an estimated repair cost before authorizing the work.
Depending on the affected component and the availability of replacement parts, repairing the appliance may be practical. However, if the internal detection system requires an expensive repair, replacing the appliance may be a better option.
Wrap-Up
The Ninja air fryer “ADD POT” error usually means the appliance cannot recognize its cooking pot or container. A missing pot, incorrect installation, incompatible accessory, or obstruction is often responsible. However, physical damage or a faulty detection mechanism may also cause the message to remain on the display.
Start by confirming that the correct pot is installed and properly seated. Then check for obstructions, compatibility problems, or damage. If the message persists after these safe checks, contact Ninja customer support or a qualified technician to identify the fault and restore normal operation safely.