You’re getting ready to use your KitchenAid oven, but instead of starting normally, the display keeps showing “Enter Probe Temp” or “Enter Probe Temp or Remove Probe.” You press a few buttons, hoping the message will disappear, but the oven refuses to cooperate. It’s especially frustrating when you haven’t even used a temperature probe.
Fortunately, this message doesn’t always mean something expensive has broken. Sometimes, the oven has entered its probe cooking mode by mistake. Other times, moisture, dirt, or a faulty probe connection makes the oven think a probe is attached when there isn’t one.
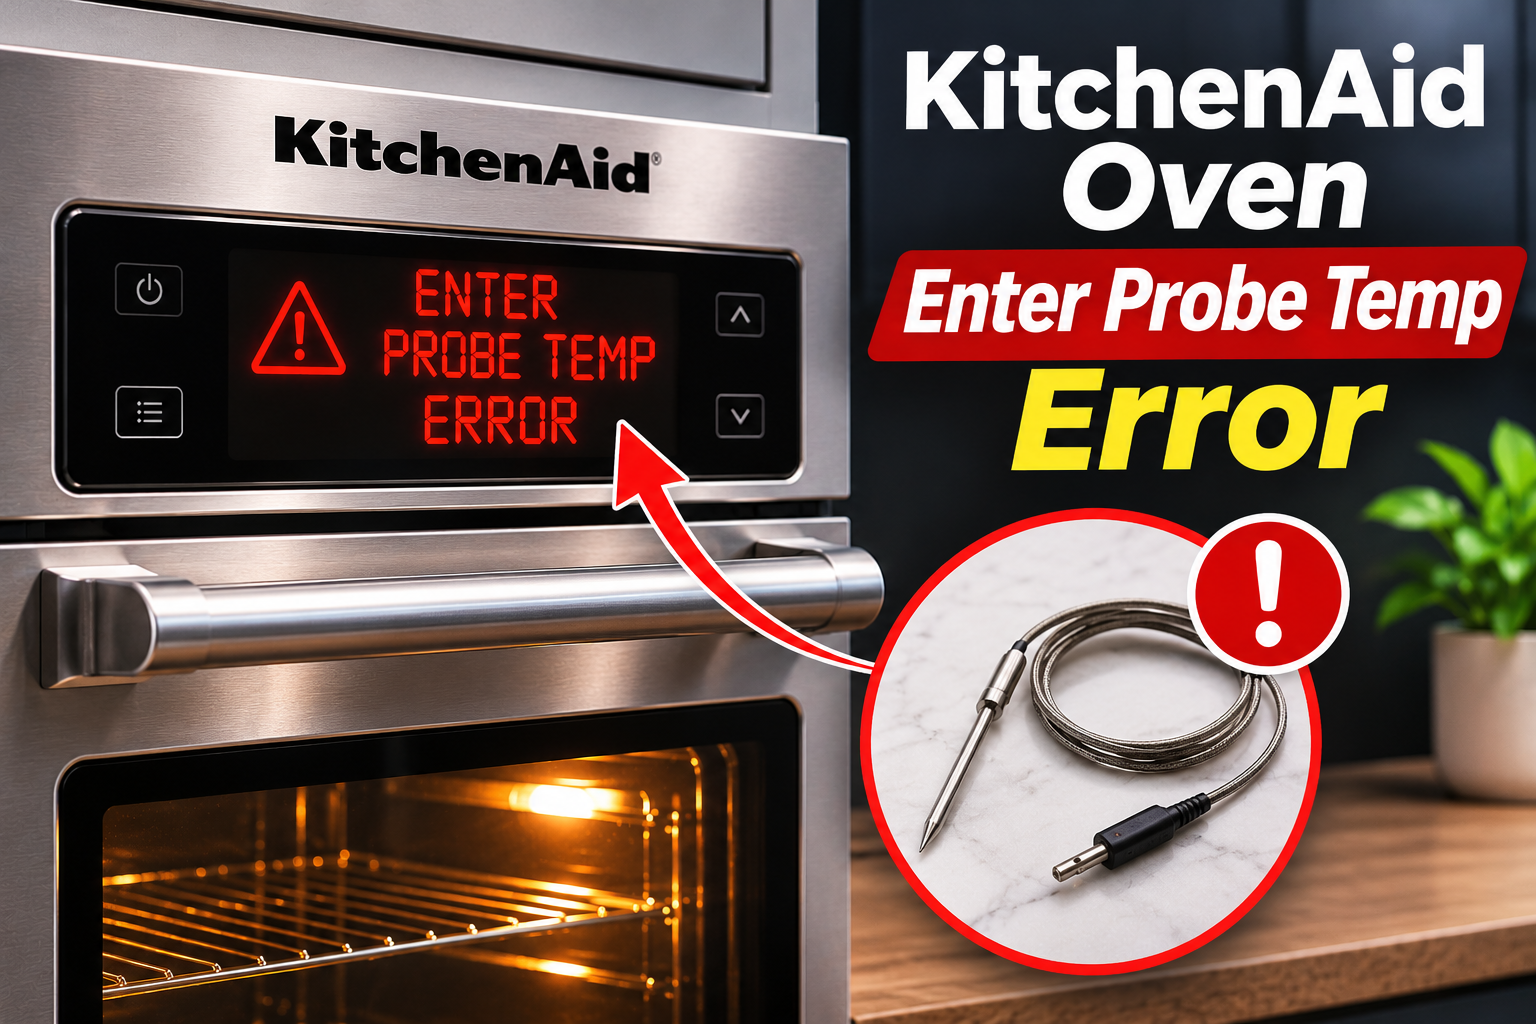
KitchenAid Oven Enter Probe Temp Error: How to Fix
The quickest fixes involve canceling the probe setting, checking the probe connection, and resetting the oven. If those don’t work, a closer look at the probe socket can help you figure out whether the problem needs professional attention.
1. Understand What the Enter Probe Temp Message Means
Your KitchenAid oven may have a temperature probe feature that measures the internal temperature of food while it cooks. This is particularly useful for roasting meat because the oven can monitor the food’s temperature without requiring you to open the door repeatedly.
The probe is a metal device with a pointed end that goes into the food. Its other end connects to a small socket inside the oven.
When the oven detects the probe, it may ask you to enter the temperature you want the food to reach. That’s normal when you’re deliberately using the probe feature.
However, there’s a problem when the same message appears without a probe connected. In that situation, the oven may be incorrectly detecting a probe or staying in probe cooking mode.
Several things can cause this behavior. Moisture may collect inside the probe socket, grease can interfere with the connection, or the socket itself may develop an electrical fault.
A damaged probe or an issue with the electronic controls can also cause trouble.
The important distinction is whether you’re actually using the probe. If you are, the message may simply be asking for your cooking settings. If you aren’t, you’ll need to find out why the oven thinks a probe is connected.
2. Cancel the Probe Cooking Mode
Before inspecting any parts, try canceling the current cooking setting.
It’s possible that the probe function was selected accidentally while someone was using the control panel. Some KitchenAid ovens automatically begin asking for a probe temperature after detecting a probe connection.
If the oven is simply waiting for cooking instructions, canceling the operation may restore the normal display.
Press the Cancel, Off, or Cancel/Off button, depending on the controls available on your model.
For a double wall oven, make sure you’re using the Off button for the correct oven compartment. Some models have separate controls for the upper and lower ovens.
After canceling the operation, allow the display to return to its normal screen. Then select Bake and check whether the oven accepts a regular temperature setting.
If the message disappears, the problem may have been an accidentally selected cooking function.
However, if the message immediately returns, don’t keep pressing random buttons. The oven may still be detecting a probe connection, even though you’re trying to cancel it.
That points to a possible issue with the probe, its socket, or the control system.
3. Remove the Temperature Probe Completely
If you’ve recently used the temperature probe, removing it is one of the easiest things to try.
Some KitchenAid models continue to recognize the probe until its plug is physically disconnected from the socket. Simply removing the metal tip from the food isn’t enough.
First, turn off the cooking cycle and allow the oven to cool. If the oven is still hot, use an appropriate oven mitt and avoid touching the heating elements or hot metal surfaces.
Locate the probe connection inside the oven cavity. It’s usually a small receptacle on an interior wall, although the position varies by model.
Carefully unplug the probe by holding its connector rather than pulling on the cable.
Once it’s disconnected, check the display. If the oven recognizes that the probe has been removed, the prompt should clear or allow you to return to normal cooking.
Next, press Cancel or Off if necessary, then try selecting Bake.
If you’re not using a temperature probe, leave the socket empty during ordinary cooking.
A useful detail is that some older KitchenAid models require the probe to be unplugged before their probe cooking settings can be cleared or changed.
If removing the probe doesn’t help, the connection may be dirty, damp, or damaged.
4. Insert the Probe Properly if You’re Using It
Sometimes, the message appears because you’re trying to use the temperature probe but haven’t completed the required setup.
KitchenAid explains in its official probe troubleshooting guide that the probe must be fully inserted into its receptacle.
A loose connection can prevent the oven from reading the probe correctly.
Start by inserting the pointed end into the thickest part of the food. For meat, keep the tip away from bones and large pockets of fat because these can affect the temperature reading.
Place the food inside the oven and insert the probe plug firmly into its socket.
Make sure the connector fits securely without forcing it.
Then follow your oven’s instructions to select the appropriate cooking function, enter the desired food temperature, and set the oven temperature.
The exact sequence varies between KitchenAid models. Some allow you to enter the probe temperature before choosing Bake or Convection Roast. Others provide a dedicated Probe option.
Certain models also limit the temperatures you can enter for probe cooking, so use the range specified in your owner’s manual.
Once everything is set, press Start.
If the oven accepts the settings and begins monitoring the food temperature, the probe system is likely communicating correctly.
However, if it continues requesting a temperature despite a secure connection, the probe or its receptacle may need further inspection.
5. Let Moisture Inside the Probe Socket Dry
Moisture is a possible reason your KitchenAid oven keeps showing the probe message when nothing is connected.
Cooking foods that release plenty of steam can leave condensation on interior surfaces. Water vapor may also collect around the temperature probe receptacle.
If moisture affects the electrical contacts, the oven could mistakenly interpret the connection as an inserted probe.
This is particularly worth considering if the error appeared after roasting a large piece of meat, cooking with water in the oven, or cleaning the oven interior.
Some KitchenAid owners have reported that the unwanted probe message disappeared after the oven and probe socket were allowed to dry.
To check whether moisture is the problem, turn off the oven and disconnect its power at the circuit breaker. Let the oven cool completely.
Then leave the oven door slightly open to help the cavity dry naturally. If the kitchen is humid, improving room ventilation may help.
Allow several hours for drying, especially if you’ve recently cooked something that produced considerable steam.
Once the oven is completely dry, restore power and check the display.
Avoid trying to speed things up by spraying cleaning products into the socket or directing very hot air into it. Excessive heat and liquids can damage electrical contacts and surrounding components.
If the error disappears after drying, moisture may have been responsible. However, repeated problems after ordinary cooking can suggest that the receptacle needs inspection.
6. Inspect and Gently Clean the Probe Socket
Even when moisture isn’t involved, dirt or grease around the probe connection can interfere with its operation.
Over time, cooking residue may build up near the small opening where the temperature probe connects.
Start by turning off the oven at the circuit breaker and waiting until the interior is completely cool.
Locate the probe socket and examine it using a flashlight.
Look for visible grease, food residue, discoloration, corrosion, or physical damage around the opening.
If you notice dirt on the surrounding oven surface, wipe it away carefully with a soft, dry cloth. A soft brush can also help remove loose debris from the accessible area around the socket.
Keep cleaning gentle and limited to exposed surfaces.
Don’t insert metal tools, sharp objects, wet cotton swabs, or cleaning chemicals into the electrical contacts. These can damage the receptacle or introduce more moisture.
If the socket has visible corrosion, looks loose, or has damaged internal contacts, stop there. Those conditions are better handled by a qualified appliance technician.
After cleaning the surrounding area, check that everything is dry before restoring power.
Try starting the oven again without connecting the probe.
If the message disappears, residue around the connection may have contributed to the problem.
If the error remains, the issue could be inside the socket or farther along its electrical circuit.
7. Reset the Oven Using the Circuit Breaker
An electrical reset is one of the most useful troubleshooting steps when your KitchenAid oven gets stuck displaying the probe message.
The oven’s electronic control system manages its cooking functions and responds to signals from connected accessories.
Occasionally, a control problem may leave the display stuck on a particular instruction.
KitchenAid recommends resetting the appliance by switching off its circuit breaker for one minute before restoring power.
You can use the same procedure to check whether the probe message clears.
First, stop any active cooking operation if the controls still respond.
Next, locate the circuit breaker that supplies power to the oven and switch it off. Make sure you’re turning off the correct circuit.
Leave the power disconnected for at least one minute.
Then switch the breaker back on and allow the control panel to restart.
Watch the display for another minute to see whether the message returns.
If the oven goes back to normal, try selecting a regular cooking function without the temperature probe.
A reset can clear a temporary control problem, but it won’t repair a damaged socket or faulty electrical component.
If the message returns immediately, repeating the reset several times is unlikely to solve the underlying problem.
For more details, KitchenAid provides the same power reset procedure in its range probe troubleshooting instructions.
8. Check the Temperature Probe for Damage
If you actually use the probe feature, the probe itself deserves attention.
Its metal tip, connecting cable, and plug all contribute to proper temperature readings.
Repeated use, accidental pulling, or contact with excessive heat can eventually damage the cable or connector.
Once the probe is cool and disconnected, inspect it carefully.
Look for cuts in the cable, melted insulation, loose connections, bent metal parts, or unusual discoloration around the plug.
Pay close attention to the point where the cable meets the connector. Damage in this area can sometimes be easy to overlook.
If the cable looks damaged, stop using the probe. Don’t attempt to repair it with tape or continue inserting it into the oven.
You may need a replacement probe that matches your exact KitchenAid model.
If a compatible, undamaged probe is already available, you can test it using the procedure in your owner’s manual.
However, there’s an important difference between a failed probe and a failed probe socket.
If your oven displays “Enter Probe Temp” even with nothing connected, the removable probe may have nothing to do with the problem.
Replacing it wouldn’t necessarily help because the oven could still be incorrectly sensing a connection inside the receptacle.
This is why it’s worth testing the oven without a probe before spending money on a replacement.
9. Check Whether the Probe Receptacle Has Failed
When the unwanted probe message keeps returning despite cleaning, drying, and resetting, the receptacle becomes a stronger suspect.
The receptacle is the fixed socket inside the oven where the temperature probe plugs in.
It has electrical contacts that allow the oven’s control system to detect the probe and read temperature information.
If those contacts become damaged, contaminated, or electrically shorted, the oven may receive an incorrect signal.
For instance, it might behave as though a probe is plugged in even while the socket is empty.
Common signs of a possible receptacle problem include a probe message that appears without a probe, repeated beeping, and cooking controls that refuse to return to normal operation.
The error may also come and go after the oven has been used for a long period.
Still, these symptoms don’t prove the receptacle is faulty. Wiring problems or electronic control faults can produce similar behavior.
A qualified technician can inspect the probe circuit and determine whether the socket, wiring, or another component needs repair.
The receptacle can be a replaceable component on some KitchenAid models, but its location and connection method vary.
Avoid removing oven panels or disconnecting internal wiring as a temporary workaround. Built in ovens may have high voltage connections, and incorrect repairs can create serious electrical hazards.
Professional diagnosis is especially worthwhile when the oven has stopped accepting normal baking commands.
10. Consider a Fault With the Electronic Control Board
If the probe socket appears to be in good condition, the oven’s electronic control system may be responsible.
The control board processes information from different sensors and uses those signals to manage cooking operations.
A problem with its probe detection circuit could cause the oven to display incorrect messages.
You might notice other symptoms as well. The control panel could stop responding normally, display unrelated errors, or behave unpredictably when you select cooking functions.
For example, the oven may repeatedly return to the probe temperature screen after you cancel it.
However, a persistent probe message doesn’t automatically mean the control board needs replacing.
The same symptoms can result from a bad receptacle or damaged wiring.
Replacing a control board without confirming the fault could turn a relatively small repair into a much more expensive one.
Instead, provide a technician with a clear description of what happened.
Mention whether the error appears when the oven is cold, whether a probe is connected, and whether the message started after cooking or cleaning.
Also explain which troubleshooting steps you’ve already tried.
This information can help narrow down the possible causes before replacement parts are ordered.
If the control panel is unresponsive and the oven continues heating, switch off its power at the circuit breaker. Don’t use the appliance again until it has been checked.
11. Test the Oven After the Message Disappears
Once you’ve cleared the message, it’s worth confirming that the oven works normally before preparing another full meal.
A disappearing error message is encouraging, but you should also check whether the oven accepts cooking settings.
With the temperature probe disconnected and the oven empty, select the regular Bake function.
Set a moderate oven temperature, such as 350°F, and press Start.
Watch the display to confirm that the oven begins the normal preheating process rather than returning to the probe temperature prompt.
If the oven appears to operate correctly, allow it to preheat and observe it for a short period.
Then press Cancel or Off.
Make sure the heating cycle stops as expected.
If the oven accepts Bake, heats normally, and shuts off properly, the immediate problem may be resolved.
However, keep an eye on it during the next few cooking sessions.
An intermittent connection can behave normally for a while before causing another error.
If the probe message returns, especially when no probe has been used, arrange a professional inspection rather than relying on repeated resets.
Also, don’t attempt to defeat the probe detection system by leaving a damaged probe plugged in. That may hide the original problem without correcting it.
A proper fix should allow the oven to operate normally with the probe connected when needed and disconnected during ordinary cooking.
12. Prevent the Enter Probe Temp Error From Returning
A few simple habits can help protect the probe connection from unnecessary wear and contamination.
After using the temperature probe, allow it to cool before disconnecting and cleaning it according to your owner’s manual.
Avoid pulling on its cable to unplug it. Instead, hold the connector firmly and remove it carefully.
Keep food spills and grease away from the probe socket as much as possible. If residue collects around the opening, clean the surrounding area after the oven has cooled.
It’s also sensible to avoid directing water or cleaning sprays toward the receptacle.
When cooking foods that release considerable steam, allow the oven to cool and dry before closing it up for extended periods.
Store the probe somewhere safe when it’s not being used. That reduces the chance of damaging its cable or connector.
If the probe begins fitting loosely or the message starts appearing frequently, don’t ignore the change.
A minor problem can sometimes become more troublesome if the electrical connection continues deteriorating.
Of course, ordinary maintenance can’t prevent every component failure. But careful cleaning, proper probe handling, and prompt attention to repeated errors can help you avoid unnecessary problems.
When to Contact KitchenAid for Service
If the message remains after you’ve canceled the probe function, removed the probe, dried the socket, and reset the oven, professional service is the sensible next step.
Before contacting support, find the oven’s model number. KitchenAid generally places its oven model and serial number label inside the door area, although the exact position may vary.
Write down the full model number and the exact message shown on the display.
You can use KitchenAid’s official manual lookup guidance to find instructions specific to your appliance.
When requesting service, explain whether the oven works normally after a reset or remains stuck on the probe screen.
If the appliance is still covered by a warranty, check the coverage before authorizing repairs.
A professional can determine whether the issue involves the probe receptacle, internal wiring, or electronic controls.
Wrapping Up
The KitchenAid oven Enter Probe Temp message usually means the oven is requesting a food probe setting or incorrectly detecting a probe connection. Start with the simple possibilities, including canceling the cooking function, unplugging the probe, allowing the socket to dry, and resetting the circuit breaker. These steps may clear the problem without requiring replacement parts.
If the message keeps returning, particularly when no probe is connected, the socket or electronic controls may need attention. Work through the safe checks first, and avoid forcing the oven to operate when its controls aren’t responding properly. That way, you can identify a possible simple fix while knowing when it’s time to call for service.