Fortunately, some causes are relatively simple to identify and fix. However, the error can also point to a faulty motor or another internal component. Knowing what causes it can help you troubleshoot the problem safely and determine when professional repair is necessary.
What Does the KitchenAid Ice Maker E2 Error Code Mean?
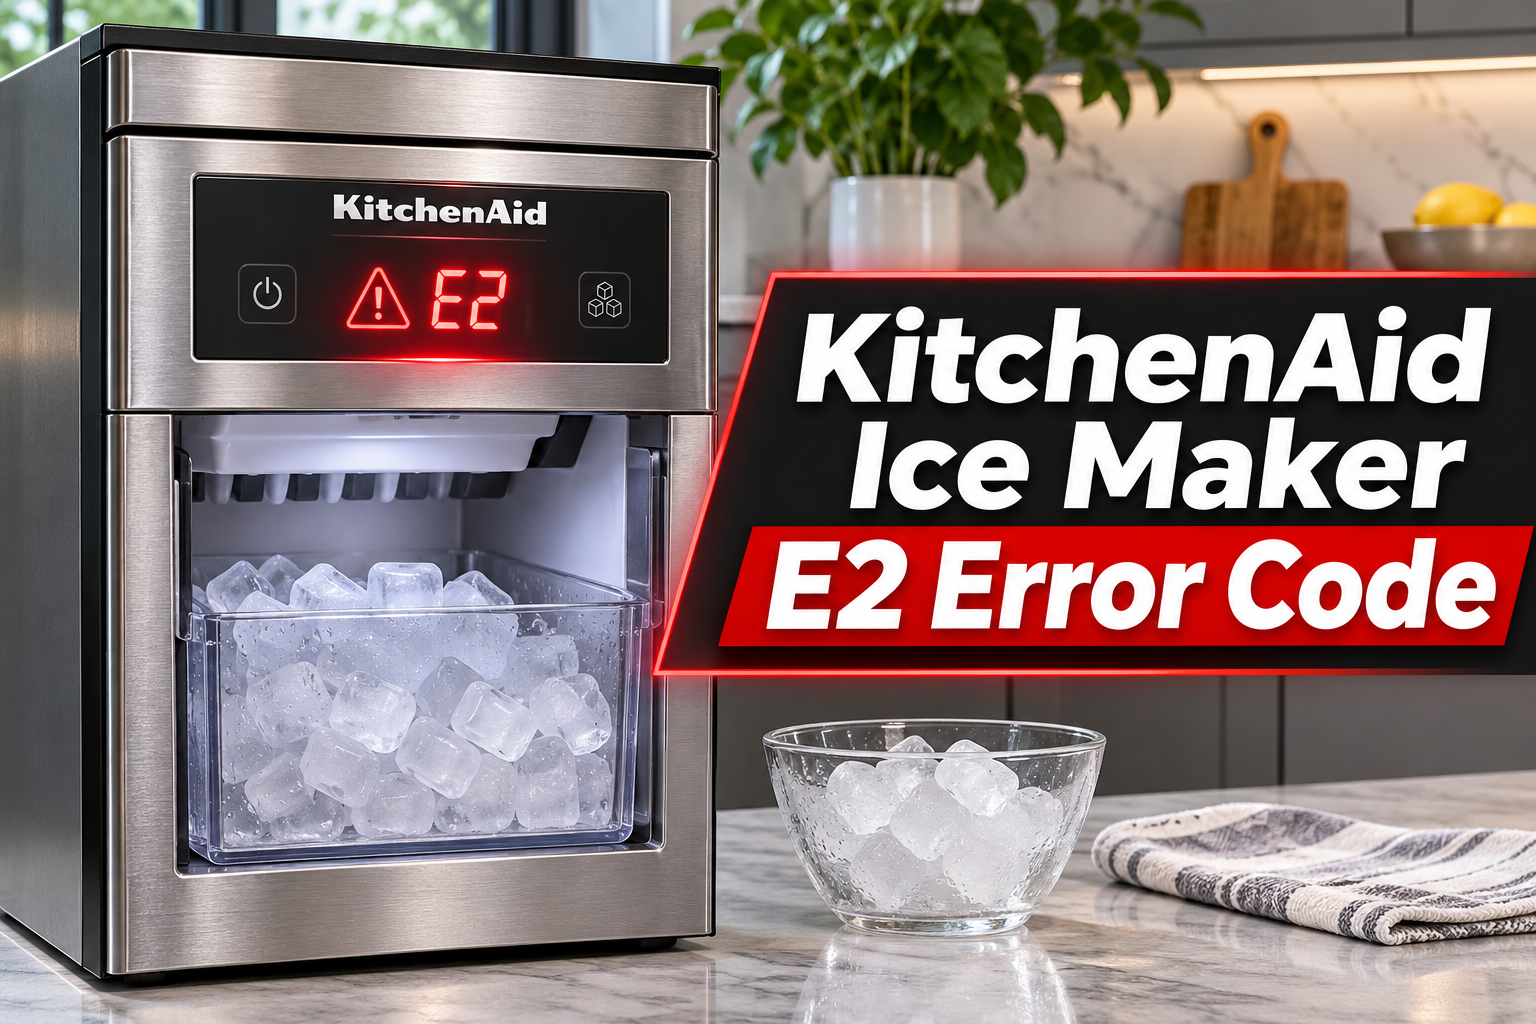
On many KitchenAid refrigerators, the E2 error code means “Motor Lost Position.” It indicates that the ice maker’s harvesting mechanism couldn’t complete its normal movement or return to its starting position. This error is commonly associated with Service Test 56 on certain KitchenAid refrigerator models.
During normal operation, your ice maker fills a mold with water and allows it to freeze. Once the cubes are ready, a small motor operates the harvesting mechanism, which pushes the ice into the storage bin. The mechanism then returns to its original position so the next ice-making cycle can begin.
When something prevents the motor from completing this movement, the refrigerator may record an E2 error. You might notice that the ice maker stops producing ice, leaves cubes trapped in the mold, or makes repeated clicking sounds without releasing any ice.
However, E2 doesn’t mean exactly the same thing on every KitchenAid appliance. Some models use different diagnostic systems, and freestanding ice machines may have different error definitions. Therefore, check your model’s service information before assuming that the harvesting motor is responsible.
KitchenAid Ice Maker E2 Error Code: Common Causes
Several mechanical and electrical problems can prevent the ice maker from completing its harvesting cycle. The following are five possible causes worth investigating.
1. Ice Cubes Blocking the Harvesting Mechanism
One of the first things to check is whether ice has become trapped around the harvesting mechanism. The motor needs to move the ejector assembly through its normal range of movement to release frozen cubes into the storage bin.
Sometimes, ice cubes freeze together or become wedged between moving parts. This can happen when cubes don’t release properly during an earlier harvesting cycle or when excess ice builds up around the mold. As the motor attempts to move the ejector, the obstruction creates resistance that prevents the mechanism from reaching its correct position.
You may hear repeated clicking sounds or notice that the ice maker attempts to operate without dropping any cubes. Ice might also remain in the mold despite being completely frozen. If the obstruction is visible and safely accessible, removing it may allow the mechanism to operate normally again.
2. Faulty Ice Maker Motor or Damaged Gears
The harvesting motor provides the mechanical force needed to eject frozen cubes. Depending on the ice maker’s design, it works with gears and other moving components that control the ejector mechanism.
Over time, these parts can develop problems. A motor may fail electrically, while damaged or worn gears can prevent its movement from reaching the harvesting assembly. In either case, the mechanism may stop partway through a cycle and trigger the E2 error.
A faulty motor might produce a humming sound without moving the ejector. Damaged gears may cause repeated clicking or grinding noises. Sometimes, the mechanism doesn’t move at all. However, these symptoms can also occur when ice blocks the ejector, so the motor shouldn’t be replaced without proper diagnosis.
3. Ice Cubes Stuck in the Mold
Your KitchenAid ice maker must release frozen cubes from the mold before the harvesting mechanism can push them into the storage bin. On models equipped with a mold heater, a brief heating cycle loosens the cubes so they can be removed without excessive force.
If the cubes remain firmly attached to the mold, the ejector mechanism may struggle to move them. A defective mold heater, irregular ice formation, or damage to the mold can contribute to this problem. Excess water entering the mold may also create oversized cubes that interfere with harvesting.
One noticeable sign is a mold filled with frozen cubes that never reach the storage bin. However, a mold heater failure can have a separate diagnostic code on some KitchenAid models. Therefore, frozen cubes that refuse to release don’t automatically mean the heater is defective. The harvesting mechanism and related components may need further inspection.
4. Faulty Position Detection or Electrical Connections
The ice maker’s control system needs to recognize when the harvesting mechanism has reached its proper position. Depending on the model, this may involve internal switches, contacts, or other feedback components.
If the position detection system fails, the control board may be unable to confirm that the motor has completed its movement. A damaged electrical connection can cause similar problems by interrupting the signals between the motor assembly and its controls.
For example, the harvesting mechanism might move but still fail to complete the cycle correctly. The refrigerator may then record E2 because the expected motor position wasn’t detected. Since these components are located inside the ice maker assembly, electrical testing should be handled by a qualified technician.
5. Malfunctioning Ice Maker Control Module
The ice maker control module manages the different stages of ice production, including the harvesting motor’s operation. It helps coordinate the movement required to release cubes and prepare the mold for another cycle.
If the control electronics malfunction, they may fail to operate the motor correctly or interpret its position. Damaged electronic components or internal circuit problems can interrupt harvesting even when the mechanical parts appear intact.
Control module problems can be difficult to distinguish from motor failures because both may prevent ice production. On some KitchenAid models, the control electronics and harvesting motor are integrated into a single assembly. This means replacing the complete ice maker may be necessary if the internal components aren’t available separately.
KitchenAid Ice Maker E2 Error Code: DIY Fixes
The best way to troubleshoot an E2 error is to begin with simple checks that don’t require dismantling the appliance. If those checks don’t resolve the problem, the motor and related electrical components may require professional attention.
1. Confirm the E2 Error Code
Before attempting repairs, confirm that your KitchenAid refrigerator uses E2 to indicate a harvesting motor position problem. Different models have different diagnostic systems, so the meaning of the code depends on where and how it appears.
Start by locating your refrigerator’s model number. The identification label is commonly found inside the fresh food compartment, although its exact location varies. Use the model number to find the correct owner’s manual or technical documentation.
If the error appears during Service Test 56 on a compatible KitchenAid refrigerator, it generally indicates that the harvesting motor lost its position. However, if E2 appears during another diagnostic test or on a freestanding ice machine, its meaning may differ.
Confirming the code helps you focus on the correct system instead of replacing components that may be working normally.
2. Reset Your KitchenAid Ice Maker
Resetting the refrigerator may clear a temporary control problem that interrupted the ice maker’s operation. A brief power interruption allows the electronic controls to restart and may help the appliance resume normal operation.
Follow these steps to reset your KitchenAid ice maker.
-
Turn off the ice maker using its designated switch or control setting.
-
Unplug the refrigerator or switch off its circuit breaker.
-
Leave the appliance disconnected for one minute.
-
Restore power and allow the refrigerator controls to restart.
-
Turn the ice maker back on if necessary.
-
Allow time for another ice-making cycle and check whether the problem returns.
Some KitchenAid models have a dedicated ice maker reset button or a control panel option. If your appliance has either feature, follow the instructions in its owner’s manual.
If ice production resumes normally and the E2 error doesn’t return, the interruption may have been temporary. However, a reset won’t fix broken gears, damaged wiring, or a seized harvesting motor.
If the error returns, avoid resetting the appliance repeatedly. Continue with the next checks to identify a possible physical obstruction.
3. Remove Ice Blocking the Harvesting Mechanism
Since E2 often indicates that the harvesting mechanism couldn’t complete its movement, checking for trapped ice is an important troubleshooting step.
Start by switching off the ice maker and disconnecting refrigerator power. Remove the ice storage bin according to your model’s instructions, then look around the visible harvesting area for frozen cubes that may be blocking the mechanism.
If you find an obstruction, follow these steps.
-
Check for loose cubes trapped near the ejector mechanism.
-
Gently remove any ice that is safely accessible.
-
Use a plastic utensil if necessary, taking care not to damage surrounding parts.
-
Avoid forcing the ejector arms or other moving components.
-
Reinstall the ice storage bin correctly.
-
Restore power and observe whether normal ice production resumes.
If a cube is tightly frozen in place, don’t force it loose. You can allow accessible ice to soften naturally while the ice maker is switched off, provided your model’s instructions permit it.
Avoid using knives, screwdrivers, boiling water, or hair dryers to remove frozen ice. Sharp objects can damage the mold, while excessive heat and moisture can harm electrical components.
If the mechanism remains stuck after removing accessible ice, further testing should be performed by a qualified technician.
4. Empty and Clean the Ice Storage Bin
Ice cubes can sometimes freeze together into larger clumps inside the storage bin. This may occur when ice partially melts and freezes again, particularly if warm air frequently enters the compartment.
Although ice clumps inside the bin don’t directly explain every E2 error, checking the storage area helps identify conditions that may interfere with normal ice collection.
To clean the bin, turn off the ice maker and remove the container according to the manufacturer’s instructions. Empty the old ice, then wash the removable bin by hand using mild soapy water.
Rinse it thoroughly and dry it completely before reinstalling it. Make sure the bin sits correctly in its designated position and doesn’t interfere with any accessible parts of the ice maker.
After reinstalling the bin, restore normal operation and allow the appliance to produce ice. If cubes begin dropping into the bin and the harvesting mechanism operates normally, the problem may have involved an accessible obstruction.
However, if E2 continues appearing, the fault is likely to require further investigation of the harvesting system.
5. Check the Freezer Temperature and Ice Formation
Incorrect freezer temperatures can interfere with normal ice production. Although temperature problems aren’t a direct diagnosis of E2, they may contribute to irregular ice formation or prevent cubes from freezing properly.
For many KitchenAid refrigerators, the recommended freezer setting is approximately 0°F. Check your refrigerator’s temperature setting and compare it with the recommendation in its owner’s manual.
If the freezer temperature is too high, the ice may take longer to freeze or may not reach the condition needed for normal harvesting. Also, check whether the refrigerator door closes correctly. A damaged or dirty door gasket can allow warm, moist air into the compartment, causing frost buildup and temperature changes.
You should also examine the ice mold for signs of unusual ice formation, without touching its moving parts. For example, oversized cubes, ice bridges, or excessive frost around the mold may indicate another problem affecting harvesting.
If the cubes appear irregular or the mold seems to contain too much ice, the water fill system may need attention. However, don’t attempt to adjust the water inlet valve or internal electrical components yourself.
Once the freezer temperature and ice formation appear normal, observe whether the appliance can complete a harvesting cycle. If the motor still fails to return to its starting position, the error is unlikely to be resolved through temperature adjustments alone.
6. Observe the Ice Harvesting Cycle
After removing visible obstructions and completing the other checks, observe whether the ice maker can release cubes normally.
Make sure the ice maker is switched on and the storage bin is properly installed. Allow the appliance to operate under normal conditions, and listen for sounds associated with the harvesting mechanism.
A brief mechanical sound during ice release can be normal. However, repeated clicking, grinding, or a motor that struggles without ejecting ice may indicate a mechanical problem.
If the ice maker completes a cycle and drops frozen cubes into the storage bin, that suggests the harvesting mechanism is operating. Continue monitoring ice production to see whether the problem returns.
If E2 appears again, stop further testing. A motor that repeatedly attempts to move a blocked mechanism may place additional stress on the internal components.
Certain KitchenAid refrigerators include service tests that check harvesting and motor movement. However, these procedures vary between models and may require specialized knowledge. If basic troubleshooting doesn’t restore normal operation, professional diagnosis is the safest next step.
7. Contact a Qualified KitchenAid Appliance Technician
If the E2 error persists after resetting the appliance and removing accessible ice obstructions, a qualified appliance technician should inspect the harvesting mechanism.
A technician can examine the motor, gears, internal electrical connections, and position detection components using the service information for your specific model.
If the motor or its drive mechanism is damaged, the repair may involve replacing the affected assembly. On models where the motor and control electronics are integrated, replacing the complete ice maker assembly may be necessary.
Before scheduling service, gather the refrigerator’s model number and note when the error appears. Also, mention any clicking, grinding, or humming sounds and whether ice remains trapped in the mold.
These details can help the technician identify the affected system and prepare for the repair. If your refrigerator is still under warranty, check the coverage before authorizing replacement parts.
For an older appliance, request an estimate covering parts and labor. This will help you decide whether repairing the ice maker assembly is the most practical option.
Wrap-Up
The KitchenAid ice maker E2 error code commonly indicates that the harvesting motor cannot complete its movement or return to its starting position. Trapped ice, damaged gears, faulty electrical connections, and control module problems are among the possible causes.
Start by confirming the error’s meaning for your model, resetting the appliance, and checking for accessible ice obstructions. If the mechanism still fails or the error returns, professional diagnosis is the safest option. Addressing the fault promptly can help prevent further mechanical damage and restore normal ice production.