A KitchenAid microwave humidity sensor error can interrupt your cooking and leave you wondering why the appliance suddenly stopped working. You might see an error message on the display, notice that sensor cooking stops unexpectedly, or find that automatic cooking functions no longer work properly.
Fortunately, some humidity sensor problems are caused by temporary electrical issues or incorrect cooking conditions. Others involve faulty wiring or electronic components. Understanding the difference can help you troubleshoot the problem safely and avoid unnecessary repairs.
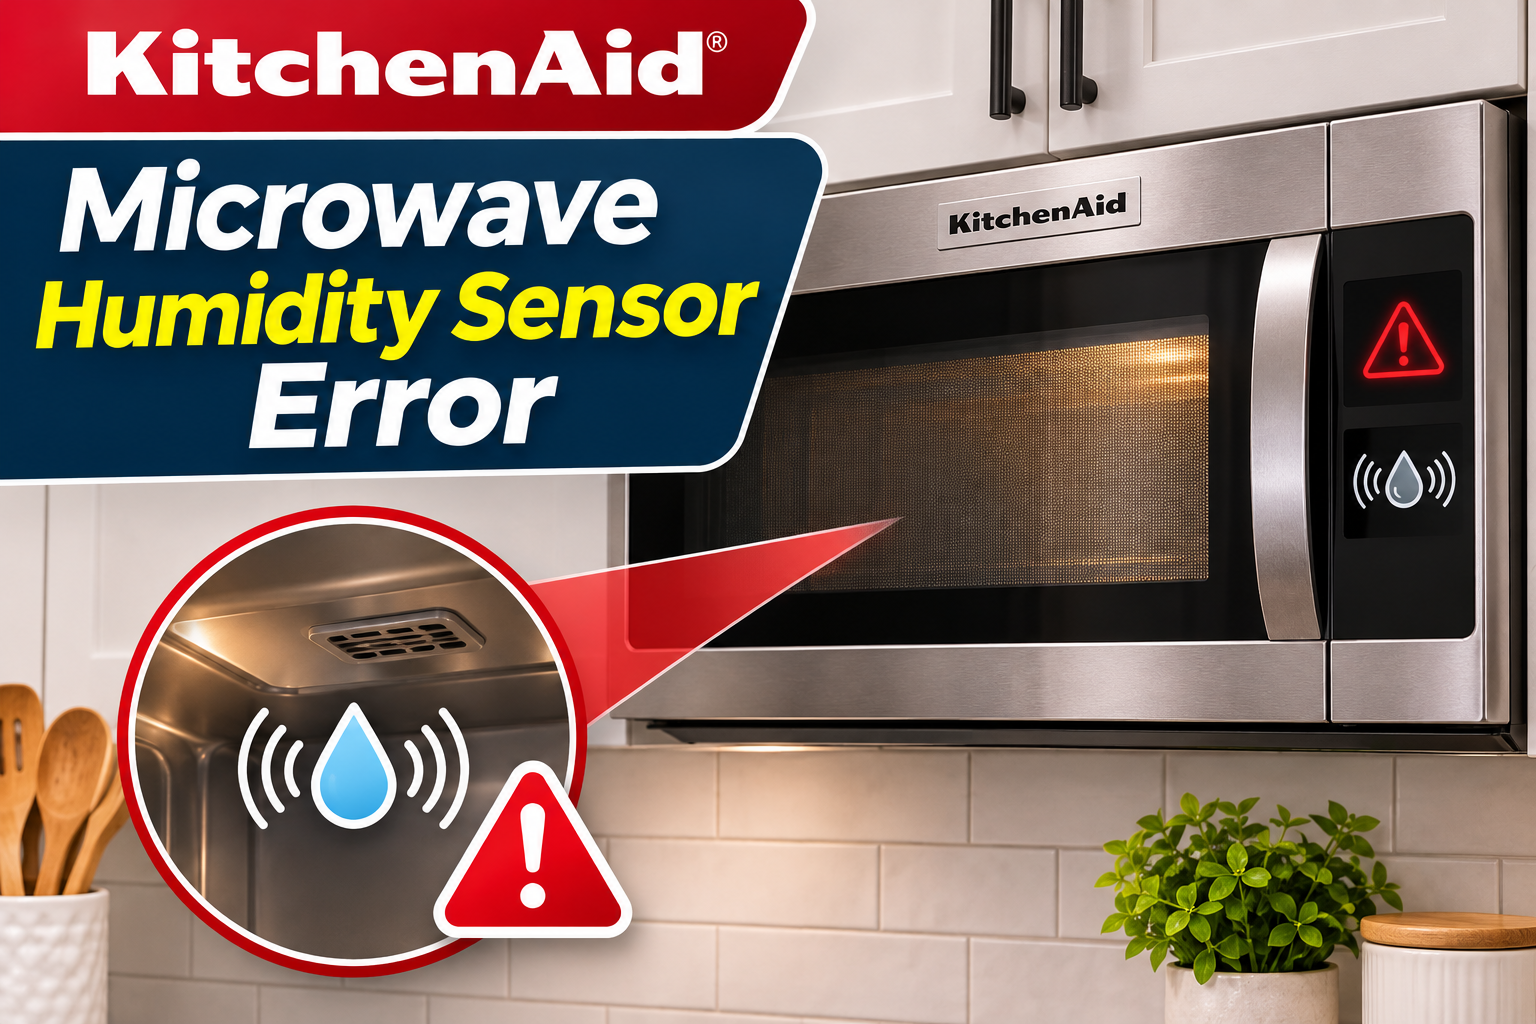
What Does a KitchenAid Microwave Humidity Sensor Error Mean?
A KitchenAid microwave humidity sensor error generally means the appliance has detected a problem with its humidity sensing system or cannot detect the moisture needed to complete a sensor cooking cycle.
The humidity sensor monitors moisture released from food as it heats. During automatic cooking, the microwave uses this information to adjust the cooking time. This helps prevent food from becoming excessively dry or remaining undercooked.
When the sensor cannot provide the expected information, the microwave may stop its cooking cycle or display an error. Depending on your model, you might encounter codes such as F3H, F3H1, or F4E4. Some KitchenAid microwaves simply display ERROR when a sensor cooking program cannot detect sufficient humidity.
These messages don’t always indicate the same problem. F3H and F3H1 generally point to humidity sensor or wiring faults. F4E4 can indicate a humidity sensor circuit problem, while an ERROR message during sensor cooking may result from unsuitable food or covering conditions.
The error may affect automatic cooking functions while leaving some manual settings operational. However, if a hardware fault is detected, further diagnosis may be necessary before the microwave can be used safely.
KitchenAid Microwave Humidity Sensor Error: Common Causes
Several conditions can prevent your microwave’s humidity sensing system from working correctly. Some involve how food is prepared, while others develop from electrical or component failures.
1. Insufficient Moisture Released During Cooking
One possible cause is that the food doesn’t release enough moisture for the sensor to detect.
KitchenAid microwaves use steam produced during heating to determine cooking progress. If the food is unusually dry or unsuitable for the selected sensor program, the microwave may struggle to calculate the cooking time.
This can happen when you use sensor cooking for foods that aren’t covered by the appliance’s recommended settings. For instance, certain dry foods may produce too little steam for reliable detection.
Some KitchenAid models also require frozen foods to be defrosted before using particular sensor cooking functions. Starting the wrong program may prevent the appliance from detecting the expected moisture.
You may notice that ordinary timed cooking works, but automatic cooking repeatedly stops or displays ERROR.
If the problem occurs only with certain foods, check the recommended food categories in your owner’s manual before suspecting an electrical fault.
2. Improper Food Covering or Excess Moisture
The way you cover food can also affect humidity sensor performance.
Many KitchenAid sensor cooking programs require food to be placed in a microwave safe container with a loose fitting lid. This allows enough steam to escape for the sensor to detect.
If the container is tightly sealed, steam may remain trapped inside. Consequently, the sensor might not receive enough moisture information to adjust the cooking time correctly.
However, leaving food uncovered when the selected program requires a cover can also affect cooking results.
Excess moisture inside the microwave may create another problem. For example, condensation left after cooking foods with high water content can affect the conditions needed for accurate sensing.
Some KitchenAid manuals specifically recommend keeping the cooking cavity and the outside of the food container dry before starting sensor cooking.
These problems are worth checking when an error occurs during automatic cooking but the microwave otherwise operates normally.
3. Temporary Electrical or Control Problems
Your KitchenAid microwave uses electronic controls to process signals from the humidity sensor.
A sudden power interruption can sometimes affect how these controls operate. After power is restored, the microwave may fail to resume normal operation until its electronic system is reset.
This possibility is especially relevant if the humidity sensor error appeared immediately after a power outage or electrical disturbance.
KitchenAid recommends disconnecting power for one minute as an initial troubleshooting step for several humidity sensor fault codes.
However, an error that repeatedly returns after resetting the appliance may indicate a persistent electrical or component problem.
It’s also worth distinguishing an electrical fault from an interrupted sensor cycle. On some models, opening the microwave door during the humidity sensing stage automatically cancels the program.
In that situation, the appliance may need a fresh cooking cycle rather than repair.
4. Faulty Humidity Sensor or Damaged Wiring
The humidity sensor itself can develop an electrical fault.
Inside the microwave, the sensor communicates with an electronic control board through a wiring connection. If the sensor stops working or its connection becomes damaged, the control system may receive incorrect information or no signal.
This can trigger a humidity sensor fault code such as F3H, F3H1, or F4E4 on compatible models.
Damaged wiring, loose electrical connectors, and poor electrical contact can cause similar symptoms.
For example, the error may appear every time you select Sensor Cook or Sensor Reheat. In some cases, it may return shortly after the microwave is reset.
A technician can use the correct service documentation to test the humidity sensor circuit and distinguish a defective sensor from a wiring fault.
Because these components are inside the microwave’s protective housing, they shouldn’t be accessed during ordinary DIY troubleshooting.
5. Defective Electronic Control Board
The electronic control board receives information from the humidity sensor and uses it to manage automatic cooking functions.
If the board develops a fault, it may fail to process the sensor’s signals correctly. As a result, the microwave can display a humidity sensor error even when the sensor itself is functioning.
A defective board may also cause other unusual behavior, such as inconsistent control responses or cooking programs that stop unexpectedly.
However, these symptoms aren’t enough to confirm a board failure.
KitchenAid service procedures for certain models require technicians to check or substitute the humidity sensor before concluding that the electronic control board needs replacement.
This distinction matters because replacing the control board without confirming the fault may result in unnecessary repair expenses.
KitchenAid Microwave Humidity Sensor Error: How to Fix
Start with the checks that don’t require opening the appliance. The following methods can help resolve temporary errors and incorrect sensor cooking conditions.
1. Confirm the Error Message and Microwave Model
Before troubleshooting, check the exact message displayed on your microwave.
Different KitchenAid models use different error codes, and the same general symptom may require different solutions.
For example, F3H and F3H1 are associated with humidity sensor faults on certain models, while F4E4 can indicate a problem with the humidity sensor circuit or related electronics.
An ERROR message that appears only during sensor cooking may have a simpler explanation involving the food or container.
Take a picture of the display so you can identify the code if it disappears after resetting.
Next, locate your microwave’s model number. The identification label may be around the door opening or another location specified in the appliance documentation.
Use this number to find the correct owner’s manual through KitchenAid’s official support website.
If the display specifically indicates a humidity sensor hardware fault, avoid repeatedly attempting cooking cycles. Follow the manufacturer’s reset procedure and arrange service if the fault returns.
2. Reset the Microwave’s Electrical Power
Resetting the microwave is one of the simplest troubleshooting methods recommended by KitchenAid.
A power reset allows the electronic controls to restart and may clear a temporary sensor communication problem.
For models covered by KitchenAid’s standard humidity sensor troubleshooting guidance, follow these steps:
- Press Cancel or Stop to end the current cooking program.
- Make sure the microwave isn’t operating.
- Locate the circuit breaker supplying power to the appliance.
- Switch the breaker to OFF.
- Leave the power disconnected for one minute.
- Turn the breaker back to ON.
- Watch the display for at least one minute to see whether the error returns.
If your countertop microwave has an easily accessible power plug, you may be able to disconnect it at the outlet instead. Follow your model’s instructions.
After restoring power, you might need to set the clock again.
If the error disappears, verify operation using an appropriate cooking program. Don’t operate the microwave empty.
However, if the same humidity sensor fault code returns, further diagnosis is necessary. Repeatedly resetting the appliance won’t repair damaged wiring or a defective sensor.
3. Check the Food and Its Cover
If the microwave displays ERROR during sensor cooking, check whether the food and its covering meet the requirements for the selected program.
KitchenAid specifically recommends checking the food and cover when a sensor cooking program fails to detect humidity.
Start by reviewing the sensor cooking instructions in your owner’s manual.
For programs that require covered food, use a suitable microwave safe container with a loose fitting lid.
If you’re using microwave approved plastic wrap, leave a sufficiently large opening for steam to escape. Avoid allowing the wrap to touch the food when the cookware instructions prohibit it.
For example, when reheating leftovers using a sensor program, a properly vented cover allows steam to reach the sensing system while helping the food retain moisture.
Also, make sure the selected cooking program matches the food you’re preparing.
Some sensor settings are intended for particular foods and quantities. Using a program outside its recommended conditions can produce unreliable results.
Once you’ve corrected the food or covering problem, restart the cooking program according to the manufacturer’s instructions.
If the cycle completes normally, the earlier error may have resulted from incorrect cooking conditions.
4. Clean and Dry the Microwave Interior
Excess moisture and food residue inside the microwave can interfere with the conditions needed for reliable sensor cooking.
Start by turning off the microwave and allowing its interior to cool.
If the appliance has a removable turntable, take it out and clean it according to the owner’s manual.
Use a soft cloth dampened with mild soapy water to wipe accessible interior surfaces. Pay attention to food splashes and condensation around the cooking cavity.
Avoid spraying cleaning products directly into ventilation openings or other internal openings.
After cleaning, wipe the surfaces with a dry cloth. Leave the door open briefly to allow remaining moisture to evaporate.
KitchenAid notes that condensation can occur naturally when heating foods containing substantial moisture. Therefore, moisture on the door or cavity walls doesn’t automatically indicate a defective sensor.
However, the cooking cavity and exterior of the container should be dry before starting sensor cooking on models that specify this requirement.
Also, allow the microwave to cool after prolonged cooking. Some KitchenAid models recommend waiting after convection or grill cooking before starting a sensor program.
If the microwave was recently exposed to a large liquid spill that entered its internal openings, don’t attempt to operate it. Arrange professional inspection instead.
5. Restart the Sensor Cooking Program Correctly
If you’ve reset the microwave, checked the food, and cleaned the cavity, try a fresh sensor cooking cycle.
Choose a food type and quantity supported by your model’s sensor cooking instructions.
For example, if your microwave supports Sensor Reheat, you can use a suitable portion of leftovers prepared according to the owner’s manual.
Follow these steps:
- Place the food in an appropriate microwave safe container.
- Cover it as required for the selected program.
- Make sure the container’s exterior is dry.
- Place the food inside the microwave.
- Close the door properly.
- Select the correct sensor cooking program.
- Press Start and allow the sensing process to continue without interruption.
Avoid opening the door while the sensor is detecting humidity.
On certain KitchenAid models, opening the door during this stage cancels the sensing process. The microwave may then require you to restart the program.
Also, allow enough time for the sensor to detect moisture. Some programs have a sensing period before the remaining cooking time appears.
If the program completes normally, check the food before serving. Use a food thermometer where necessary to confirm safe cooking temperatures.
If ERROR appears again despite using appropriate food and covering conditions, the sensor system may need professional diagnosis.
6. Check Whether Manual Cooking Works
If the problem occurs only during sensor cooking and your microwave doesn’t display an active hardware fault code, a short manual cooking test may help clarify the symptoms.
Manual cooking generally uses a time and power level selected by the user instead of relying on humidity readings to determine the cooking duration.
Therefore, a microwave with a sensor cooking problem may still perform ordinary timed cooking correctly.
To check this, place a microwave safe cup containing about 8 ounces of water inside the appliance. Make sure the cup and microwave are in good condition.
Select a short manual cooking time, such as 30 seconds, using the appropriate power setting for your model.
Observe whether the microwave starts and completes the programmed cycle normally. Handle the water carefully because it may become hot.
If manual cooking works but sensor cooking continues to display ERROR, the problem may be limited to sensor cooking conditions or the humidity sensing system.
However, this test cannot identify the exact faulty component.
If a dedicated sensor fault code such as F3H or F4E4 remains active, don’t use manual cooking as a way to bypass the error. The microwave should be inspected before further use.
Similarly, stop using the appliance if you notice unusual electrical sounds, sparks, smoke, a burning smell, or damage to the door.
7. Contact a Qualified Microwave Repair Technician
If the humidity sensor error persists after the recommended troubleshooting steps, contact a qualified microwave repair technician.
The technician can identify the sensor system used in your KitchenAid model and follow the manufacturer’s diagnostic procedure.
Depending on the model, professional troubleshooting may involve checking the sensor’s wiring connections, measuring its electrical resistance, and determining whether the sensor or electronic control board has failed.
For certain KitchenAid models, the service documentation provides specific humidity sensor resistance values and testing procedures. These measurements aren’t universal, so technicians must use the specifications for the exact appliance.
If the sensor has failed, replacing it may resolve the problem. However, a defective control board may require a different repair.
Never remove the microwave’s outer housing or attempt to test internal electrical components yourself.
Microwaves contain high voltage components that can retain dangerous electrical energy even after the appliance has been unplugged. Internal repairs also require proper checks to prevent electrical hazards and microwave energy leakage.
Before arranging service, record your microwave’s model number, the exact error code, and the circumstances in which the fault appears.
Mention whether the error occurs only during sensor cooking, returns after a power reset, or affects manual cooking as well.
If your microwave is still under warranty, contact KitchenAid or your warranty provider before authorizing repairs.
Wrap-Up
A KitchenAid microwave humidity sensor error can result from unsuitable cooking conditions, temporary electrical problems, damaged wiring, or faulty electronic components. Identifying the exact error message is essential because a sensor cooking ERROR message doesn’t always indicate a damaged sensor.
Start with a power reset, check the food and covering requirements, and make sure the microwave interior is clean and dry. If the error persists, especially when a specific sensor fault code appears, professional diagnosis is the safest option.
Addressing the actual cause will help restore reliable cooking performance without unnecessary repairs.