Your Whirlpool oven’s blank display can turn meal preparation into a frustrating puzzle, leaving you guessing about temperatures and cooking times. When that digital screen goes dark, you lose access to all the modern conveniences that make cooking predictable and enjoyable.
This common appliance malfunction affects thousands of Whirlpool owners, but understanding the underlying causes puts you on the path to a solution. Most display issues stem from fixable problems that don’t require expensive professional repairs or complete unit replacement.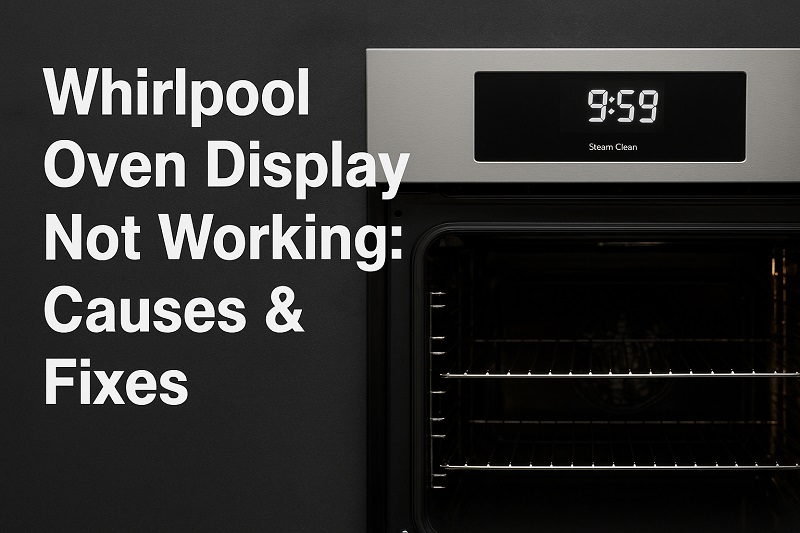
Understanding Whirlpool Oven Display Failures
Whirlpool oven displays serve as the central communication hub between you and your appliance, showing critical information like current temperature, set cooking time, selected modes, and error codes when problems arise. These digital interfaces have become increasingly sophisticated over the years, incorporating touchscreen technology and advanced programming options that enhance cooking precision and convenience.
When your display stops working, the effects ripple through every aspect of oven operation. You can’t monitor cooking progress, adjust temperatures accurately, or access specialized functions like convection settings or self-cleaning cycles. The oven might continue operating on its last programmed settings, but without visual feedback, you’re essentially cooking blind, which can lead to disappointing results and wasted ingredients.
Display problems typically present themselves in several distinct patterns that can help identify the underlying cause. Complete blackouts where nothing appears on the screen usually indicate power supply issues or total electronic failure. Partial displays showing only some segments or numbers often point to specific component degradation within the display panel itself. Flickering or intermittent displays that come and go suggest loose connections or failing electronic components that are struggling to maintain consistent operation.
The consequences of ignoring a faulty oven display extend beyond cooking inconvenience. Without proper temperature monitoring, you risk food safety issues from undercooking or energy waste from overheating. Error codes that can’t be displayed might indicate serious mechanical problems that could lead to complete appliance failure if left unaddressed. Additionally, many modern Whirlpool ovens have safety features that depend on display communication, so a non-functioning screen might prevent normal operation entirely.
Whirlpool Oven Display Not Working: Common Causes
Several factors commonly contribute to Whirlpool oven display malfunctions, each requiring different diagnostic approaches. Understanding these root causes helps you target your repair efforts more effectively and avoid unnecessary part replacements.
Power Supply Disruptions
Electrical power issues rank among the most frequent culprits behind display failures in Whirlpool ovens. Your oven’s display requires stable electrical current to function properly, and even minor disruptions can cause the screen to go dark or behave erratically.
Circuit breakers can trip due to power surges, overloaded electrical circuits, or internal faults within the oven itself. Sometimes a breaker appears to be in the correct position but has actually partially tripped, cutting power to sensitive electronic components like the display while allowing some basic oven functions to continue operating normally.
Control Board Malfunctions
The electronic control board acts as the brain of your Whirlpool oven, processing all user inputs and sending appropriate signals to various components including the display panel. When this critical component fails, it often takes the display down with it since the board can no longer generate the electrical signals needed to show information on screen.
Control board failures typically result from power surges, component aging, or manufacturing defects that become apparent after extended use. Heat stress from the oven’s high-temperature operation can cause solder joints to crack or electronic components to degrade over time, leading to partial or complete loss of display functionality that may start intermittently before becoming permanent.
Faulty Display Panel Hardware
The display panel itself contains delicate electronic components that can fail independently of the oven’s other systems. LCD and LED displays rely on precise electrical signals to illuminate individual segments or pixels, and when these internal components degrade, you lose visual output even though the underlying control systems continue functioning normally.
Manufacturing defects in display panels sometimes don’t surface until months or years after installation, appearing as dead segments, dim areas, or complete screen failure. Environmental factors like extreme temperature fluctuations, humidity infiltration, or physical vibration from oven operation can accelerate display component degradation and lead to premature failure.
Loose Internal Wiring Connections
The wiring connections between your oven’s display panel and control board can become loose over time due to thermal expansion and contraction cycles, vibration from normal operation, or simply the effects of aging on electrical connections. These loose connections create intermittent contact that causes displays to flicker, show partial information, or fail completely.
Ribbon cables that connect the display to the main control board are particularly vulnerable to connection problems. These flat, multi-conductor cables can work themselves loose from their connectors or develop internal breaks that aren’t visible from the outside. When these connections fail, the display loses its communication link with the control system, resulting in a blank or malfunctioning screen.
User Interface Component Failure
Modern Whirlpool ovens often integrate the display with touchpad controls or button interfaces that share electrical components and connections. When these user interface elements malfunction, they can create electrical interference or feedback that disrupts normal display operation, causing flickering, false readings, or complete screen blackouts.
Moisture infiltration, cooking residue buildup, or physical damage to touchpad surfaces can create electrical shorts or open circuits that affect the entire user interface system. These problems often start as unresponsive buttons or erratic touch response but can escalate to complete display failure as the electrical interference spreads through the connected components.
Whirlpool Oven Display Not Working: How to Fix
Resolving Whirlpool oven display problems requires a systematic approach to identify and eliminate potential causes. Most homeowners can safely perform these troubleshooting steps with basic tools and careful attention to safety procedures.
Check and Reset the Power Supply
Begin your troubleshooting by examining your home’s electrical panel for any tripped circuit breakers that serve your kitchen area. Even if a breaker appears to be in the correct position, switch it completely off and then back on to ensure proper reset and restore full electrical contact.
Disconnect your oven from its power source for at least 10 minutes to allow internal electronics to discharge completely and reset. For hardwired ovens, switch off the dedicated circuit breaker, while plug-in models should be unplugged from the wall outlet. This extended power cycle can clear temporary electronic glitches and restore normal display operation.
When you restore power, observe the display during the initial startup sequence. Many Whirlpool ovens show brief startup messages or perform self-diagnostic routines when first powered on, which can indicate whether the display hardware is functioning properly even if normal operation remains problematic.
Inspect Internal Wiring Connections
Access the control panel area by removing the screws that secure the front panel or control assembly, taking care to disconnect power before beginning this work. Look for the ribbon cable or wire harness connecting the display to the main control board, typically secured with plastic connectors that can be carefully disconnected and reconnected.
Examine these connections for signs of corrosion, burning, or physical damage that might prevent proper electrical contact. Gently disconnect and reconnect each connector, ensuring they seat fully and lock into place properly. Clean any visible corrosion with electrical contact cleaner if necessary.
- Turn off all power to the oven at the circuit breaker
- Remove front panel screws to access internal components
- Locate display connection cables and connectors
- Disconnect and reconnect each connection firmly
- Look for signs of damage, corrosion, or loose wires
- Reassemble panel and restore power for testing
Perform a Factory Reset
Many Whirlpool oven models include factory reset procedures that can clear software glitches and restore default settings that might be interfering with display operation. Consult your owner’s manual for the specific button combination required for your model, as reset procedures vary significantly between different series and years.
Common reset methods involve pressing and holding multiple buttons simultaneously for 3-5 seconds, such as the “Cancel” and “Clock” buttons, though some models use different combinations. During the reset process, you might see the display flicker or show various codes before returning to normal operation.
After completing a factory reset, you’ll need to reprogram your preferred settings like clock time, temperature preferences, and any custom cooking programs. Take photos of your current settings before performing the reset to make reprogramming easier and ensure you don’t lose important customizations.
Test Control Board Functionality
With the front panel removed, visually inspect the control board for obvious signs of damage like burned components, discolored areas, bulging capacitors, or cracked solder joints. While this visual inspection won’t identify all possible failures, obvious damage indicates the need for control board replacement.
Test the control board’s ability to respond to user inputs by pressing various buttons while observing any LED indicators or listening for relay clicking sounds that indicate the board is processing commands. If buttons produce responses from the oven’s heating elements or other components but the display remains dark, the problem likely lies in the display panel itself rather than the control board.
Some Whirlpool models have diagnostic modes that can be activated through specific button sequences, allowing you to test various oven functions systematically. These diagnostic routines can help isolate whether the problem lies in the display hardware, control board, or the communication between them.
Professional Appliance Repair Service
If all previous troubleshooting steps fail to restore your display function, contact a qualified appliance repair technician for professional diagnosis and repair. Display panel replacement, control board substitution, or complex electrical troubleshooting requires specialized tools, genuine replacement parts, and technical expertise that goes beyond typical DIY capabilities.
Professional technicians have access to manufacturer diagnostic equipment, service manuals, and genuine Whirlpool replacement parts that ensure proper compatibility and long-term reliability. They can also identify underlying problems that might have contributed to the display failure, preventing recurring issues after repair.
Wrapping Up
Whirlpool oven display failures can significantly impact your cooking routine and kitchen efficiency, but many of these problems respond well to systematic troubleshooting approaches. The combination of power supply verification, connection checks, and basic reset procedures resolves a substantial portion of display malfunctions without requiring expensive parts or professional intervention.
When DIY troubleshooting reaches its limits, professional appliance repair services provide the specialized knowledge and tools necessary to diagnose complex electronic problems and restore full oven functionality. This balanced approach ensures you explore cost-effective solutions first while recognizing when expert assistance becomes the most practical path forward.