Your Jenn Air oven display suddenly went dark, and you’re staring at a blank screen where numbers and settings used to glow. This frustrating issue can turn your reliable kitchen companion into an expensive paperweight.
The good part? Most display problems stem from simple electrical hiccups or worn-out components that you can often fix yourself. You’ll discover the main culprits behind these display failures and learn step-by-step solutions that can get your oven back to showing temperatures, times, and cooking modes clearly.
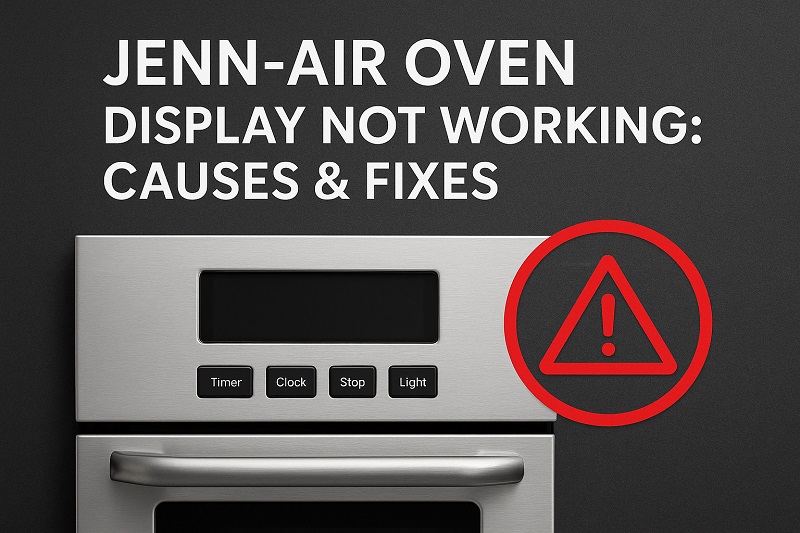
Understanding Your Jenn Air Oven Display Problem
When your Jenn Air oven display stops working, you’re dealing with more than just a cosmetic issue. The display serves as your primary interface for controlling temperatures, setting timers, selecting cooking modes, and monitoring your oven’s status. Without it, you lose access to most of your oven’s advanced features.
This problem typically shows up in several ways. Sometimes the entire display goes completely black, while other times only certain segments or numbers fail to light up. You might also notice flickering, dimming, or garbled characters that make the display unreadable.
The display malfunction affects your cooking routine immediately. You can’t set precise temperatures, use timer functions, or access preset cooking programs. Even basic preheating becomes guesswork without temperature readings.
Most Jenn Air ovens use either LED or LCD display technology, and both types can fail due to similar underlying issues. The electronic control board sends signals to illuminate specific segments or pixels, creating the numbers and letters you see. When any part of this communication chain breaks down, your display suffers.
Jenn Air Oven Display Not Working: Common Causes
Several factors can cause your Jenn Air oven display to malfunction, ranging from simple power issues to component wear. Understanding these root causes helps you target the right solution quickly.
1. Power Supply Fluctuations
Electrical problems often trigger display failures in Jenn Air ovens. Your oven’s display requires steady, clean power to function properly, and any disruption can cause immediate blackouts or gradual deterioration.
Power surges from storms or electrical grid issues can damage the delicate circuits that drive your display. Even smaller voltage fluctuations that you don’t notice elsewhere in your home can affect sensitive oven electronics. Your display might work intermittently after power issues, flickering on and off unpredictably.
2. Faulty Electronic Control Board
The electronic control board acts as your oven’s brain, managing all digital functions including the display. When this component starts failing, display problems often appear first since the screen requires constant electronic signals to stay lit.
Control board failures typically develop gradually. You might notice the display becoming dim or showing incorrect information before going completely dark. Temperature readings might become inaccurate, or certain buttons stop responding properly.
Heat and age are the primary enemies of control boards. Years of exposure to oven heat cycles can cause solder joints to crack or electronic components to drift out of specification. Manufacturing defects sometimes cause premature failures, even in newer units.
3. Loose or Corroded Wiring Connections
Vibrations from normal oven operation can gradually loosen electrical connections over time. These loose connections create intermittent contact that causes your display to flicker or fail completely. The problem often gets worse as connections become more degraded.
Moisture and heat can corrode connection points, especially in areas where steam from cooking might reach wiring harnesses. Corroded connections create resistance that prevents proper electrical flow to your display components. You might notice the display works better when the oven is cold but fails as it heats up.
4. Worn Display Components
The display itself contains components that wear out with age and use. LED segments can burn out individually, causing missing numbers or letters. LCD screens can develop dead pixels or lose their backlighting, making them appear dim or completely dark.
Temperature extremes accelerate display component wear. Even though displays are designed to handle oven environments, repeated heating and cooling cycles gradually degrade the materials. Older ovens are particularly susceptible to this type of failure.
5. Control Panel Membrane Damage
Many Jenn Air ovens use a membrane-style control panel where the display and buttons are integrated into a single flexible circuit. These membranes can crack, tear, or lose their conductive properties over time, causing display and button failures.
Physical damage from cleaning products or rough handling can compromise membrane integrity. Even small tears or chemical damage can disrupt the electrical pathways needed for proper display function. The problem often spreads as the membrane deteriorates further.
Jenn Air Oven Display Not Working: How to Fix
Most display issues can be resolved through systematic troubleshooting and targeted repairs. Start with the simplest solutions before moving to more complex fixes.
1. Check and Reset Power Supply
Begin by ensuring your oven receives proper electrical power. Turn off the circuit breaker that supplies your oven for at least 30 seconds, then turn it back on. This power cycle resets the electronic systems and often resolves temporary glitches that affect the display.
Verify that the circuit breaker hasn’t tripped partially. Sometimes breakers move to a middle position that still allows some power through but not enough for proper operation. Push the breaker fully to the off position before switching it back on.
Check your home’s electrical panel for any signs of problems like burning smells, loose connections, or other tripped breakers. Electrical issues elsewhere in your home can sometimes affect appliance performance. If you find any electrical problems, contact an electrician before proceeding with oven repairs.
2. Inspect and Clean Connection Points
Access your oven’s control panel area by removing the outer cover according to your model’s service manual. Look for loose wire connections behind the display panel. Gently wiggle each connector to check for looseness, and firmly press any loose connections back into place.
Clean connection points using a soft brush or compressed air to remove dust and debris. Avoid using liquids near electrical connections. Look for signs of corrosion like green or white buildup on metal contacts. Light corrosion can sometimes be cleaned with a pencil eraser, but heavily corroded connections need replacement.
3. Test Display Voltage
Use a multimeter to check whether the display receives proper voltage. With the oven powered on, measure voltage at the display connector points. Compare your readings to the specifications in your oven’s service manual.
Low voltage readings indicate problems with the power supply or control board. No voltage usually means a complete connection failure or control board malfunction. High voltage readings can damage display components and suggest regulator problems.
4. Replace the Electronic Control Board
If power supply and connections check out properly, the control board likely needs replacement. Order the correct replacement part using your oven’s model number. Control boards are model-specific, so exact part number matching is critical.
Disconnect power completely before removing the old control board. Take photos of wire connections before disconnecting anything to ensure proper reassembly. Install the new control board by connecting wires to the same positions as the original.
Some control boards require programming or calibration after installation. Check your service manual for any specific procedures needed to activate the new board properly.
5. Replace the Display Assembly
When the control board functions properly but the display remains dark, the display assembly itself needs replacement. This repair requires careful handling since display components are fragile and easily damaged during installation.
Remove the control panel carefully to access the display assembly. Note the orientation and connection points before removing the old display. Install the new display in exactly the same position and ensure all connections are secure.
Test the new display before fully reassembling your oven. Power on the unit and verify that all display segments work properly and show clear, bright characters.
6. Contact a Professional Appliance Technician
If these solutions don’t restore your display function, contact a qualified appliance repair technician. Complex electrical problems, specialized diagnostic equipment needs, or warranty considerations may require professional intervention.
Wrapping Up
Your Jenn Air oven display problems usually stem from electrical issues that you can often resolve with basic troubleshooting and component replacement. Power supply problems, loose connections, and worn components account for most display failures.
Success depends on systematic diagnosis and careful attention to electrical safety. When simple fixes don’t work, professional repair ensures proper resolution while protecting your investment in quality kitchen equipment.