Before replacing any parts, confirm what the code means for your specific refrigerator. Some error codes vary by model, and the right diagnosis can help you avoid unnecessary repairs.
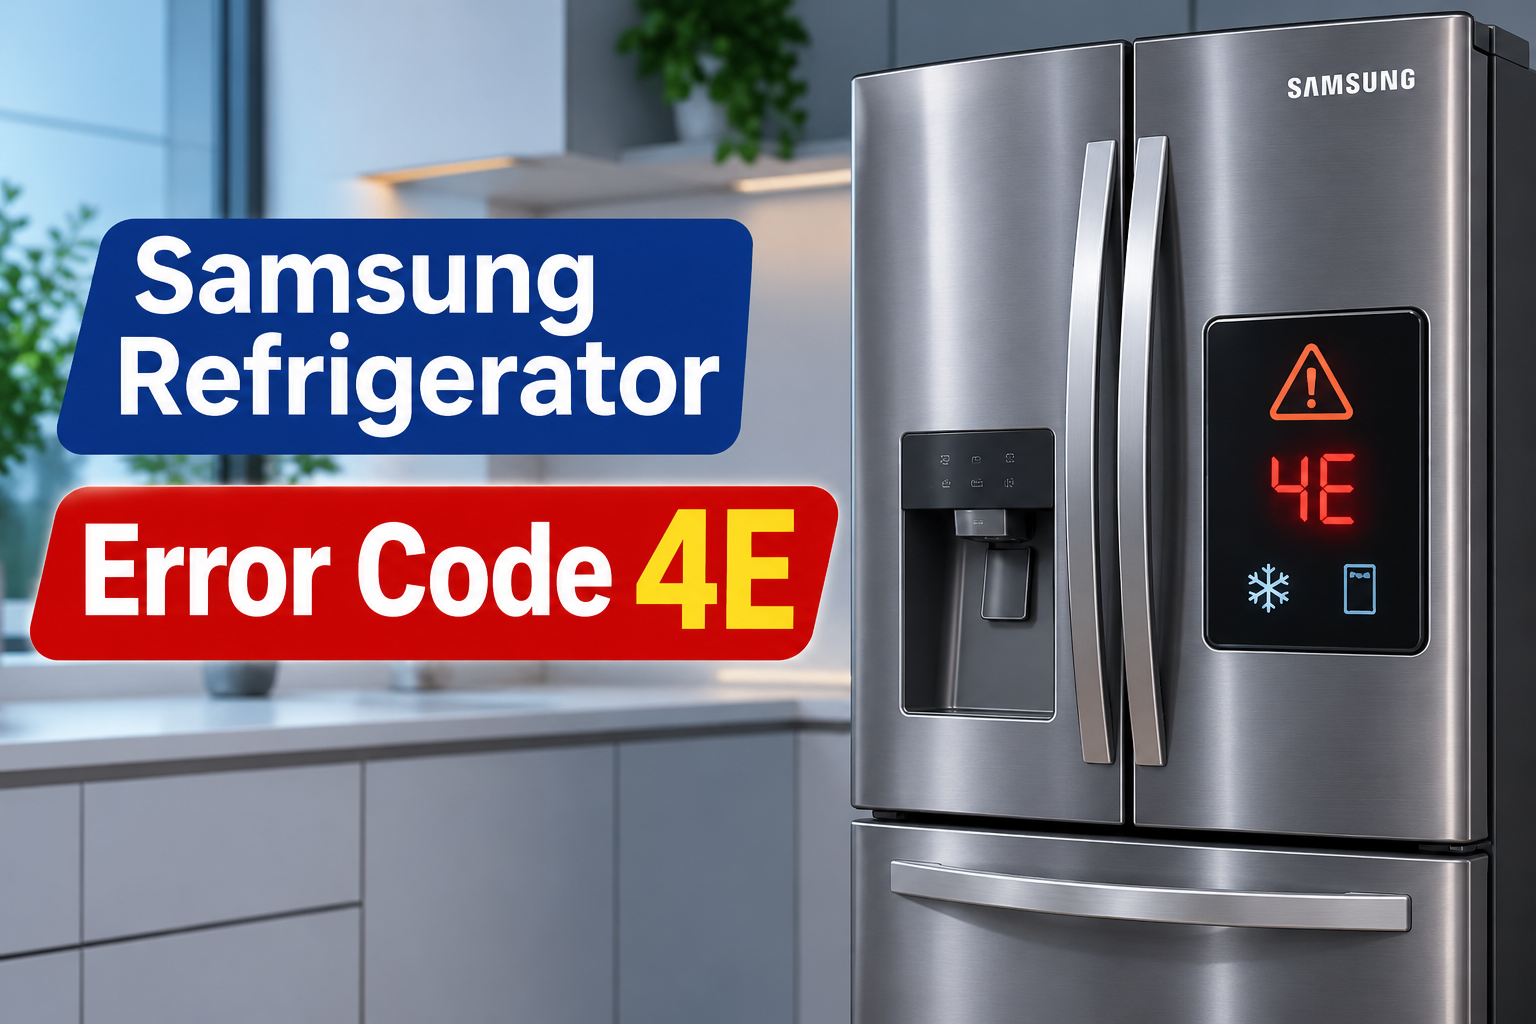
What Does Samsung Refrigerator Error Code 4E Mean?
On certain Samsung refrigerator models, error code 4E indicates a freezer evaporator defrost temperature sensor failure. This is documented for specific models, including the RF265, RS267 and RF32FM series, in the Sears PartsDirect Samsung refrigerator error code guides.
The defrost temperature sensor, also called a thermistor, measures temperature around the freezer evaporator. The evaporator is the part of the cooling system where refrigerant absorbs heat from inside the freezer. During normal operation, the refrigerator uses temperature readings to help control cooling and defrosting.
When the sensor develops a fault, the electronic control board may receive an incorrect reading or fail to detect the sensor properly. Depending on the specific refrigerator, this can interfere with temperature monitoring and the defrost cycle.
You may notice that the freezer develops excessive frost, cooling performance changes, or another error appears. However, these symptoms don’t automatically confirm that the sensor has failed. A loose connector, damaged wiring or faulty control board can produce similar problems.
The model number matters. Samsung’s general refrigerator error code guide doesn’t list 4E among its common codes and advises customers to request support for other codes. Therefore, verify the meaning of 4E against your refrigerator’s model-specific documentation before attempting a repair. Don’t confuse a refrigerator error code with the 4E water supply error used by some Samsung washing machines.
Samsung Refrigerator Error Code 4E: Common Causes
Several electrical and sensor-related faults can explain this code on compatible refrigerator models. The displayed code identifies a suspected problem, but further diagnosis is needed to determine which component has failed.
1. A Faulty Freezer Defrost Temperature Sensor
The defrost sensor measures temperature and sends information to the refrigerator’s control board. If the sensor becomes defective, its electrical resistance may fall outside the expected range, causing the board to register a fault.
Sensor failure can develop through normal component aging, internal electrical damage or deterioration of its connections. A sensor may also produce inaccurate readings even when its external appearance seems normal.
One possible clue is recurring frost buildup around the freezer’s rear interior panel, particularly if cooling performance changes at the same time. However, frost alone isn’t proof of sensor failure. The sensor must be tested against the specifications for your exact refrigerator model.
2. A Loose or Poorly Connected Sensor Harness
The sensor relies on a wiring harness to communicate its readings to the electronic control board. If a connector becomes loose or fails to maintain proper contact, the board may interpret the interrupted signal as a sensor fault.
This problem can occur at the sensor connector or at another connection along the sensor circuit. A refrigerator may display the code even though the temperature sensor itself is still functioning correctly.
The distinction matters because replacing a working sensor won’t resolve a connection problem. A technician can examine the connector and test the circuit to determine whether the fault comes from the connection or the component.
3. Damaged or Deteriorated Wiring
Wires connecting the defrost sensor to the control board can become damaged, break internally or develop poor electrical continuity. A conductor may be broken even if the outer insulation looks intact.
Moisture-related deterioration or damage during an earlier repair can also affect a connection, depending on its location and condition. If the sensor tests correctly but its signal doesn’t reach the control board, the wiring deserves attention.
This fault can be difficult to identify without appropriate testing equipment. Because refrigerator wiring is model-specific, avoid removing internal covers or handling electrical connectors unless the manufacturer’s repair instructions explicitly support that work and you have the necessary qualifications.
4. A Faulty Electronic Control Board
The electronic control board processes information from the refrigerator’s sensors and coordinates various cooling functions. If the relevant input circuit fails, it may be unable to interpret a working defrost sensor correctly.
A control board fault is one possible explanation when the sensor and its wiring have been tested and found to be functioning as specified. Repeatedly resetting the refrigerator or replacing sensors without testing the circuit can waste time and money.
The control board shouldn’t be the first component replaced simply because error code 4E appears. A qualified technician should rule out the sensor and wiring faults before recommending this more involved repair.
Samsung Refrigerator Error Code 4E: DIY Fixes
Start by confirming the error code and checking for visible conditions that could affect freezer operation. Some checks are safe to perform at home, but a confirmed sensor circuit fault often requires electrical testing or component replacement.
1. Confirm the Error Code and Refrigerator Model
Begin by identifying the exact model of your Samsung refrigerator. The model information is typically found on a label inside the refrigerator compartment or in another location specified by the user manual.
Write down the complete model number and check the corresponding owner’s manual or Samsung support information. Confirm that the code is actually 4E rather than a similar combination of letters and numbers.
This step prevents confusion between refrigerators with different diagnostic systems and between refrigerator and washing machine codes. If Samsung’s documentation doesn’t explain the code for your model, contact the manufacturer’s support team before attempting a reset or purchasing replacement parts.
2. Check the Doors and Door Seals
A freezer door that doesn’t close completely can allow warm, humid air to enter the compartment. That moisture can freeze on cold surfaces, contributing to excessive frost and possible airflow problems.
Inspect the door seal for visible tears, gaps, dirt or sections that have become detached. Check that food containers and freezer drawers aren’t preventing the door from closing fully.
Clean an accessible, dirty seal with a soft cloth and mild soapy water, then dry it thoroughly. Remove any obstruction that prevents the door from closing properly.
A damaged seal should be replaced with a compatible part. Correcting a door sealing problem can reduce unnecessary frost, but it won’t repair a defective defrost sensor or damaged sensor wiring if either is responsible for code 4E.
3. Check for Excessive Frost and Blocked Air Vents
Open the freezer and look for unusually thick frost on visible interior surfaces. Also check whether food packages are blocking the air vents or preventing drawers from closing correctly.
Restricted airflow can make it harder for the refrigerator to maintain even temperatures. Heavy frost can also interfere with airflow in models where the evaporator fan and its air passages become obstructed.
Rearrange food to leave the manufacturer’s recommended clearances around vents. Avoid packing the freezer so tightly that air cannot circulate freely.
If you notice heavy frost behind the freezer’s rear interior panel, don’t remove the panel to investigate the evaporator unless the manufacturer provides an appropriate procedure and you are qualified to perform it. The visible frost may indicate a separate or related defrost problem that needs professional diagnosis.
4. Consider a Manufacturer-Approved Defrost Procedure
If the freezer has substantial ice buildup, consult the owner’s manual to determine whether a manual defrost procedure is appropriate for your model. Some refrigerators can be defrosted by the owner, while others require different service procedures.
Follow the manufacturer’s instructions for protecting food, managing meltwater and restoring normal operation. Never use a knife, screwdriver or other sharp object to chip ice from the evaporator area. Avoid hair dryers, heat guns and other improvised heating methods, which can damage plastic components or create electrical hazards.
A complete, approved defrost may help if accumulated ice is contributing to airflow or fan problems. However, defrosting does not repair a failed temperature sensor, broken wire or defective control board. The code may return after the refrigerator resumes operation.
Samsung also advises against unplugging the refrigerator or interacting with its control panel merely to clear an error code unless instructed to do so. Follow the model-specific guidance rather than assuming a power reset is appropriate.
5. Contact a Qualified Refrigerator Technician
If the code remains after the safe checks above, arrange professional diagnosis. This is particularly important if the freezer is warming, frost repeatedly returns or the refrigerator displays additional error codes.
A qualified technician can isolate the sensor circuit, inspect the relevant wiring and test the defrost temperature sensor against the specifications for your model. For example, some older Samsung models have documented sensor resistance values at specified temperatures, but those values and connector locations shouldn’t be applied indiscriminately to other models.
If the sensor and wiring are functioning correctly, the technician can investigate the control board or other relevant faults. The failed component can then be repaired or replaced with a compatible part.
Avoid ordering a replacement sensor based on the code alone. Confirming the cause first reduces the risk of paying for a repair that doesn’t resolve the problem.
Wrap-Up
Samsung refrigerator error code 4E can indicate a freezer evaporator defrost temperature sensor fault on specific models. A defective sensor, poor electrical connection, damaged wiring or faulty control board may be responsible, so the displayed code should guide diagnosis rather than determine which part gets replaced.
Start by confirming your model number, examining the door seals and checking for visible frost or blocked vents. If the code persists, seek qualified assistance with the sensor circuit.
The most effective repair addresses the underlying fault, not simply the displayed error. Proper diagnosis helps restore reliable freezer operation while reducing the risk of unnecessary component replacements.