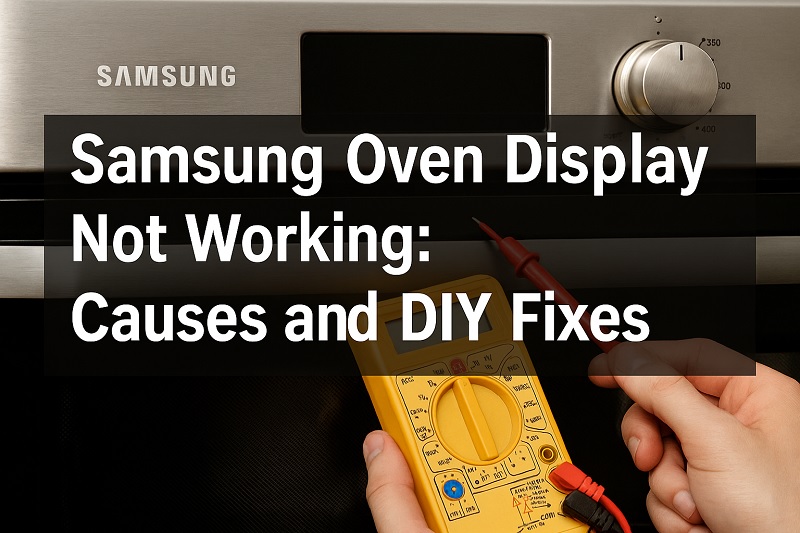
You walk into your kitchen, ready to start dinner, and press the button on your Samsung oven. Nothing happens. The display stays completely dark, leaving you staring at a blank screen where your cooking controls should be.
This frustrating situation affects thousands of Samsung oven owners every year. While it might seem like a major appliance failure, many display issues stem from simple problems you can actually fix yourself. Most Samsung oven display problems fall into predictable categories, and with the right approach, you can often get your oven back to working order without calling a repair technician.
From this article, you’ll learn exactly why your Samsung oven display stops working and discover proven methods to restore it. We’ll walk through the most common causes and provide step-by-step solutions that work for real families dealing with this exact problem.
Understanding Your Samsung Oven Display Problem
Your Samsung oven’s display serves as the command center for all cooking functions. This digital interface controls everything from temperature settings to timer functions, making it essential for proper oven operation. When the display fails, you lose access to these critical controls.
The display connects to your oven’s main control board through a series of electrical connections and ribbon cables. These components work together to receive your input commands and translate them into cooking instructions. Any disruption in this communication chain can result in a blank or unresponsive screen.
Samsung ovens use different types of display technologies depending on the model year and series. Some feature basic LED readouts, while newer models include full-color touchscreen interfaces. Each type has its own vulnerabilities and failure patterns.
Power supply issues represent the most frequent cause of display failures. Your oven requires stable electrical current to operate the display components properly. Even minor fluctuations or interruptions can cause the screen to go dark or display incorrect information.
Samsung Oven Display Not Working: Common Causes
Several factors can cause your Samsung oven display to malfunction or stop working entirely. Understanding these root causes helps you identify the right solution for your specific situation.
1. Power Supply Issues
Electrical problems account for roughly 60% of Samsung oven display failures. Your oven needs consistent power to maintain display functionality, and any disruption can cause immediate problems.
Circuit breakers sometimes trip without obvious signs, especially if multiple appliances share the same electrical circuit. This creates intermittent power that affects sensitive display components before impacting the main heating elements. Check your electrical panel for any breakers that appear slightly out of position or feel warm to the touch.
Power surges from storms or electrical grid fluctuations can damage the display’s internal circuitry. These surges often affect the display first because it contains more sensitive electronic components than the heating elements.
2. Control Board Malfunction
The control board acts as the brain of your Samsung oven, processing commands from the display and controlling all oven functions. When this component fails, the display often becomes the first casualty.
Control boards contain multiple microprocessors and memory chips that can fail due to age, heat exposure, or electrical stress. These failures typically manifest as blank displays, flickering screens, or displays that show incorrect information. Manufacturing defects in certain Samsung oven models have also led to premature control board failures.
Temperature cycling from regular oven use gradually weakens solder connections on the control board. These weakened connections can cause intermittent display problems that worsen over time.
3. Loose or Damaged Connections
Physical connections between the display and control board can loosen or become damaged through normal appliance vibration and temperature changes. These connection problems often start as intermittent issues before becoming permanent failures.
Ribbon cables that connect the display to the main control system are particularly vulnerable to damage. These flat, flexible cables can crack or develop breaks in their internal wiring, especially near connection points where they bend during installation.
Door slamming and general kitchen vibrations gradually work connections loose over time. Even properly installed connections can develop problems after years of normal use.
4. Display Module Failure
The display unit itself contains electronic components that can fail independently of other oven systems. LCD screens, LED segments, and touchscreen interfaces all have finite lifespans that vary based on usage patterns and environmental conditions.
Kitchen heat and humidity create challenging conditions for electronic displays. Grease vapors and steam can penetrate display housings, causing internal component damage that leads to screen failures. Some Samsung oven models position the display too close to heat sources, accelerating component degradation.
5. Software Glitches
Modern Samsung ovens rely on embedded software to control display functions and interpret user commands. Like any computer system, this software can experience glitches or corruption that affects display operation.
Software problems often appear suddenly and may cause displays to freeze, show garbled information, or become completely unresponsive. These issues sometimes develop after power outages or electrical disturbances that corrupt the oven’s internal memory systems.
Samsung Oven Display Not Working: How to Fix
Fixing your Samsung oven display often requires a systematic approach that starts with simple solutions before moving to more complex repairs. Most homeowners can successfully complete these fixes with basic tools and patience.
1. Check Power Supply and Reset the Oven
Start by verifying that your oven receives adequate electrical power. Look at your home’s electrical panel and locate the circuit breaker that controls your oven. Even if the breaker appears normal, turn it completely off and then back on to ensure proper connection.
Unplug your oven from the wall outlet or turn off the dedicated circuit breaker for at least 60 seconds. This extended power cycle allows internal capacitors to discharge completely and resets all electronic components. Many display problems resolve with this simple power reset procedure.
After restoring power, wait for the display to initialize completely before attempting to use any controls. Some Samsung ovens take several minutes to complete their startup sequence and display normal operating screens.
2. Inspect and Secure All Connections
Turn off power to your oven and remove the back panel or control panel cover to access internal connections. Look for any loose wire connections, particularly around the display area and control board.
Carefully examine ribbon cables that connect the display to the main control board. These cables should fit snugly in their connectors without any visible damage or wear. Gently press each connection to ensure proper seating, but avoid using excessive force that could damage delicate components.
Check for signs of overheating, such as discolored wires or melted plastic around connection points. These indicators suggest more serious electrical problems that may require professional repair. Clean any visible corrosion from metal contacts using a small brush or cotton swab with electrical contact cleaner.
3. Test Control Board Functionality
With the oven still powered off, locate the main control board and visually inspect it for obvious damage. Look for burned components, swollen capacitors, or cracked circuit board material that indicates component failure.
Many Samsung oven control boards include diagnostic LED lights that indicate system status. Consult your oven’s service manual to interpret these diagnostic codes properly. Some codes specifically indicate display communication problems or power supply issues.
If available, try swapping the control board with a known good unit from the same oven model. This substitution test quickly identifies whether the control board causes your display problems. However, only attempt this if you have experience working with appliance electronics.
4. Replace Damaged Ribbon Cables
Ribbon cables represent common failure points in Samsung oven displays. These flat cables carry data signals between the display and control systems, and any breaks or damage prevent proper communication.
Carefully disconnect the ribbon cable at both ends, taking photos first to document proper connection orientation. Inspect the cable thoroughly for cracks, cuts, or areas where the internal conductors might be damaged. Pay special attention to areas where the cable bends or folds.
Purchase exact replacement cables from Samsung parts suppliers, as generic cables may not provide reliable connections. Install the new cable by carefully aligning the connectors and pressing firmly until you hear or feel a positive click indicating proper seating.
5. Clean Display Components
Kitchen environments expose oven displays to grease, steam, and other contaminants that can interfere with proper operation. Turn off all power to the oven before beginning any cleaning procedures.
Remove the display panel according to your oven’s service instructions, being careful not to damage any connecting cables. Clean the back of the display unit using isopropyl alcohol and cotton swabs to remove any accumulated residue or corrosion. Allow all components to dry completely before reassembly.
Inspect the display mounting area for signs of moisture damage or excessive heat exposure. Some Samsung oven models require additional ventilation or heat shielding to prevent premature display failure in high-temperature environments.
6. Update or Reset Oven Software
Some Samsung oven models support software updates that can resolve display compatibility issues or fix known bugs. Check Samsung’s support website for your specific model number to see if updates are available.
Perform a factory reset by pressing and holding specific button combinations while powering on the oven. This procedure varies by model, so consult your owner’s manual for exact instructions. Factory resets clear corrupted settings that might prevent proper display operation.
Be prepared to reprogram all your personal settings, including clock time, temperature preferences, and any custom cooking programs after completing a factory reset. This inconvenience is often worthwhile if it restores normal display functionality.
7. Contact a Qualified Appliance Technician
If all these solutions fail to restore your Samsung oven display, contact a qualified appliance repair technician for professional diagnosis and repair. Complex electrical problems or component failures often require specialized tools and replacement parts that aren’t readily available to consumers.
Wrapping Up
Samsung oven display problems can disrupt your cooking routine, but many issues have straightforward solutions you can tackle yourself. Power supply problems, loose connections, and software glitches represent the most common culprits behind blank or malfunctioning displays.
Starting with simple power resets and connection checks often resolves display issues without requiring expensive repairs or replacement parts. However, more complex problems involving control board failures or damaged display modules may need professional attention to ensure safe and reliable operation.