A dead GTX12 smartwatch sitting on your charger doing nothing is annoying. But here’s what most people don’t know: about 80% of charging problems have nothing to do with broken parts. They’re fixable at home, often in under five minutes. This guide shows you exactly how to get your watch charging again, starting with the easiest fixes first.
You’ll learn what stops the GTX12 from charging, why it happens, and the exact steps to fix each problem. No technical skills needed. Just a few simple tools you already have at home.
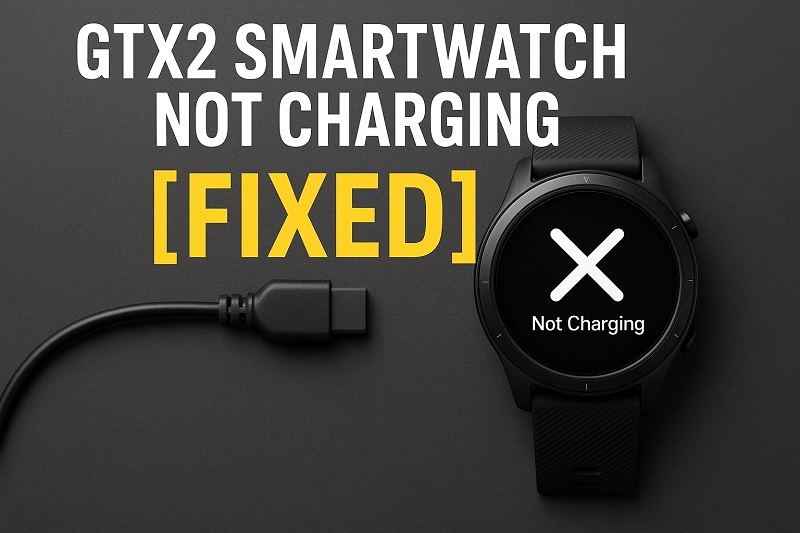
What Happens When Your GTX12 Won’t Charge
When your GTX12 smartwatch stops charging, it typically shows one of several signs. The screen might stay completely black when you connect the charger, or you might see the charging icon appear briefly before disappearing. Sometimes the watch seems to charge for a minute or two, then stops altogether. Each of these symptoms points to different underlying issues, but they all prevent your watch from getting the power it needs.
This problem affects how you use your watch throughout the day. Your fitness tracking stops mid-workout, your sleep data goes unrecorded, and you miss important notifications. A smartwatch that won’t charge becomes just another piece of plastic on your wrist, serving no real purpose.
The charging system on the GTX12 relies on several components working together smoothly. You have the charging cable with its magnetic connector, the charging pins on the back of your watch, the battery inside, and the software that manages power flow. When any single part of this chain breaks down, your entire charging process fails.
Ignoring this problem only makes things worse over time. If dust builds up on your charging pins, it hardens and becomes more difficult to remove. A loose cable connection can damage the pins themselves if you keep forcing the charger into place. Acting quickly when you first notice charging problems saves you from more serious repairs later.
GTX12 Smartwatch Not Charging: Common Causes
Several factors can stop your GTX12 from charging properly. Understanding what causes these issues helps you fix them faster and prevents them from happening again.
1. Dirty or Corroded Charging Pins
The small metal pins on the back of your GTX12 collect more gunk than you’d expect. Sweat from your workouts, dust from your pocket, and even residue from lotions or soaps create a thin layer over these pins. This layer blocks the electrical connection between your charger and watch.
You might not see this buildup with your naked eye. It often appears as a slight discoloration or a barely visible film on the metal surface. Even this tiny amount prevents proper charging because electricity needs clean metal-to-metal contact to flow efficiently.
Corrosion happens when moisture sits on the pins for extended periods. If you shower with your watch or swim regularly, water droplets can linger in the small gaps around the charging area. Over weeks and months, this moisture causes the metal to oxidize, creating a crusty green or white substance that completely blocks charging.
2. Faulty Charging Cable
Your charging cable takes more abuse than you realize. You bend it when packing your bag, yank it from wall outlets, and leave it tangled with other cords. These daily stresses damage the delicate wires inside, especially near the connector ends where bending happens most.
The magnetic connector on GTX12 cables contains tiny pins that align with your watch. These pins can bend out of shape if you accidentally drop the cable or step on it. Once bent, they fail to make proper contact with your watch’s charging surface, even though the magnet still snaps into place.
3. Power Source Problems
Not all USB ports deliver the same amount of power. Your computer’s USB port might provide enough juice to keep your phone happy but struggles with your smartwatch. Some wall adapters claim to output 5 volts but actually deliver less, especially older ones that have degraded over years of use.
Power strips and extension cords add another layer of complexity. A dying power strip might still power your lamp but can’t supply stable electricity for charging electronics. The voltage fluctuates too much, causing your watch to start charging, stop, then start again in an endless loop that never actually fills the battery.
4. Software Glitches
Your GTX12 runs on software that controls everything, including how it accepts and manages charging. Sometimes this software gets confused, especially after updates or if the watch crashes during normal use. The charging detection system might think the battery is full when it’s actually empty, or it might fail to recognize that a charger is connected.
These glitches don’t mean your hardware is broken. The physical components work fine, but the instructions telling them what to do have gotten scrambled. Your watch needs a reset to clear out the confused code and start fresh with clean instructions.
5. Battery Degradation
Every rechargeable battery has a lifespan measured in charge cycles. Your GTX12’s battery might have gone through hundreds or thousands of charges since you bought it. Each cycle wears down the battery’s ability to hold and accept a charge. Eventually, the battery becomes so worn that it can’t accept power from the charger anymore, even though nothing else is wrong.
This wear happens faster if you regularly drain your battery to zero before charging, or if you leave your watch in very hot or very cold places. Extreme temperatures speed up chemical reactions inside the battery, breaking down its components much quicker than normal use.
GTX12 Smartwatch Not Charging: How to Fix
You can tackle most GTX12 charging problems with basic tools and a few minutes of your time. These solutions work from simplest to more involved, so start at the top and work your way down.
1. Clean the Charging Pins
Grab a cotton swab and some rubbing alcohol from your bathroom cabinet. Dip the swab in the alcohol until it’s damp but not dripping. Gently rub the metal charging pins on the back of your watch using small circular motions. You’ll see the swab pick up dirt, sometimes turning gray or brown.
Let the alcohol evaporate for about two minutes. The watch should look completely dry before you try charging again. If the first swab came away really dirty, use a second clean swab with fresh alcohol to make sure you got everything.
For stubborn gunk that alcohol doesn’t remove, try a soft toothbrush with just a tiny bit of water. Brush very gently so you don’t scratch the metal or push debris into the small gaps around the pins. Dry everything thoroughly with a clean cloth before attempting to charge.
2. Inspect and Test Your Charging Cable
Look closely at your charging cable, especially where the wire meets the connector. Bend the cable gently at different points while examining it. You’re looking for any spots where the outer covering has cracked or where you can see exposed wires underneath. Even small cracks mean the cable is failing.
Check the magnetic connector end that attaches to your watch. The metal pins should all stand at the same height and look straight when viewed from the side. If any pin looks pushed in or bent at an angle, the cable needs replacing. You can’t really fix bent pins without specialized tools.
Try a different charging cable if you have access to one. Borrow from a friend who has the same watch, or buy an inexpensive replacement cable online. If the new cable works immediately, you’ve found your problem. Keep the old cable as a backup after you try cleaning its connector with alcohol, just in case it starts working again.
3. Switch Your Power Source
Unplug your charger from wherever it’s currently connected. Plug it directly into a wall outlet using a known good adapter, preferably one that came with a recent phone or tablet. These adapters typically provide clean, stable power at the right voltage for small electronics.
Avoid charging from your computer’s USB port, at least for this test. Computers sometimes reduce USB power when running on battery or when multiple devices are connected. They also enter power-saving modes that can interrupt charging without warning.
4. Restart Your GTX12
Hold down the power button on your watch for about 15 seconds, even if the screen stays black. You might need to hold it longer if the battery is completely drained. Release the button, wait ten seconds, then press and hold it again for another five seconds to turn the watch back on.
This restart clears temporary software problems that might be blocking the charging process. It forces the watch to check all its systems again from scratch, including the charging detection system. After the restart completes, connect your charger and look for the charging icon on screen.
If the watch won’t turn on at all, leave it on the charger for at least 30 minutes before trying the restart. Sometimes a completely dead battery needs time to accept enough charge before the screen will respond to button presses.
5. Check for Water Damage
Even though the GTX12 is water-resistant, water can still get inside through tiny gaps if you expose the watch to high-pressure water or wear it in very hot showers. Look at the charging pins through a bright light or magnifying glass. You’re checking for any white, green, or rust-colored spots that indicate water got inside.
If you see signs of water damage, stop trying to charge immediately. Water inside electronics can cause short circuits that damage components permanently. Let the watch sit in a warm, dry place for 48 hours. Put it near a gentle heat source like a sunny windowsill, but not directly on a radiator or heater.
After drying, try charging again. If it still doesn’t work, the water might have damaged internal components that you can’t fix at home. Water damage often requires professional repair or replacement.
6. Try a Different Charging Position
The magnetic charger needs to align perfectly with your watch’s charging pins. Sometimes it snaps into place magnetically but sits at a slight angle that prevents electrical contact. Remove the charger and reattach it, making sure you hear a solid click and feel strong magnetic pull.
Place your watch face-up on a flat surface while charging instead of leaving it on its side or hanging from the cable. This keeps the charger pressed firmly against the pins by gravity. Leave it undisturbed for at least five minutes to see if charging starts.
7. Contact a Professional Technician
If none of these fixes work, your GTX12 likely has a hardware problem that requires expert attention. The battery itself might be dead and need replacement, or internal charging circuits could have failed. A qualified watch repair technician can diagnose these issues and tell you whether repair makes sense financially.
Before taking your watch in for repair, make sure it’s still under warranty. Many manufacturers cover charging problems within the first year of purchase. Contact the seller or manufacturer first to explore free repair or replacement options before paying for independent repairs.
Wrapping Up
Getting your GTX12 charging again usually comes down to cleaning dirty contacts or replacing a worn cable. These simple fixes solve the problem more often than you’d expect, saving you time and money compared to buying a new watch. Take a systematic approach, trying each solution carefully before moving to the next.
Your smartwatch serves you well when it stays charged and ready. Regular cleaning of the charging pins prevents most problems before they start. Handle your charging cable gently, and it’ll last much longer. When you take care of the small details, your GTX12 keeps tracking your steps, monitoring your sleep, and keeping you connected exactly as it should.