Last Tuesday, my Epson L3110 started blinking like crazy right before I needed to print my daughter’s school project. Sound familiar? That annoying light show your printer puts on usually happens at the worst possible moment.
Here’s what I learned after dealing with this issue countless times: those blinking lights aren’t trying to drive you nuts. Your printer is actually being helpful, telling you exactly what’s wrong. Once you crack the code, most fixes take under five minutes.
I’ll show you the real solutions that work, not the generic advice you find everywhere else. These are the tricks I use when customers bring me their “broken” Epson printers that just need a little attention.
What Those Blinking Lights Really Mean
Your Epson printer talks to you through lights. Weird concept, but it works better than you’d think. Each blinking pattern means something specific, and once you learn the basics, troubleshooting becomes much easier.
The power button might flash while the ink lights stay solid. Or maybe all the lights blink together like they’re having a party. Each pattern tells you where to look for the problem. No guessing required.
Most people ignore these signals and just keep pressing buttons, hoping something works. That’s like ignoring your car’s check engine light and wondering why things get worse. Your printer gives you clues for a reason.
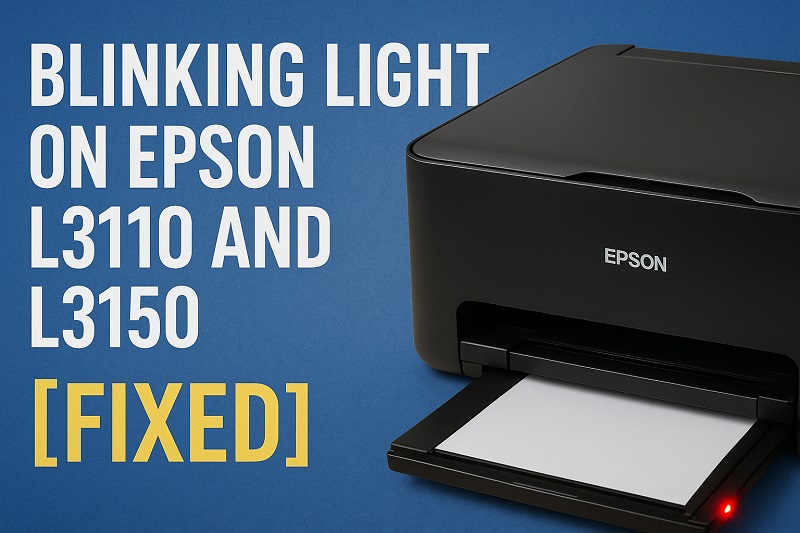
Smart printers like the L3110 and L3150 monitor everything. Paper movement, ink flow, temperature, cover position. When something seems off, the lights start talking. Learning this language saves you time, money, and a lot of headaches.
Blinking Light on Epson L3110 and L3150: Common Causes
Most blinking light problems come from the same handful of issues. After fixing hundreds of these printers, I can usually spot the cause within seconds.
1. Your Ink Tanks Need Attention
Empty tanks cause most blinking episodes. Your printer checks ink levels constantly, and when any color drops too low, warning lights kick in immediately.
Sometimes the sensors get fooled. Air bubbles, dust, or sticky residue can make a full tank look empty to your printer. This drives people crazy because they see plenty of ink but the lights keep flashing.
The sensors are actually pretty smart, but they’re not perfect. They detect changes in light passing through the ink, so anything that blocks that light triggers warnings.
2. Paper Problems Are Everywhere
Paper jams rank as the top troublemaker for blinking lights. Even tiny scraps hiding inside your printer can set off the alarms and refuse to stop until you find every piece.
Your printer expects paper to move smoothly from the tray to the output bin. When something interrupts that flow, sensors detect the problem instantly. Wrinkled paper, wrong sizes, or damp sheets all cause issues.
Dust buildup on the sensors makes things worse. These little components are sensitive, and even small particles can interfere with their ability to track paper movement properly.
3. Printhead Issues Sneak Up On You
The printhead sprays tiny droplets of ink onto paper through microscopic holes. When these holes get clogged with dried ink, your printer knows something’s wrong and starts the light show.
Hot weather and long periods without printing create perfect conditions for clogs. Ink dries inside those tiny channels, blocking the flow completely. Your printer’s diagnostic system catches this right away.
4. Waste Ink Pads Fill Up Eventually
Every Epson printer has hidden sponge pads that soak up excess ink during cleaning cycles. These pads eventually get saturated and can’t absorb any more ink.
Your printer counts every cleaning cycle and estimates when the pads need replacement. Once it hits the limit, protective systems kick in to prevent ink overflow. Blinking lights warn you that service time has arrived.
5. Covers and Parts Get Misaligned
Printer covers must close completely for normal operation. A slightly open scanner lid or loose front panel triggers safety sensors that prevent printing until everything’s secure.
Moving your printer or aggressive cleaning can shift internal parts. When components aren’t positioned exactly right, sensors detect the misalignment and shut things down until you fix the problem.
Blinking Light on Epson L3110 and L3150: DIY Fixes
Good news: most blinking light problems have simple solutions you can handle yourself. I’ll walk you through the fixes that actually work, starting with the easiest ones.
1. Fill Those Ink Tanks Properly
Check all four ink tanks on your printer’s right side. Look at the actual ink levels, not what the display says. Sometimes tanks look full but have air pockets that confuse the sensors.
Refill any low tanks with the right ink colors. Pour slowly to avoid creating bubbles, and make sure the caps go back on tight. Use genuine Epson ink when possible, though quality compatible inks work fine too.
Turn your printer completely off after refilling, wait about thirty seconds, then power it back on. This reset helps the sensors recognize the new ink levels and usually stops ink-related blinking right away.
2. Hunt Down Every Paper Scrap
Turn off your printer and open everything you can. Check the paper tray, output area, and any access doors. Look for obvious paper pieces first, then search for tiny fragments that love to hide.
The carriage area where ink cartridges move back and forth often traps paper. Gently remove anything you find, being careful around the metal contacts and printhead components.
Get a flashlight and really look around. Small torn pieces hide in corners, behind rollers, and under covers. Remove everything you see, close all the doors, and power up. Clean printers mean happy blinking lights.
3. Clean That Printhead
Find your printer’s maintenance menu through the control panel or computer software. Run the printhead cleaning cycle, which pushes ink through the nozzles to clear dried residue.
Print a test pattern after cleaning to check if all colors work properly. Missing lines or faded areas mean you need another cleaning cycle. Three cleanings usually handle most clogs, but don’t overdo it.
Try deep cleaning for stubborn problems. This option uses more ink but tackles serious blockages that regular cleaning misses. Always test afterward to see if things improved.
4. Reset the Waste Ink Counter
This one needs special software since Epson doesn’t give users direct access to reset options. Download the official Epson reset utility or reliable third-party tools made for your printer model.
Connect your printer with a USB cable and run the reset program. Follow the instructions to clear the waste ink counter. The whole process takes just a few minutes and stops counter-related blinking immediately.
Your printer should work normally after resetting. You’ll need actual pad replacement eventually with heavy use, but this reset gives you plenty of extra printing time.
5. Check Every Cover and Component
Press down firmly on all covers, doors, and panels. The scanner lid, front cover, and access doors must latch completely. Even small gaps trigger sensor warnings that won’t stop until everything’s secure.
Make sure the paper tray sits flush against the printer. Remove it completely and reinstall if needed, checking that guides and supports line up properly. The tray should slide in smoothly without forcing anything.
Look at internal components if you can see them. Cartridge holders, paper guides, and moving parts need proper positioning. Gently adjust anything that looks out of place.
6. Call a Professional When Needed
If these fixes don’t stop the blinking, you’re probably looking at internal hardware problems that need expert attention. Sensor failures, circuit board issues, or mechanical damage require professional diagnosis and repair.
Don’t feel bad about calling for help. Some problems go beyond basic maintenance, and trying complex repairs yourself can cause more damage. A qualified technician has the tools and knowledge to handle serious issues safely.
Wrapping Up
Those blinking lights on your Epson L3110 or L3150 usually mean simple problems with easy fixes. Most issues involve ink, paper, or basic cleaning tasks you can handle in your kitchen without any special tools.
Work through the common causes systematically and you’ll solve most problems quickly. When basic fixes don’t work, professional help ensures your printer gets proper care without making things worse.