You open your Bosch oven to check on dinner, and instead of seeing your food, you’re greeted by complete darkness. The light that usually lets you peek at your roast or cookies has decided to take a break, leaving you guessing what’s happening inside.
This is one of those frustrating moments that catches you off guard. You need to see how your food is cooking without opening the door and letting all that heat escape. That oven light plays a bigger role than you might think, helping you time things perfectly and avoid burnt edges or undercooked centers.
In this guide, you’ll learn why your Bosch oven light stops working, what typically causes this problem, and several practical ways to fix it yourself without calling for help.
What Happens When Your Oven Light Goes Out
Your Bosch oven light is there for one main reason: so you can watch your food cook without opening the door every few minutes. That small bulb inside the cavity lets you monitor browning, rising, and bubbling without losing precious heat. When it stops working, cooking becomes a bit of a guessing game.
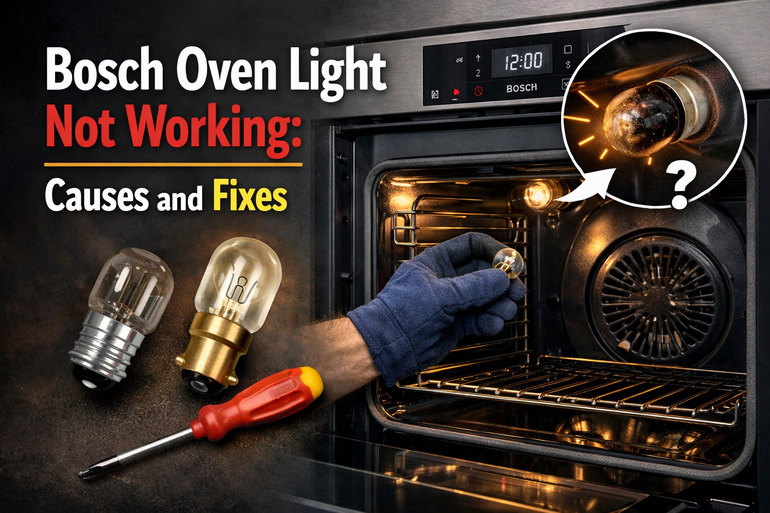
The light usually sits behind a glass cover that protects it from grease, moisture, and high temperatures. Most Bosch ovens have a switch mechanism that turns the light on when you open the door or press a specific button on your control panel. Some models even let the light stay on throughout the entire cooking cycle if you want.
When this light fails, you might think it’s always just a burnt-out bulb. Sometimes that’s true. But other times, the issue runs deeper. Your oven might have a faulty switch, loose wiring, or a broken light socket that prevents power from reaching the bulb properly.
Ignoring a dead oven light might seem harmless at first. You can still cook food without it. But over time, you’ll find yourself opening the door more often to check on things, which makes your oven work harder to maintain temperature. Your energy bill creeps up, cooking times get longer, and your food might not turn out as evenly cooked as before.
Bosch Oven Light Not Working: Likely Causes
Several things can stop your oven light from turning on. Understanding what typically goes wrong helps you pinpoint the exact issue faster.
1. Burnt Out Light Bulb
This is what most people think of first, and for good reason. Oven bulbs have a tough job. They sit in an extremely hot environment, getting turned on and off repeatedly over months or years. Eventually, the filament inside wears out and breaks, just like any other light bulb in your home.
Oven bulbs are specially made to handle high heat, usually rated for temperatures up to 300 degrees Celsius or more. Even with this heat resistance, they still have a lifespan. If you use your oven frequently, especially for long baking sessions, that bulb works overtime.
You might notice the bulb starting to dim before it goes out completely. Sometimes it flickers a bit when you first turn it on. These are signs that the filament is weakening and getting ready to fail.
2. Faulty Door Switch
Your oven has a small switch, usually located near the door hinge or along the door frame. This switch activates when you open the door, telling the light to turn on. Close the door, and the switch releases, turning the light off again.
Over time, this switch can wear out from constant use. The small metal contacts inside get dirty or corroded, or the spring mechanism that makes it click loses tension. When this happens, the switch stops sending the signal to turn on your light.
3. Damaged Light Socket
The socket that holds your oven bulb can develop problems too. High heat cycles cause the metal parts to expand and contract repeatedly. This movement can loosen connections or even crack the ceramic or metal housing that holds everything together.
Sometimes moisture sneaks into the oven cavity during cleaning or from steam released by certain foods. If water reaches the socket while it’s hot, it can cause corrosion on the electrical contacts. That corrosion blocks the flow of electricity to your bulb.
You might also find that the socket threads are stripped or damaged, making it impossible to screw in a bulb properly. Without a tight, secure connection, the bulb won’t get the power it needs to light up.
4. Loose or Broken Wiring
Behind your oven’s control panel and inside its walls runs a network of wires that carry electricity to different components. The wire that powers your oven light can come loose from its connection point, especially if your oven has been moved or bumped recently.
These wires can also break or fray over time, particularly where they bend or connect to other parts. Heat exposure doesn’t help either. Even though the wiring is usually protected, years of heating and cooling cycles can make insulation brittle and cause internal wire damage.
5. Tripped Circuit or Control Board Issue
Sometimes the problem isn’t with the light itself but with how power gets distributed throughout your oven. Your Bosch oven has a control board that manages various functions, including sending power to the light circuit.
If this board develops a fault or if a small internal fuse blows, the light circuit might lose power even though the rest of your oven works fine. This is less common than a simple burnt bulb, but it happens. You might notice other small glitches with your oven’s functions if the control board is acting up.
Bosch Oven Light Not Working: How to Fix
You can tackle most oven light problems on your own with a few simple steps. Here’s how to get that light shining again.
1. Replace the Light Bulb
Start with the most obvious fix: putting in a new bulb. Turn off your oven and let it cool completely if you’ve been using it. You don’t want to burn your fingers on hot surfaces.
Locate the light cover inside your oven cavity. Most Bosch ovens have a glass or metal cover held in place by a wire clip or threaded ring. Gently remove this cover by either unhooking the wire bail or turning the cover counterclockwise.
Take out the old bulb by unscrewing it carefully. Check what type of bulb it is. Most Bosch ovens use a standard 40-watt appliance bulb with an E14 base, but some models need specific halogen bulbs. Grab a replacement that matches exactly. Screw the new bulb in snugly but don’t overtighten it. Replace the cover and test the light.
2. Test and Replace the Door Switch
If a new bulb doesn’t solve the problem, check the door switch next. You’ll need to locate it first, which usually means looking near the door frame or hinge area where a small button or lever presses in when you close the door.
Open your oven door and look for a small plastic or metal button that sticks out slightly. Press it with your finger. You should hear or feel a click. If it feels mushy, doesn’t click, or seems stuck, it’s probably faulty. Turn off power to your oven at the breaker before doing any work on electrical parts.
You’ll need to remove the inner door panel or side trim to access the switch connections. Once exposed, disconnect the wires from the switch terminals, noting which wire goes where. Use a multimeter to test the switch for continuity. Press the button in and out while testing. If there’s no continuity change, replace the switch with a new one. Connect the wires to your new switch and reassemble everything.
3. Inspect and Clean the Socket
A dirty or corroded socket can prevent your bulb from making proper contact. After removing your bulb, take a close look inside the socket with a flashlight.
Look for any dark spots, green corrosion, or bent metal contacts. If you see corrosion, you can try cleaning it carefully. Make sure your oven is unplugged first. Use a small wire brush or some fine sandpaper to gently scrub away any buildup on the metal contacts inside the socket. Be gentle so you don’t damage anything.
If the socket is cracked, melted, or severely corroded, cleaning won’t help. You’ll need to replace it. This requires disconnecting the socket from its wiring harness and installing a new one. The socket usually attaches with a mounting bracket or screws.
4. Check for Loose Connections
Sometimes your bulb and socket are fine, but the wires leading to them have come loose. You’ll need to access the area behind the socket to check this.
Turn off power at the breaker and remove any panels necessary to see where the wires connect to the socket. Look for any wires that appear disconnected, loose, or burnt. Push wire connectors firmly back onto their terminals if they’ve slipped off. If you see burnt or damaged wires, you’ll need to cut away the damaged section and reconnect with new wire nuts or connectors.
5. Reset Your Oven
Electrical appliances sometimes need a simple reset to clear minor glitches. This is worth trying before you start taking things apart.
Flip the circuit breaker that powers your oven to the off position. Leave it off for at least five minutes. This gives your oven’s control board time to fully discharge and reset. After five minutes, flip the breaker back on. Check if your oven light now works. This quick fix sometimes resolves control board hiccups that were blocking power to the light.
6. Contact a Professional Appliance Technician
If you’ve tried everything and your light still won’t turn on, you might have a deeper electrical issue or a faulty control board. These problems require special diagnostic tools and expertise to fix safely. At this point, call a qualified appliance repair technician who has experience with Bosch ovens. They can properly diagnose control board issues and replace components that are too complex or risky for a DIY repair.
Wrap-Up
Your Bosch oven light serves a practical purpose that goes beyond convenience. It helps you cook better by letting you monitor your food without releasing heat. Most light failures come down to simple issues like burnt bulbs or dirty sockets that you can fix yourself in under an hour.
Starting with the easiest solutions saves you time and money. Replace that bulb first, then work your way through the other checks if needed. You’ll have your oven light back on and your kitchen running smoothly before you know it.