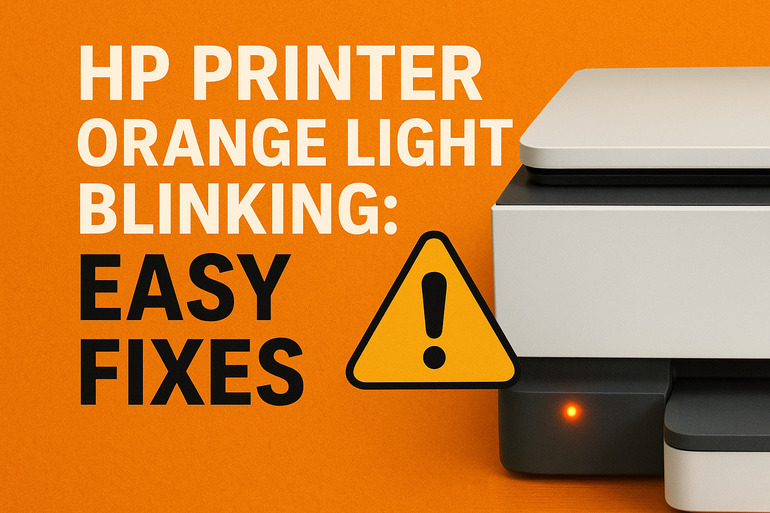
This blinking orange light is your printer’s way of saying something’s wrong. But here’s the good news: most of these issues are simple enough to fix at home. You don’t need to be a tech wizard or rush out to buy a new printer. We’ll walk through what’s causing that annoying blink and how you can get your printer back to work in minutes.
What That Blinking Orange Light Really Means
Your HP printer uses colored lights like a traffic signal to communicate with you. That blinking orange light is basically your printer waving a yellow flag. It’s telling you there’s an issue that needs your attention before it can continue printing.
Different blink patterns can mean different things. Sometimes the light blinks slowly, sometimes fast. Some HP models might show a steady orange glow instead of blinking. Each pattern is trying to tell you something specific about what’s going wrong inside the machine.
The most common issues behind that orange blink include paper jams, low or empty ink cartridges, cartridge problems, or cover doors left open. Sometimes it’s a communication hiccup between your printer and computer. Other times, it’s the printer getting confused after a software update or power surge.
If you ignore this warning light and just keep trying to print, you might make things worse. A small paper jam could turn into torn paper stuck deep inside. An ink cartridge error could lead to poor print quality or damage to the print head. Your printer is asking for help, and it’s usually an easy fix once you know what you’re looking for.
HP Printer Orange Light Blinking: Common Causes
Several things can trigger that orange light on your HP printer. Understanding what’s causing it helps you fix it faster. Let’s look at the usual suspects behind this problem.
1. Paper Jam or Paper Feed Issues
Paper jams are probably the biggest reason you’ll see that orange light flashing. A tiny piece of torn paper stuck somewhere inside can stop everything. The printer’s sensors detect the obstruction and refuse to move forward.
This happens when you load too much paper at once, use wrinkled or damp paper, or when small torn pieces get left behind from a previous jam. Sometimes the paper guides aren’t set properly, causing sheets to feed in crooked and get stuck.
Even after you’ve pulled out the jammed paper, small torn bits might still be hiding inside. Your printer will keep blinking orange until every scrap is removed. Check all the entry and exit points carefully.
2. Empty or Low Ink Cartridges
Your printer won’t work if it runs out of ink. That orange light starts blinking to alert you that one or more cartridges are empty or running critically low. HP printers are pretty strict about this.
Many HP models will refuse to print anything if even one color is empty, even if you’re only trying to print in black. The printer checks ink levels before starting any print job. If the levels are too low, it triggers that warning light.
Sometimes the printer thinks a cartridge is empty when it’s not. Ink level sensors can get confused, especially if you’ve refilled cartridges or if the contacts are dirty. This false reading still causes the orange light to blink.
3. Cartridge Installation Problems
Even brand new cartridges can cause issues if they’re not installed correctly. The orange light blinks when the printer can’t read the cartridge properly or detect that it’s seated right.
Those protective tape strips on new cartridges need to come off completely. If you forget to remove them, the cartridge won’t work. The printer can’t access the ink, and it throws an error. Your printer might also reject cartridges that aren’t genuine HP products or ones from incompatible series.
Dirty electrical contacts on either the cartridge or inside the printer can prevent proper communication. Dust, dried ink, or even just oxidation on those little copper or gold strips will cause problems.
4. Open Covers or Doors
HP printers have safety sensors that detect when covers or doors are open. If the scanner lid, front access door, or rear access panel isn’t closed properly, that orange light will blink. The printer won’t operate with any opening exposed.
Sometimes a door clicks shut but doesn’t fully latch. You think it’s closed, but the sensor disagrees. Even a millimeter gap can trigger the warning. Paper dust buildup around the latch areas can prevent doors from closing completely.
5. Printer Driver or Software Glitches
Your printer and computer need to talk to each other properly. Sometimes this communication breaks down due to outdated drivers, corrupted software, or compatibility issues after system updates.
The printer might be physically fine but can’t receive or process print commands correctly. This confusion triggers error states that show up as that blinking orange light. Your computer sends the print job, but the printer gets mixed signals and doesn’t know what to do.
Connection problems between your printer and computer, whether through USB or WiFi, can also cause this issue. A loose cable or weak wireless signal interrupts the data flow.
HP Printer Orange Light Blinking: How to Fix
Getting rid of that orange light is usually straightforward once you know what steps to take. Let’s go through the solutions that work for most people.
1. Check for Paper Jams
Start by turning off your printer completely. Open every access panel you can find, including the front, back, and top covers. Look carefully inside with a flashlight if needed.
Gently pull out any paper you see, but pull slowly and steadily. Yanking hard will tear the paper and make things worse. If you feel resistance, try pulling from a different access point. Sometimes paper needs to come out the way it went in.
After removing visible paper, reach inside and feel around for small torn pieces. Check the rollers by spinning them gently with your fingers. Close all covers firmly, making sure they click into place. Turn your printer back on and see if the orange light stops blinking.
2. Reseat Your Ink Cartridges
Open the cartridge access door and wait for the carriage to move to the center. Pull out each cartridge one by one. Look at the copper or gold contacts on the bottom of each cartridge.
Wipe these contacts gently with a clean, dry cotton swab or lint-free cloth. Do the same for the contact points inside the printer where the cartridges sit. Make sure there’s no dust, dried ink, or debris.
Put each cartridge back in firmly until you hear it click. Press down to make sure it’s fully seated. Close the cartridge door and let the printer run through its initialization. This simple reseat fixes the issue surprisingly often.
3. Replace Low or Empty Cartridges
If your ink is genuinely low or empty, you’ll need to replace those cartridges. Remove the old one and unpack the new cartridge carefully. Peel off all protective strips and tape completely, especially the copper strip covering the contacts.
Hold the new cartridge by its sides, avoiding touching the contacts or nozzles. Insert it into the correct slot at a slight upward angle, then press down firmly until it clicks. The printer should recognize the new cartridge immediately.
After installation, run a test print to confirm everything works. Your printer might prompt you to align the cartridges, which helps ensure good print quality.
4. Perform a Power Reset
This simple trick clears temporary glitches and errors stored in the printer’s memory. Turn off your printer using the power button. Unplug the power cord from both the printer and the wall outlet.
Wait for at least 60 seconds. This lets all the capacitors discharge completely. While waiting, press and hold the power button for about 15 seconds even though it’s unplugged. This drains any residual power.
Plug everything back in and turn on your printer. Let it go through its full startup routine without interrupting it. This reset often clears error states that cause the orange light to blink.
5. Clean the Printer Sensors
Dust and debris on sensors can confuse your printer. Use a dry microfiber cloth to gently wipe the sensor areas. These tiny components are usually near the paper path and cartridge area.
Look for small transparent or dark plastic pieces that look like eyes or windows. These are the sensors. Clean around them carefully without applying too much pressure. Compressed air works great for blowing out dust from tight spaces.
Pay special attention to the paper sensors along the feed path. Even a thin layer of paper dust can interfere with their ability to detect paper properly.
6. Update or Reinstall Printer Drivers
Outdated or corrupted drivers cause communication problems between your printer and computer. Go to HP’s official website and search for your specific printer model. Download the latest driver package for your operating system.
If you’re on Windows:
- Open Settings and go to Devices
- Find your printer and remove it
- Install the new driver you downloaded
- Restart your computer
For Mac users, check System Preferences and update through the Software Update section. After updating, test print something simple to verify everything works.
7. Contact HP Support
If none of these fixes work, your printer might have a hardware problem that needs professional attention. Reach out to HP support or take your printer to an authorized service center. They have diagnostic tools and replacement parts that aren’t available to regular users.
Wrapping Up
That blinking orange light on your HP printer isn’t something to panic about. Most of the time, it’s pointing to a simple issue you can fix yourself in just a few minutes. Whether it’s a paper jam, cartridge problem, or software hiccup, the solutions are usually pretty straightforward.
Start with the easiest fixes first like checking for paper jams and reseating cartridges. These two steps alone solve the majority of orange light issues. If those don’t work, move on to the other solutions we covered. Your printer will be back to normal before you know it, and you’ll have saved yourself a service call.