That blinking light on your Quest 3 charger? Yeah, I know exactly what you’re dealing with. You’re ready to play, you plug in your headset expecting it to charge up nice and steady, and instead you get this annoying blink-blink-blink situation. Not cool.
Here’s what’s happening and how to fix it. I’ve seen this problem pop up more times than I can count, and nine times out of ten, you can sort it out yourself in about five minutes. No tech degree needed, I promise.
Why Your Quest 3 Is Acting Up
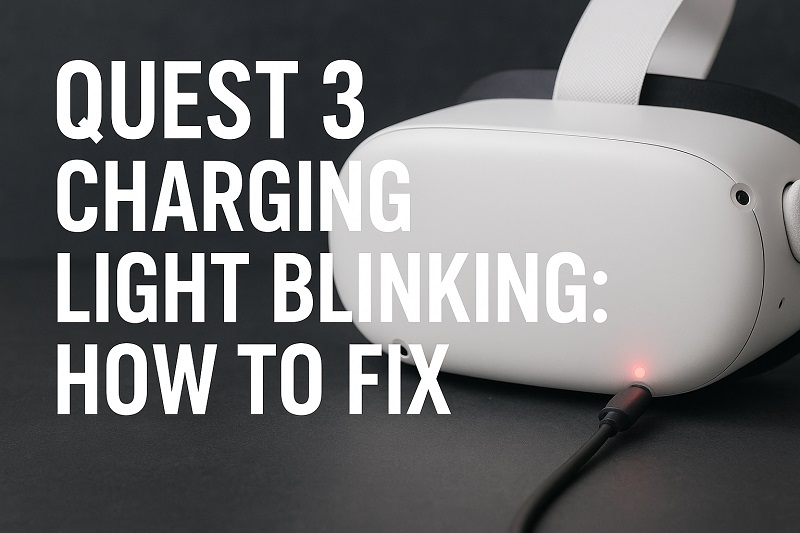
Your Quest 3 has a charging light that’s supposed to glow solid orange while charging and turn green when it’s full. Simple enough. But when that light starts blinking, your headset is basically saying “Nope, something’s off here, and I’m not charging until we fix it.”
This blinking isn’t random. Your headset has safety features built into the charging system. When something goes wrong—maybe the connection is dodgy, maybe things are getting too hot, maybe the power coming in isn’t quite right—the headset stops charging and blinks at you. It’s actually protecting itself from damage.
Left unchecked, charging problems can mess up your battery over time. The battery might not hold a charge as well as it used to, or the charging port could get damaged. Sometimes the headset just won’t charge at all anymore. That blinking light is your early warning system.
The good news? Most causes are pretty basic. Could be a dirty port. Could be a worn-out cable. Could be your headset needs to chill out—literally. Whatever it is, there’s usually a fix you can do right now without sending your headset anywhere.
Quest 3 Charging Light Blinking: Common Causes
A few things typically cause this blinking light problem. Let’s figure out what’s going on with yours.
1. Your Cable Is Shot or Just Wrong
Charging cables get rough treatment. We yank them, bend them, step on them, stuff them in bags. Eventually, the wires inside break even though the outside looks okay. Sometimes you’re using a cable that looks like it should work but just doesn’t have the right specs for your Quest 3.
Not every USB-C cable is the same. Some are built for charging phones slowly. Some can’t handle data transfer properly. Your Quest 3 needs a cable that can do both—send power and communicate with the charging system. When you use a cable that can’t keep up, your headset notices and refuses to charge.
Even the cable that came with your Quest 3 wears out eventually. If you’ve been using it for months and the connector feels loose or you see fraying near the ends, that’s probably what’s causing your problem.
2. Gunk in the Charging Port
Your charging port is like a magnet for dust and lint. Every time you set your headset down, throw it in a case, or leave it sitting around, tiny bits of stuff work their way into that USB-C port. You’d be amazed what ends up in there.
Once debris gets in, it blocks the metal contacts that need to touch your cable. The connection gets spotty. Your headset tries to charge, loses connection, tries again, loses it again—and that shows up as a blinking light. Sometimes there’s so much packed-in crud that you can barely see it without a flashlight.
3. Heat Problems
Batteries hate heat. Your Quest 3 knows this and won’t charge if things get too toasty. Play an intense VR game for an hour and your headset gets warm—that’s normal. But if you plug it in right after playing, you’re asking it to generate even more heat on top of what’s already there. The safety system says no way and stops the charging process.
Your gaming sessions really heat things up inside. The processor is working hard, the displays are running full blast, everything’s warm. Give it time to cool down before you charge it, or you’ll keep seeing that blinking light.
Where you charge matters too. Charging in a hot room, next to a sunny window, or in a closed bag traps heat. Your headset can’t cool itself properly and won’t charge until it does. Temperature is a bigger deal than most people realize.
4. Weak Power Source
Your wall charger or USB port might not have enough juice. Meta says you need at least 18W to charge your Quest 3 properly. That old phone charger you’re using? Probably only puts out 5W or 10W. Your Quest 3 tries to charge, realizes the power isn’t there, and starts blinking.
Charging from your computer is especially iffy. Regular USB ports on computers give you maybe 5W to 10W—nowhere near enough. Your headset starts charging, pulls more power than the port can give, and the whole thing becomes unstable. Hence the blinking.
5. Software Glitches or Battery Wear
Sometimes the issue isn’t physical at all. Your Quest 3 runs software that manages the battery—tracking how charged it is, watching the temperature, making decisions about when and how to charge. If that software gets confused or buggy, it might stop charging for no good reason. You get the blinking light even though nothing’s actually wrong.
Over time, batteries lose their edge. After hundreds of charging cycles, they don’t hold as much power and can act weird. The software might get confused about how much charge is really left. In rare cases, the battery itself develops real problems that need professional help. Batteries do eventually wear out—that’s just how they work.
Quest 3 Charging Light Blinking: DIY Fixes
Let’s get your Quest 3 charging again. Try these fixes in order. Most people find their solution in the first couple of steps.
1. Clean Out That Port
First things first—turn off your Quest 3 completely. Grab a flashlight and look inside the charging port. See any dust or fuzz? Time to clean it out. Get a wooden toothpick or a plastic pick from a dental kit. Never use metal—it can scratch or bend those tiny pins inside.
Gently scrape the bottom of the port to loosen packed-in debris. Turn your headset upside down and tap it lightly a few times. Stuff should fall out. You can also use canned air if you have it—just hold the can straight up and use quick little bursts from a few inches away. Don’t spray too close or tip the can, or you might blow liquid into the port.
For stubborn grime, wrap a tiny bit of cotton around your toothpick to make a mini swab. Dip it in rubbing alcohol (get the 70% kind or higher) and gently wipe the inside of the port. Let it dry completely—give it at least 10 minutes. Then try charging. You’ll be shocked how often a dirty port is the whole problem.
2. Swap Your Cable and Charger
Stop using whatever cable you’ve been using and grab a different one. If you still have the original Quest 3 cable, use that. If not, borrow a good USB-C cable from another device—maybe from your phone or tablet. Make sure it’s a real data cable, not one of those charge-only cheapies.
Now change your power source too. Different wall adapter, different outlet. Look for a charger that says 18W or higher on it—usually printed in tiny text on the adapter itself. You’re looking for something like “5V/3A” or “9V/2A” in those specs. That means it can push enough power.
Try plugging straight into the wall instead of through a power strip or extension cord. Power strips can cause voltage issues that mess with charging. Once you’ve changed both the cable and charger, watch what happens. If that light stays solid orange, you just found your culprit.
3. Let It Cool Off
Just finished playing? Your Quest 3 is still warm. Unplug everything and take off any protective case. Put it somewhere cool with good airflow—not in the sun, not near your heater, just a normal room. Let it sit for 20 to 30 minutes.
You can put it near a fan if you want to speed things up, but don’t blast it with cold air from an AC unit. Sudden temperature changes aren’t great for electronics. Just let it chill at room temperature. Touch the area around the USB-C port and where your face goes—if it still feels warm, give it more time.
When it feels cool to the touch, plug it in again. Light staying solid? Heat was your problem. From now on, always wait 15 to 20 minutes after playing before charging. Your battery will thank you, and you won’t see that blinking light anymore.
4. Restart Everything
Software bugs happen, and restarting usually clears them out. Hold the power button on the right side of your headset for about 10 seconds. Keep holding it even after everything goes dark. You’ll feel a little vibration—that’s when you know it’s really off.
Wait 30 seconds with it completely powered down. This gives everything inside time to reset. Then press the power button once to turn it back on.
Let it boot up all the way until you see your home screen. Now plug in your cable and check the light. Restarting fixes temporary software issues that mess with battery management. If the blinking keeps happening, you’re probably dealing with a hardware problem instead.
5. Try a Factory Reset
Hold up—this one wipes everything, so back up your data first. Go to Quick Settings, then Settings, then System. Scroll down until you see Factory Reset and follow what it tells you. Your headset will restart and be like new out of the box.
After it finishes resetting, go through setup again. When you get to the home screen, try charging. Factory resets nuke any deep software problems—corrupted files, buggy updates, weird settings that got messed up somehow. It’s a clean slate.
This is a bigger deal than the other fixes because you’ll have to reinstall your games and redo your settings. Only do this if nothing else worked. But if software is causing your charging issues, a factory reset almost always fixes it.
6. Look for Damage
Check both ends of your charging cable closely. Are the metal parts inside bent, discolored, or crusty-looking? Any visible damage means you need a new cable. Look at the cable itself for kinks, cuts, or worn spots. Even a tiny break in the outer covering can mean broken wires inside.
Now inspect your Quest 3’s charging port. Shine a light in there and look at those pins. They should all stand up straight and even. If one is bent or pushed down, that’s causing your problem. Don’t try to straighten bent pins yourself—you’ll probably make it worse. That needs professional repair.
Check for cracks, weird colors, or burn marks around the port. Those are signs of serious electrical problems. If you see any actual damage to the port, skip everything else and contact Meta Support or find an authorized repair shop. This is beyond DIY territory.
7. Call in the Experts
If you’ve tried everything and nothing worked, something more serious is going on. Contact Meta Support through their website or the Meta Quest app on your phone. Have your serial number ready—you can find it in Settings, then System, then About. Tell them what you’ve already tried so they don’t waste your time repeating stuff.
They might have some other troubleshooting steps, or they might decide your headset needs repair or replacement. If you’re still under warranty, repairs are free. Even out of warranty, they can tell you what it’ll cost to fix. Don’t try opening your headset yourself—you’ll void your warranty and probably break something. Let people who know what they’re doing handle internal repairs.
Wrapping Up
That blinking charge light usually means something simple that you can fix at home. Most of the time it’s a dirty port, a dying cable, or a headset that needs to cool down first. Spending a few minutes cleaning, swapping cables, or just waiting can get you back to playing without any drama.
If the easy fixes don’t work, try restarting or using a different power source. Your Quest 3 is built with protections that make it pretty hard to damage through normal troubleshooting. Just work through the solutions one by one. If nothing works, Meta Support will take care of whatever your headset needs.