Your geyser’s been heating water just fine, but that little green light refuses to turn on. You stand there staring at the unit, trying to figure out if something’s wrong or if your hot water is about to stop flowing. It’s one of those small things that makes you second-guess everything.
That green light isn’t there just for looks. It tells you the geyser is working, heating water, and doing its job. Without it, you’re left guessing whether the system is functioning properly.
This guide will walk you through what causes this issue and how you can fix it yourself. You’ll learn about the most likely reasons behind a dead green light and practical steps to get it glowing again.
What This Green Light Actually Means
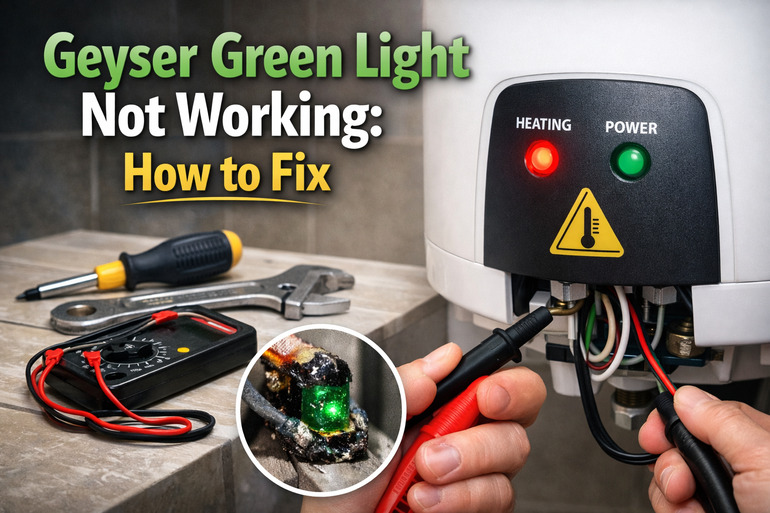
Your geyser’s green indicator light serves as a status monitor. It shows you that power is reaching the heating element and that the thermostat has kicked in to warm your water. When that light is on, you know your geyser is actively working.
This small bulb or LED sits on the control panel of most modern geysers. Some units have multiple lights for different functions, but the green one typically signals normal operation. Without it, you’re flying blind. You can’t tell at a glance whether your geyser is running or sitting idle.
The light connects directly to your geyser’s electrical system. It draws power from the same circuit that feeds the heating element. This means the issue could be something as simple as a burned-out bulb or something more complex involving your geyser’s wiring.
If your geyser still heats water but the light stays dark, you’re dealing with an indicator problem rather than a heating problem. That’s actually good news because it means your hot water supply isn’t at risk. However, fixing it matters because you need that visual confirmation that everything’s working as it should.
Geyser Green Light Not Working: Likely Causes
Several things can make that green light stop working. Most of these causes are simple electrical issues that you can identify with basic troubleshooting. Let me walk you through what I’ve seen most often in my years of fixing these units.
1. Burned Out Indicator Bulb
The most straightforward reason is that the bulb itself has died. Just like any light bulb in your home, the one in your geyser has a limited lifespan. It might burn out after months or years of constant use.
These indicator bulbs are small and inexpensive. They sit behind a plastic cover on your geyser’s front panel. When they burn out, they simply stop producing light even though electricity is still flowing through the circuit.
You can often tell if this is the issue by checking whether other functions of your geyser work normally. If the water heats up fine and other lights work, the bulb is likely your culprit.
2. Loose or Disconnected Wiring
Wiring connections can come loose over time. The vibrations from your geyser’s operation, temperature changes, or even poor installation can cause wires to wiggle free from their terminals.
When the wire feeding your indicator light disconnects, the light goes dark. The rest of your geyser keeps working because the main power supply to the heating element stays intact.
This happens more often than you’d think. I’ve opened up countless geysers to find a single wire hanging loose while everything else looks perfect. Sometimes the wire doesn’t fully disconnect but makes poor contact, causing intermittent light behavior before it stops working completely.
3. Faulty Indicator Light Module
Modern geysers use LED indicator modules instead of traditional bulbs. These modules are more durable but can still fail. When they do, you can’t just swap out a bulb because the entire circuit board or LED assembly needs replacing.
These modules contain small electronic components that regulate the light. A power surge or manufacturing defect can damage these components. Once damaged, the module won’t light up even when receiving proper voltage.
4. Tripped or Faulty Thermostat
Your geyser’s thermostat controls when the heating element turns on and off. It also triggers the green light to show that heating is active. If the thermostat malfunctions, it might cut power to the indicator light even though other parts of the system still work.
A thermostat can trip due to overheating or wear out over time. When it does, it might still allow some heating to occur but fail to signal the indicator light properly. This creates a situation where your water gets warm but the light never confirms it.
5. Power Supply Issues at the Circuit
Sometimes the problem isn’t with the geyser at all. The circuit breaker or fuse feeding your geyser might be partially compromised. This can create a situation where enough power reaches the heating element but not enough reaches the indicator light circuit.
Electrical connections at your main panel can corrode or loosen. This reduces the current flowing to your geyser. While the heating element might still function on reduced power, the indicator light needs a clean, stable supply to work properly.
Geyser Green Light Not Working: How to Fix
Fixing your geyser’s green light is usually simpler than you think. Most solutions require basic tools and a bit of patience. Here’s how to tackle each potential cause and get that light working again.
1. Replace the Indicator Bulb
Start by turning off power to your geyser at the circuit breaker. Safety first. Then locate the front panel of your geyser where the light should appear.
Most geysers have a removable cover or panel held by a few screws. Remove these screws and gently pull off the cover. You’ll see the indicator bulb socket behind the light opening. Carefully unscrew or unclip the old bulb and install a new one with the same specifications.
Before you seal everything back up, turn the power back on and check if the new bulb lights up. If it does, you’ve solved your problem. Reassemble the panel and you’re done.
2. Check and Secure All Wire Connections
With power still off, examine the wiring behind your geyser’s front panel. Look for any wires that appear loose, disconnected, or poorly attached to their terminals.
Pay special attention to the wires connected to the indicator light assembly. These are usually thin wires that can easily work themselves free. If you spot a loose wire, reconnect it firmly to its terminal. You might need a small screwdriver to tighten terminal screws.
Once you’ve secured all connections, restore power and test the light. Sometimes this simple fix is all you need to bring that green glow back to life.
3. Test and Replace the Indicator Module
If your geyser uses an LED module instead of a replaceable bulb, you’ll need to test it with a multimeter. Set your multimeter to measure voltage and check whether power is reaching the module.
Touch the multimeter probes to the module’s input terminals while the geyser is on. If voltage reads normal but the light doesn’t work, the module itself has failed. Order a replacement module specific to your geyser model.
Installing a new module typically involves disconnecting the old one from its wiring harness and plugging in the new unit. Some modules mount with small clips or screws. Follow the manufacturer’s instructions for your specific model.
4. Inspect and Reset the Thermostat
Your thermostat has a reset button, usually a small red button near the heating element. Turn off power first, then locate this button on your geyser. Press it firmly and hold for a few seconds.
This reset can clear minor faults that prevent the thermostat from signaling the indicator light. After resetting, turn power back on and wait a few minutes. The light should come on once the thermostat kicks in.
If the light still doesn’t work, the thermostat might need replacement. This is a bigger job that involves draining some water from the geyser and disconnecting the element. You might want professional help for this one.
5. Verify Circuit Breaker and Electrical Supply
Head to your electrical panel and locate the breaker for your geyser. Even if it looks like it’s in the ON position, flip it fully off and then back on. This can restore proper power flow if the breaker was partially tripped.
While you’re there, look for any signs of overheating or damage around the breaker. Blackened areas or a burning smell mean you need an electrician to inspect your panel. These signs indicate serious electrical issues that go beyond a simple light problem.
Check your geyser’s power cord connection at the wall if it has one. Make sure it’s plugged in completely. I’ve seen cases where vibrations slowly work a plug partially out of its socket, causing weird electrical symptoms.
6. Contact a Qualified Electrician
If none of these fixes work, something more complex is wrong. Your geyser might have internal wiring damage or a control board failure that requires professional diagnosis.
Electricians have specialized tools to trace electrical problems that aren’t visible to the eye. They can also safely handle high-voltage repairs that could be dangerous if you attempt them yourself. Sometimes spending money on expert help saves you from accidentally creating a bigger problem or risking your safety.
Wrapping Up
That green light on your geyser is small but important. It keeps you informed about what’s happening inside that tank on your wall or in your ceiling. Most times, getting it working again is a quick job involving a new bulb or tightening a wire.
Start with the simplest solutions first. Check that bulb, secure those connections, and reset the thermostat. These three steps fix the majority of green light issues I see. If you’re still stuck after trying everything here, call in someone who can dig deeper. Your hot water will keep flowing either way, but you’ll feel better knowing that light is doing its job.