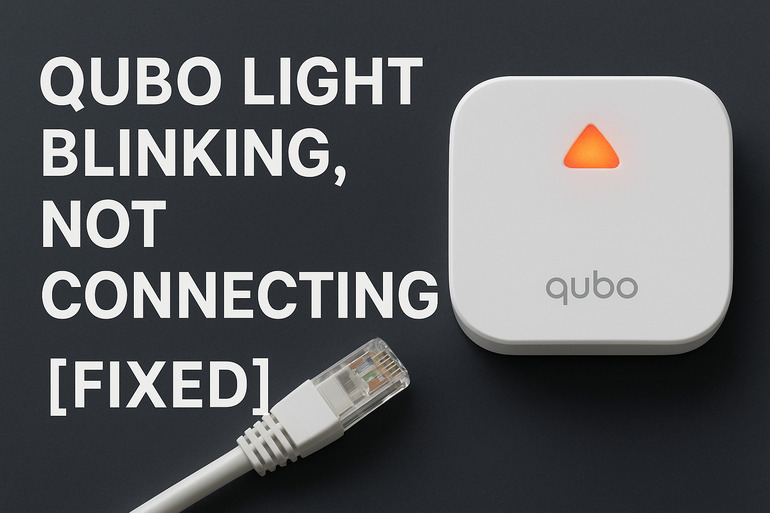
You’ve set up your Qubo camera, plugged it in, and now there’s this persistent blinking light staring back at you. Your phone app refuses to connect, and you’re stuck watching that light flash like it’s trying to send morse code signals.
This frustrating situation happens more often than you’d think. Your camera is essentially telling you something’s wrong, but figuring out what can feel like solving a puzzle without all the pieces.
By reading through this guide, you’ll learn exactly why your Qubo camera keeps blinking without connecting, what’s causing this behavior, and how to fix it yourself using simple steps that actually work.
What’s Happening With Your Qubo Camera
That blinking light on your Qubo camera isn’t random. It’s actually the device’s way of communicating its status. Think of it like a warning sign on your car’s dashboard. Each blink pattern means something specific, and most commonly, a continuous blinking light means your camera is trying to connect but failing.
Your camera goes through a startup process every time you plug it in. First, it powers on, then it searches for your Wi-Fi network, and finally it attempts to establish a connection with the Qubo servers. A properly connected camera should show a solid light, not a blinking one.
Here’s what typically goes wrong during this process:
- Power Issues: The camera isn’t getting enough electricity to function properly
- Network Problems: Your Wi-Fi signal is too weak or the wrong credentials were entered
- App Glitches: The Qubo app on your phone has outdated information or corrupted data
- Hardware Faults: Something inside the camera has stopped working correctly
If left unfixed, you’ll never be able to access your camera’s live feed or recordings. That defeats the entire purpose of having a security camera in the first place. Your device becomes nothing more than an expensive paperweight with a blinking light.
Qubo Light Blinking: Likely Causes
Several factors can trigger this blinking light problem. Understanding what’s causing your specific issue makes fixing it much easier.
1. Weak or Unstable Wi-Fi Signal
Your Qubo camera needs a strong, stable internet connection to work. If your router is too far away or there are too many walls between the router and camera, the signal weakens dramatically.
Cameras placed in basements, garages, or outdoor areas often struggle with connectivity. Even if your phone works fine in that spot, cameras need a more consistent signal because they’re constantly streaming data.
Metal objects, thick concrete walls, and other electronic devices can interfere with Wi-Fi signals. Your microwave running or your neighbor’s router broadcasting on the same channel can disrupt the connection enough to prevent your camera from connecting.
2. Incorrect Network Credentials
You might have entered the wrong Wi-Fi password during setup. This happens more than people admit, especially with those complex passwords that mix numbers, letters, and special characters.
Sometimes your phone’s autocorrect changes a character without you noticing. Other times, you’ve recently changed your Wi-Fi password but forgot to update it in the camera’s settings.
3. Outdated App or Firmware
Technology moves fast. Your Qubo app might be running an older version that doesn’t work well with current server configurations. Similarly, your camera’s internal software (called firmware) might need updating.
These updates fix bugs, improve performance, and maintain compatibility. When your app and camera firmware don’t match properly, connection issues pop up.
4. Power Supply Problems
Your camera might not be getting the right amount of power. Using a different charger than the one that came with your Qubo can cause issues. Not all USB adapters output the same voltage and amperage.
Extension cords, power strips with multiple devices plugged in, or worn-out electrical outlets can reduce the power reaching your camera. The device might turn on, but it won’t have enough juice to maintain a stable connection. That’s when the blinking starts.
Sometimes the charging cable itself develops internal breaks from being bent too many times. The wire looks fine on the outside, but inside, connections have frayed or snapped. This creates an inconsistent power flow that confuses the camera.
5. Router Configuration Issues
Your router might have settings that block new devices from connecting automatically. Some routers limit the number of connected devices, or they have security features that need manual approval for each new gadget.
MAC address filtering, firewalls, or VPN settings on your router can prevent your Qubo from connecting. These features are great for security, but they can accidentally block legitimate devices like your camera.
Qubo Light Blinking: DIY Fixes
Getting your Qubo camera back online is usually straightforward. Try these solutions in order for the best results.
1. Power Cycle Everything
Start with the simplest fix that works surprisingly often. Unplug your Qubo camera from the power source and wait a full 30 seconds. This gives all the internal components time to fully reset.
While the camera is unplugged, restart your Wi-Fi router too. Unplug it, count to 30, then plug it back in. Wait for all the lights on your router to stabilize before moving forward.
Now plug your Qubo camera back in. Watch the light closely as it goes through its startup sequence. Sometimes a fresh start is all your devices need to reconnect properly.
2. Move Your Camera Closer to the Router
Distance kills Wi-Fi signals. Try placing your Qubo camera in the same room as your router temporarily. If the blinking stops and the camera connects, you’ve confirmed the issue is signal strength.
For a permanent fix, you can either relocate your camera, move your router, or invest in a Wi-Fi extender. These little devices boost your signal into areas your router can’t reach effectively.
Testing different locations helps you find the sweet spot where your camera gets strong signal while still covering the area you need to monitor.
3. Delete and Reinstall the Camera in Your App
Your app might have corrupted data about your camera. Open the Qubo app on your phone and find your camera in the device list. Look for an option to remove or delete the device.
After removing it, go through the setup process again like you’re adding a brand new camera. Make sure you enter your Wi-Fi password carefully, double-checking each character before submitting.
Follow these steps:
- Open Qubo app
- Tap on your camera
- Select “Remove Device” or similar option
- Confirm deletion
- Tap “Add Device”
- Follow the on-screen setup instructions
- Enter your Wi-Fi credentials carefully
- Wait for the camera to connect
This fresh start often resolves glitches that built up over time.
4. Check and Replace Your Power Adapter
Grab the original power adapter that came with your Qubo camera. Using third-party chargers is a common mistake that causes connection problems.
Plug the camera directly into a wall outlet, not a power strip or extension cord. Other devices on the same power strip can draw electricity and leave your camera with insufficient power. Test this for at least 10 minutes to see if the connection stabilizes.
If you don’t have the original adapter anymore, check the camera’s specifications for the correct voltage and amperage. Any replacement adapter must match these numbers exactly.
5. Update Your App and Camera Firmware
Open your phone’s app store and search for the Qubo app. If you see an “Update” button, tap it right away. Outdated apps cause all sorts of connection headaches.
Once your app is current, open it and check for firmware updates. Most Qubo cameras have a settings menu where you can see if new firmware is available. These updates download directly to your camera and install automatically.
Here’s how to check:
- Open Qubo app
- Go to Settings
- Select your camera
- Look for “Firmware Update” or “Check for Updates”
- Install any available updates
- Wait for the process to complete (don’t unplug!)
Your camera will restart after updating. This might take a few minutes, so be patient.
6. Reset Your Camera to Factory Settings
If nothing else works, a factory reset wipes everything clean and starts fresh. Look for a small reset button on your Qubo camera. You’ll probably need a paperclip or pin to press it.
Hold the reset button for about 10 seconds while the camera is plugged in. The light will change patterns, indicating the reset is happening. Release the button and wait for the camera to restart completely.
After resetting, you’ll need to set up your camera from scratch using the app. Treat it like a brand new device and go through all the setup steps again.
7. Contact Qubo Support
Sometimes the issue is bigger than what you can fix at home. If you’ve tried everything and your camera still won’t stop blinking, reach out to Qubo’s customer support team. They have access to diagnostic tools and can spot hardware problems that need professional attention.
Your camera might have a manufacturing defect or internal component failure that requires repair or replacement. If your device is still under warranty, Qubo support can help you get a replacement unit.
Wrapping Up
Your blinking Qubo camera isn’t permanently broken in most cases. Usually, it’s a simple connectivity hiccup that you can fix yourself using the methods we’ve covered. Start with the easiest solutions like power cycling and moving closer to your router before trying more involved fixes.
Pay attention to how your camera responds to each solution. That blinking light is trying to tell you something, and by systematically working through these fixes, you’re listening. Most people find success with one of the first few solutions, so don’t get discouraged if the first attempt doesn’t work.