That little clean light on your Breville has been blinking for hours, and you’re probably wondering if your coffee maker has officially given up on you. The constant flashing can feel overwhelming, especially when all you want is your usual morning coffee without any drama.
Here’s the good news: this blinking light isn’t a death sentence for your machine. Most Breville owners face this exact same issue, and the fix is often simpler than you’d expect. You’ll discover what triggers this persistent blinking, the real reasons behind it, and step-by-step solutions that’ll have your coffee maker running smoothly again.
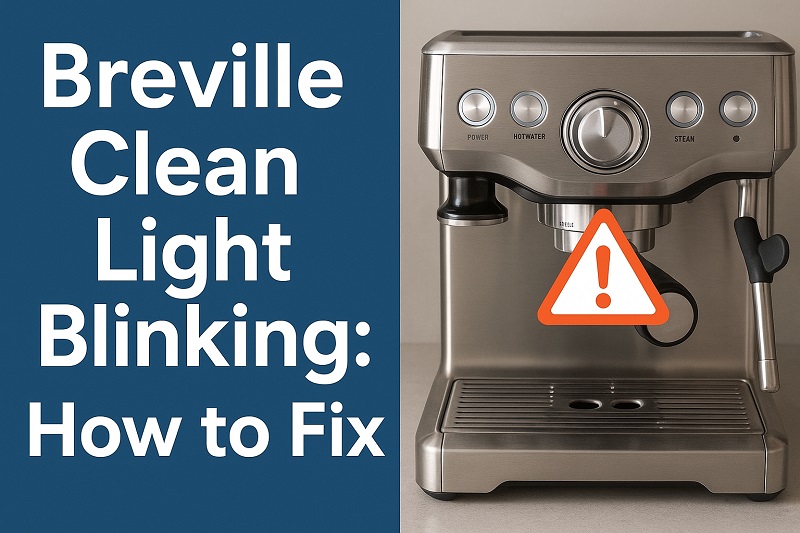
What That Blinking Clean Light Actually Means
The clean light on your Breville coffee maker serves as your machine’s built-in reminder system. When it starts blinking, your coffee maker is essentially telling you that mineral deposits and coffee oils have built up inside the internal components. These accumulations can affect water flow, temperature control, and ultimately the taste of your coffee.
Your Breville uses sensors to monitor brewing cycles, water temperature, and flow rates. After a predetermined number of brewing cycles or when the sensors detect restricted water flow, the clean light activates. The exact trigger varies depending on your specific Breville model, but most activate the cleaning reminder after 200 to 300 brewing cycles.
Once that light starts blinking, your machine enters a protective mode. Many Breville models will continue brewing, but some newer versions actually restrict certain functions until you complete the cleaning cycle. This protective feature prevents long-term damage to internal heating elements and water lines.
The blinking pattern isn’t random either. Different Breville models use specific blinking sequences to communicate different messages. A steady blink usually indicates a standard cleaning reminder, while rapid blinking might signal a more urgent descaling need or a system error that requires immediate attention.
Breville Clean Light Blinking: Common Causes
Understanding what triggers that persistent blinking helps you prevent future occurrences and maintain your machine properly. Most causes stem from normal coffee maker usage, but some result from water quality issues or maintenance oversights.
1. Mineral Buildup from Hard Water
Hard water contains high levels of calcium and magnesium that create stubborn deposits throughout your coffee maker’s internal system. These minerals stick to heating elements, clog water lines, and create barriers that force your machine to work harder during each brewing cycle.
Your Breville’s sensors detect when water flow becomes restricted, triggering the clean light as a protective measure. The harder your water, the more frequently you’ll see this light activate.
2. Coffee Oil Accumulation
Every time you brew coffee, tiny amounts of natural oils from the coffee beans travel through your machine’s internal pathways. Over time, these oils build up on surfaces, creating a sticky residue that can trap other particles and restrict water flow.
Coffee oils also turn rancid after extended exposure to air and heat, which can affect the taste of your brew. Your Breville’s cleaning cycle is designed to dissolve and flush out these accumulated oils.
This buildup happens faster if you regularly brew oily coffee beans like dark roasts or if you use flavored coffee grounds that contain additional oils and additives.
3. Clogged Internal Filters and Screens
Your Breville contains several internal filters and screens that catch particles and ensure smooth water flow. Coffee grounds, mineral deposits, and other debris can accumulate on these components, gradually reducing their effectiveness.
When these filters become too clogged, water pressure drops and flow becomes irregular. Your machine’s sensors pick up these changes and activate the cleaning reminder.
4. Extended Time Between Cleaning Cycles
Breville coffee makers track brewing cycles and automatically remind you when cleaning becomes necessary. If you’ve been ignoring previous cleaning reminders or haven’t descaled your machine in several months, the sensors may detect performance issues that require immediate attention.
Some Breville owners assume they can skip cleaning cycles if their coffee still tastes good, but internal buildup often occurs long before it affects flavor. Regular cleaning prevents this accumulation from reaching problematic levels.
5. Sensor Calibration Issues
Occasionally, the sensors that monitor your machine’s performance can become miscalibrated or overly sensitive. This might cause the clean light to activate more frequently than necessary, even when your machine doesn’t require immediate cleaning.
Environmental factors like humidity changes, temperature fluctuations, or electrical interference can sometimes affect sensor accuracy. Power outages or voltage spikes might also cause temporary sensor glitches that trigger unnecessary cleaning reminders.
Breville Clean Light Blinking: DIY Fixes
Getting that clean light to stop blinking usually involves running your machine through a proper cleaning cycle, but the specific steps vary depending on your situation. Most fixes require common household items and take less than an hour to complete.
1. Run a Complete Descaling Cycle
Descaling removes mineral buildup and is often the most effective solution for a blinking clean light. Mix equal parts white vinegar and water to create a descaling solution, or use commercial descaling powder if you prefer.
Fill your water reservoir with the descaling solution and place a large container under the coffee outlet. Press and hold the clean button for three seconds to activate cleaning mode. Your machine will begin automatically cycling the solution through internal components.
The descaling process typically takes 30 to 45 minutes and includes multiple pause periods where the solution sits in contact with mineral deposits. Don’t interrupt this cycle or turn off your machine during these pauses, as the timing is designed to maximize cleaning effectiveness.
2. Flush with Fresh Water Multiple Times
After descaling, you must flush your system thoroughly to remove any residual cleaning solution. Fill the reservoir with fresh water and run at least three complete brewing cycles without coffee grounds.
Taste the water from each flush cycle. If you detect any vinegar taste or chemical residue, continue flushing until the water tastes completely neutral. Some stubborn buildup may require five or six flush cycles for complete removal.
Replace your water filter if your Breville model includes one. Old filters can harbor bacteria and affect water taste, even after thorough cleaning.
3. Clean External Components and Removable Parts
Remove and wash all detachable parts including the water reservoir, drip tray, and any removable filters. Use warm soapy water and scrub away any visible residue or staining.
Pay special attention to the water reservoir, as algae and mineral deposits often accumulate in corners and crevices. A soft brush or cloth helps remove stubborn buildup without scratching surfaces.
Wipe down the exterior and clean around buttons and display areas where coffee splashes might have dried. These areas can harbor bacteria and create unpleasant odors over time.
4. Reset the Clean Light Manually
Some Breville models require manual reset after completing the cleaning cycle. Check your specific model’s instructions, but most reset by pressing and holding the clean button for five to ten seconds after the cleaning cycle finishes.
If the light continues blinking after reset, your machine may need a second cleaning cycle. Heavily used machines or those in hard water areas sometimes require back-to-back cleaning sessions.
Turn your machine off for five minutes, then restart to see if the clean light has cleared. Sometimes a simple power cycle helps the system recognize that cleaning has been completed.
5. Check and Clean Internal Screens
Some Breville models have accessible internal screens that you can remove and clean manually. Consult your owner’s manual to identify which components are user-serviceable.
Use a soft brush or cloth to gently clean screens and filters. Avoid using harsh chemicals or abrasive materials that might damage delicate components. Rinse thoroughly and ensure all parts are completely dry before reassembly.
6. Contact a Qualified Appliance Technician
If none of these fixes resolve your blinking clean light, your machine may have internal sensor issues or mechanical problems that require professional diagnosis. Persistent blinking after multiple cleaning cycles often indicates hardware malfunctions that need expert attention.
Wrapping Up
That blinking clean light might seem annoying, but it’s actually your Breville’s way of protecting itself from damage and ensuring you get the best possible coffee. Most of the time, a thorough descaling cycle and proper flushing will get your machine back to normal operation within an hour.
Regular maintenance prevents these issues from becoming major problems. Clean your machine every two to three months, use filtered water when possible, and don’t ignore cleaning reminders when they first appear. Your coffee maker will reward you with years of reliable service and consistently delicious coffee.